Estimated reading time: 15 minutes

It’s hard to determine who first figured out that underground was a good place to store perishable foods, but it’s a good bet that naturally occurring caves were the origin of the idea. Unfortunately, most people didn’t have access to a convenient cave and artificially engineered spaces underground soon appeared.
Want to save this post for later? Click Here to Pin It On Pinterest!
How Does a Root Cellar Work?
Three factors make a root cellar a viable location for food storage: darkness, cool temperatures and humidity. We often hear recommendations to store foods in a cool dark place, and every refrigerator has a “crisper” where higher humidity helps vegetables to store for longer periods. A root cellar combines those three factors.
The darkness is an obvious benefit given that anything underground will find itself in the dark. The lower temperatures are due to the ability of soils to resist the higher temperatures caused by the sun and the general temperature above ground. It’s the humidity that kicks a root cellar into high gear as it serves to keep temperatures cooler and is particularly favorable to root vegetables like beets, carrots, potatoes, radishes and other roots.
In fact, it was the ability of a hole in the ground or even caves to prolong the shelf-life of root vegetables that led to the name “root” cellar.
The Range of Root Cellars
Many homesteads had root cellars that were quite large. It was a standard feature of pioneer living and was as valued and necessary as a refrigerator today. The farm and homestead root cellars were often dug into a hill or into the ground, and were not only lined with shelves but were large enough to walk through.
The roof was usually supported by beams or logs and the ground was bare earth although it was sometimes covered with loose stone. The exposed ground allowed moisture to permeate the cellar.
Is Moisture Necessary in a Root Cellar?
That depends on what you’re storing. If you’re only storing some dairy products like butter, cheese and eggs you’re okay in a dry, root cellar. The same is true for foods preserved in mason jars. In fact, the metal lids on canning jars often corrode in highly moist environments.
On the other hand, most root cellars depend on moisture as one of the primary preservative properties of its design. This is especially true when storing vegetables. There’s a reason grocery store produce sections have automatic misters to keep displayed vegetables moist. Humidity helps to preserve many vegetables especially root vegetables from drying out and shriveling.
Why Mini Root Cellars?
Not everyone has the space or inclination to dig a walk-in root cellar. Then again any size root cellar is a great way to preserve vegetables and other foods that require refrigeration in an off-grid environment, or as the result of a power outage.
A lot depends on how much you’re trying to store. If you’re goal is to preserve a season’s harvest you’ll probably need the large, walk-in root cellar or stock up on mason jars for canning. If you’re only trying to keep a refrigerator full of foods cool you could be well served by a mini root cellar.
Mini root cellars are also a good option in emergencies or even something like a long camping trip. If you need to keep something cold and don’t have the power or equipment to do it, a mini root cellar is a good option.
How Cold Is It?
The obvious answer of course is that it varies. A lot depends on the time of year, the type of soil, the location (a shady location is best), where you live (southern latitudes are not the best), the container or structure of the mini root cellar and how often it’s opened. In that regard it behaves like any refrigerator which like a root cellar is governed by the basic laws of thermodynamics.
According to the Old Farmer’s Almanac, the ideal temperature range is 32º to 40º Fahrenheit and a humidity level of 85 to 95%. That can be difficult to do depending on the average temperatures in your location. It also gets complicated with a mini root cellar because you can’t dig as deep as some of the larger root cellars. The simple rule is that the deeper you go into soil, the cooler the temperatures.
Winter makes things easier and a root cellar can actually prevent stored foods from freezing. The ground tends to maintain temperatures on both ends of the extreme and can not only keep foods cool in summer, but prevent them from freezing in winter. Then again, some green leafy vegetables like lettuce and spinach don’t do well at temperatures around 32º degrees so think ahead.
Summer is the biggest challenge and it’s good idea to enclose a temperature and humidity gauge in any root cellar. There are even temperature and humidity gauges that are Bluetooth enabled allowing you to assess the internal temperature without opening the cellar.
This assumes your mini root cellar is not made from metallic materials that would block any signal, but other gauges have a probe connected to a display that can be outside of the cellar enclosure.
Regardless of what you do, you should make some effort to get a reading on the temperature in your mini root cellar. That will give you a good clue about what temperatures are necessary to effectively and safely store food. The maximum safe temperature according to the USDA is 40º Fahrenheit. If you aren’t getting that temperature reading, especially in summer, think twice about storing some foods especially dairy.
Then again, root vegetables will be quite happy above 40º Fahrenheit especially if there are decent levels of humidity.
We’ll cover some things to watch for when using any type of root cellar towards the end of the article.
How Deep Do I Have to Dig?
Any mini root cellar is ideally no deeper than arms-length. If you can’t lay on the ground and reach the bottom you’re too deep. The end result will be the same as all of those things that get lost in the refrigerator on the back of a shelf or drawer. If you can’t see it or reach it those things will eventually spoil or start to generally deteriorate.
Which Kind of Soil is Best?
That typically isn’t a primary issue. Soils below ground maintain cooler temperatures in most cases. Loamy soils, sand, and clay can all work with a root cellar of any size. The challenge with some soils that are rocky or deep clay is the simply process of digging, although a pick can make short work of rocky soil and a sharpened shovel will help you peel through clay layers.
The biggest problem with any type of soil is standing ground water. If you start digging and water pools in the bottom of your hole in the ground you may need to find a higher elevation. Regardless of the cellar lining material, steady water around any kind of root cellar will eventually lead to problems.
However, there are metal boxes specially designed to be settled into a cold, spring creek to keep foods cool and that could be an option if every hole you dig turns into a puddle.
Location, Location, Location
A shady location is best. Any area shaded by geography, trees, or structures will keep direct sunlight off of the top of your mini root cellar. If you live somewhere without shade, make some. A tarp or a lean-to over your mini root cellar is all the shade you need.
If you’re digging into a hill, dig into the north side of the hill if you can. You’ll also want the mini root cellar close enough to your home or camp so you can easily access it, and to hopefully deter any determined critters from digging down to figure out what smells so good.
Compartmentalize
You don’t want to just throw stuff into a mini root cellar. Larger root cellars are highly organized with everything from shelves to barrels. You could put some small shelves in your mini root cellar or even compartmentalize with plastic buckets, old coffee cans, plastic shoe boxes or at a minimum –resealable storage bags.
Then again, you could hang fruit or vegetables from the side of the mini root cellar in mesh bags or use stacking fruit baskets. It’s up to you but even on a small scale it helps to have a way to organize things.
7 Types of Mini Root Cellars
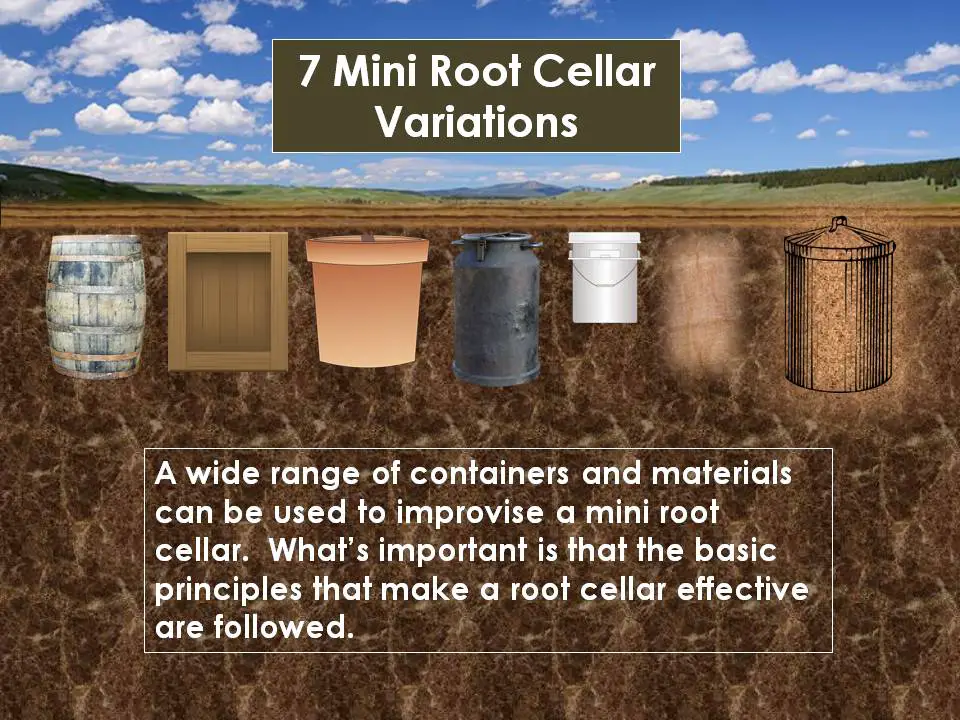
There have been many very creative approaches to using the ground to keep foods cool. We’re going to try to keep this simple to take advantage of the properties of root cellaring while make it relatively easy and inexpensive. Here are the types of root cellars we’ll cover:
- Wooden Barrel
- Wooden Box
- Terra Cotta Pot
- Milk Can
- 5-Gallon Plastic Bucket
- Burlap Lined
- Metal Garbage Can
The material and type of mini root cellar you choose to build will depend a lot on the situation, your location and the duration you plan to use the mini root cellar.
Availability of materials and budget are another consideration although none of the variations are terribly expensive. You could also dig multiple root cellars using some of the variations. If you have a sudden and very large harvest of root vegetables or need a mini root cellar with low humidity and another with higher humidity, you can always have more than one root cellar going. All you need is the container and a shovel.
1. Wooden Barrel Mini Root Cellar
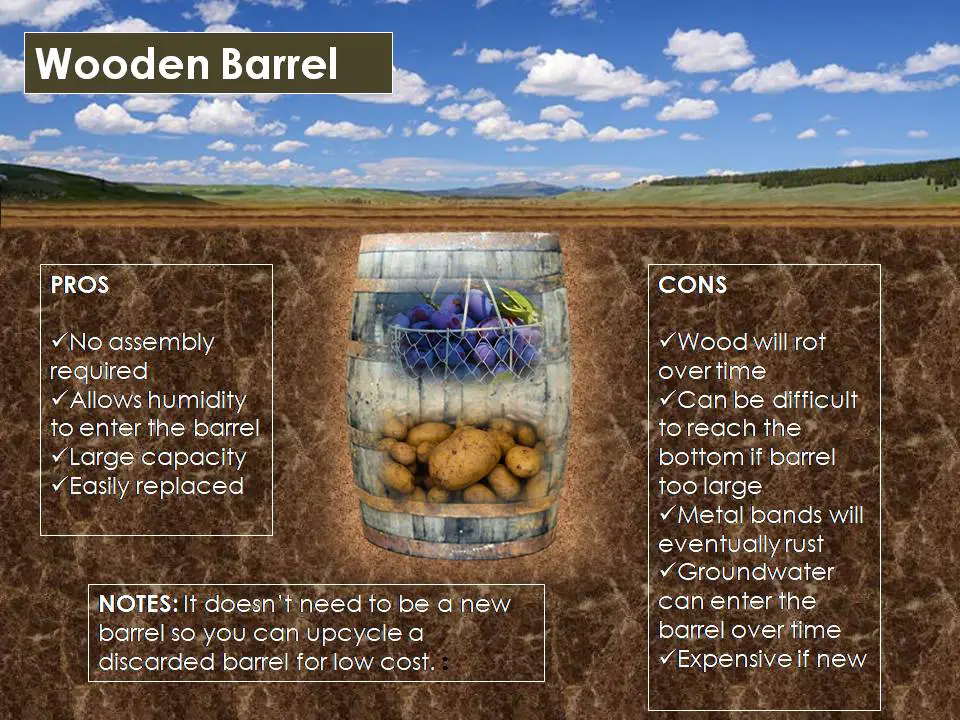
A barrel makes for a good mini root cellar. It helps if you have a smaller barrel that will allow you to reach the bottom. Remember the arm’s length rule for how deep your cellar should be.
2. Wooden Box Mini Root Cellar
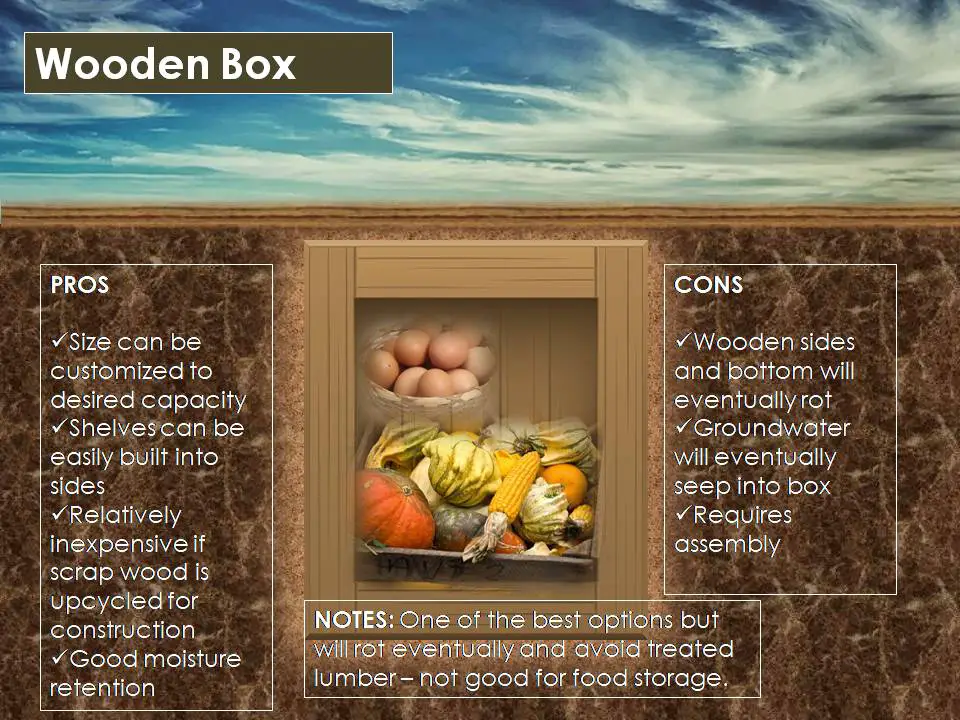
A wooden box in the ground is the basic construction concept of many larger root cellar designs. What’s good about this variation is that you can customize the size of the box to your needs. Just remember to not make it too deep. You could always widen it to increase the volume but be careful—a wide space will not reach nor maintain the ideal temperatures you might need.
A cubic square might be the best way to start figuring 3 foot square. Two feet should be enough for an adult to reach the bottom. Another benefit of a wooden box with flat sides is that it’s easy to build shelves and small boxes on the side to hold different types of foods, especially more delicate foods like eggs, butter and some of the more delicate fruits like peaches.
3. Terra Cotta Pot Mini Root Cellar

Terra cotta has a remarkable property. The fire-hardened clay sides of the pot are semi-permeable and will allow water vapor to enter the interior of the pot but will hold out liquid water. Terra cotta has been used for centuries in desert countries to make an above ground cooling invention known as a Zeer Pot. It’s the semi-permeable properties of terra cotta that make it work both above ground and below ground.
Just be careful around it because terra cotta can crack or break with sufficient force.
4. Milk Can Mini Root Cellar
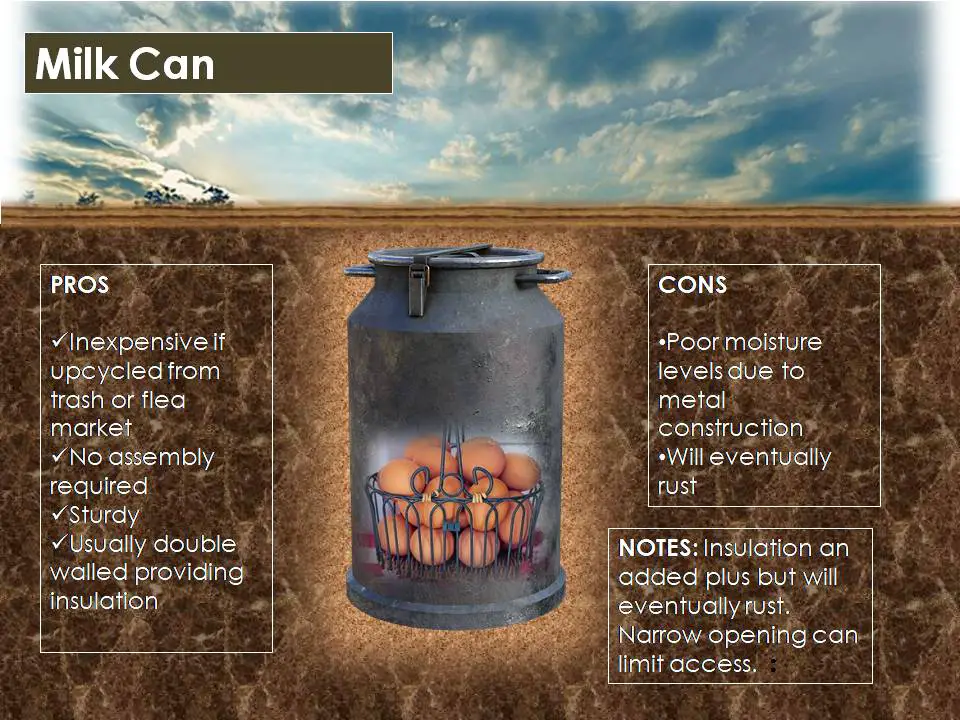
A brand new milk can is not cheap but used and much cheaper milk cans are fairly easy to find at flea markets, garage sales and farmer’s markets. Most people paint them and put them on their front porch, but if you’re not so inclined they make easy and effective mini root cellars.
Many people embed them in a spring creek to keep things cool, even milk. Unfortunately many of us don’t have a convenient spring creek in the back yard, but a lot of us can dig a hole somewhere on our property.
A metal milk can also has a great lid that seals tight and it’s double wall construction gives it excellent insulating properties. The only downside is that the narrow opening makes it a little harder to retrieve foods and like almost all metals –eventually rusts.
5. 5-Gallon Bucket Mini Root Cellar
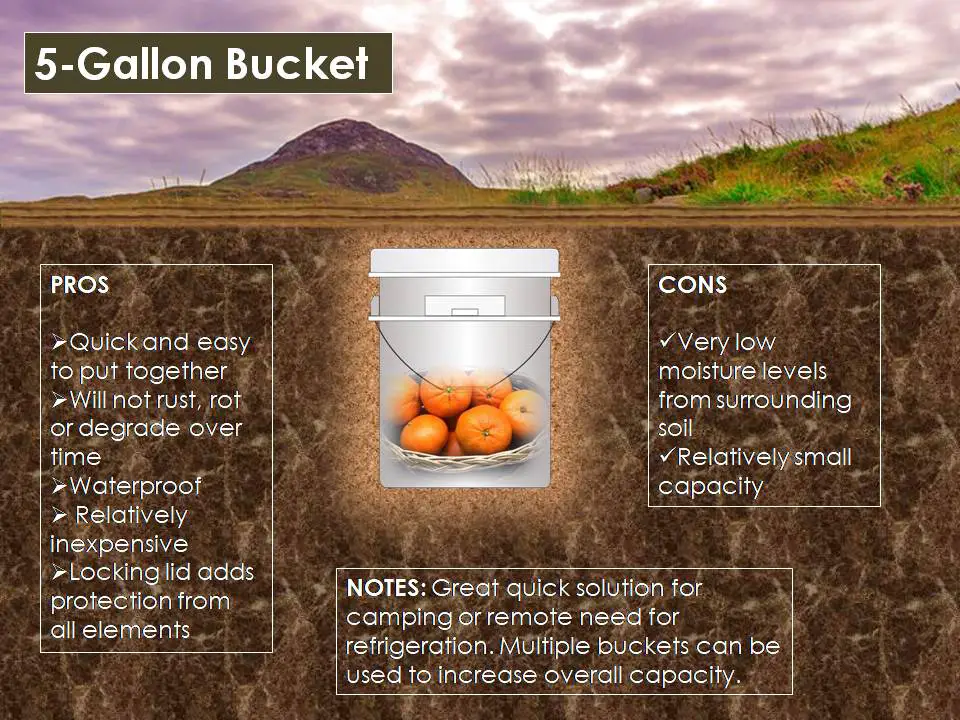
A 5-gallon plastic bucket can make for a quick and easy mini root cellar. This is especially helpful in an emergency or on a camping trip or other remote location where you want to keep things cool for a while.
The hole is easier to dig and the sealing lid will keep things protected. The downside is that it’s a small amount of space but you could always dig more holes and use 2 or 3 of them if you need to. They won’t do much when it comes to humidity, but for foods that don’t like too much humidity like dairy and some fruits they work fine.
They’re also indestructible and won’t degrade or rot when buried in the ground.
6. Burlap Lining for a Mini Root Cellar
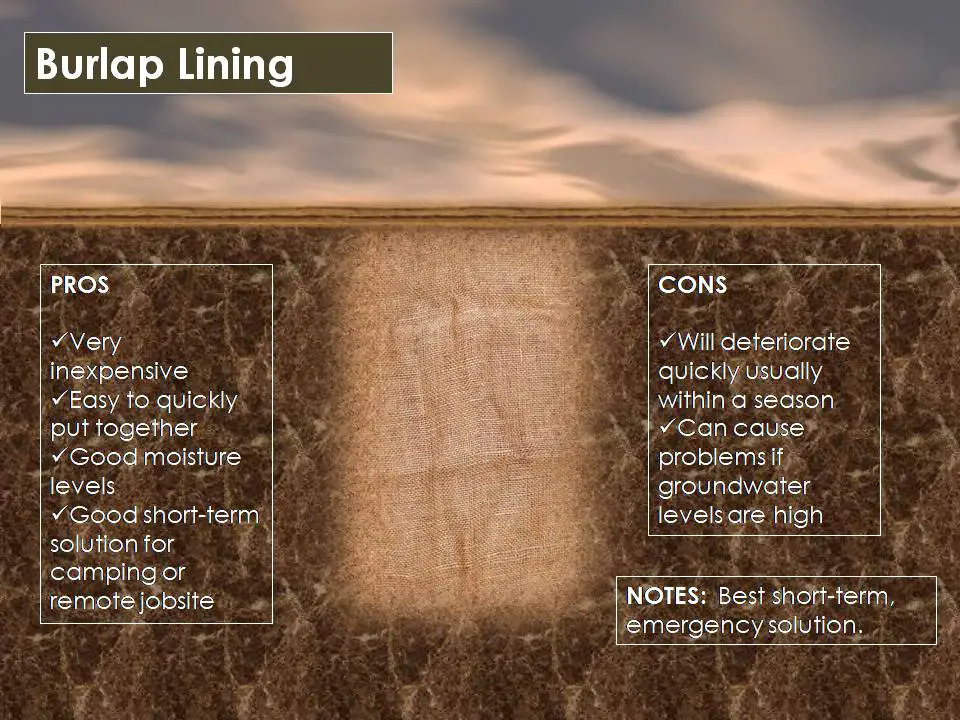
In a pinch you could always line a hole in the ground with burlap lining for an instant mini root cellar. You’ll need to pin the sides of the burlap to the sides of the hole with some nails or garden staples, but the burlap will protect the food from the soil and keep things cool and moist.
This is a short-term solution for chilling foods and the burlap will start degrade after a month or two. It’s also the least waterproof variation but on a camping trip or after a power outage that won’t quit it’s worth remembering. Just don’t throw away those old burlap potato bags.
7. Garbage Can Mini Root Cellar
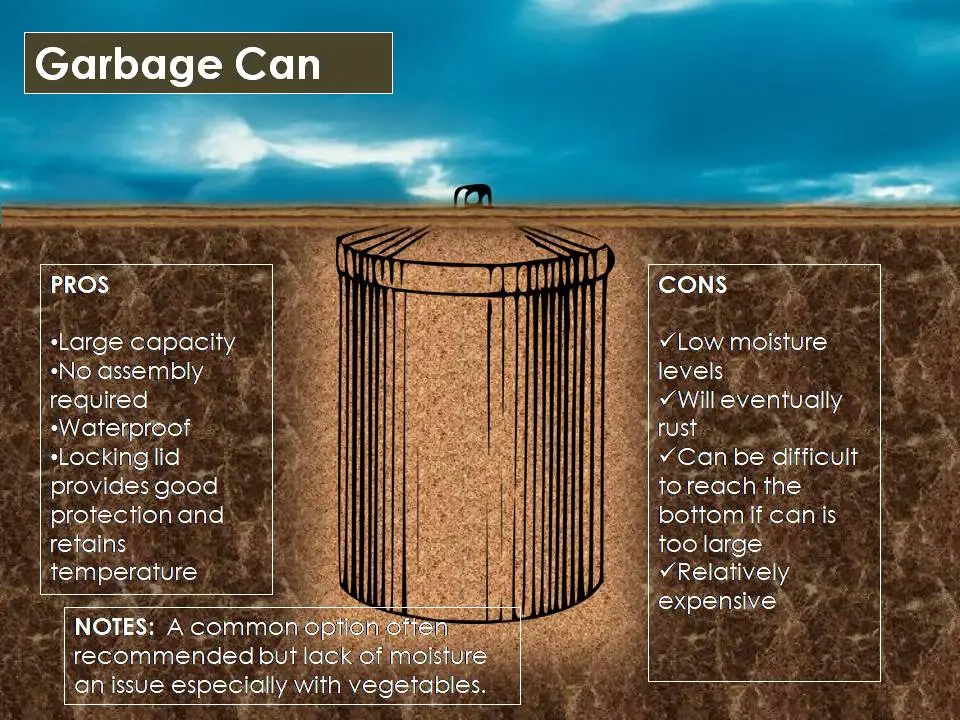
This mini root cellar variation shows up a lot on the Internet and YouTube. They always seem to favor the metal trash cans but a plastic garbage can will work the same way. The one thing to keep in mind is your reach. If you can’t reach the bottom from ground level some foods might be forgotten so go for the smaller cans.
And don’t forget the lid. Most provide a pretty good seal and if you insulate the lid with some expanding, sprayable foam or some other insulation you’ll have easy access.
Mini Root Cellar Fails
In spite of our best efforts and the simplicity of the root cellar concepts there are still a couple of ways to make things go wrong.
- Not using a shady location makes your mini root cellar work harder. If you don’t have shade –make some with a tarp or build a lean to.
- Failing to backfill your hole will cause problems. You don’t want any airspace between the ground and the sides of your mini root cellar. Air space will just warm up from the above ground temperature and cancel the cooling and humidity effects of the soil.
- An insufficient lid can be another problem. You don’t want to re-dig through a top layer of soil every time you want access to your mini root cellar, but don’t get complacent with how it’s covered. If it has a lid like a garbage can or 5-gallon plastic bucket –try to insulate some way. If it doesn’t have a lid like a burlap or barrel variation – use a piece of plywood or build a trap door to cover it. Try to insulate those as well.
- Pooling water in the bottom of your mini root cellar can create all sorts of problems from bacterial growth to mold. If you notice standing water at the bottom of your mini root cellar wither find a different location or use a material that is waterproof like plastic or metal. You’ll lose the benefit of humidity but a puddle of water at the bottom is way more humidity than you want.
- Failing to assess food quality and safety before eating is a common mistake with any kind of food storage. Do the standard tests of assessing its appearance, color, smell and taste. If any of those things don’t seem right – throw it out.
Time Will Tell
If you ever get around to digging your own mini root cellar you’ll figure out a lot about its effectiveness over time. A lot will depend on where you live, the weather and time of year. With any luck everything will be working, and you’ll have another solution to finding a way to safely store food for emergencies or when on the road. With even more luck you’ll never have to do this instead of just using a refrigerator.
Like this post? Don't Forget to Pin It On Pinterest!