Estimated reading time: 19 minutes
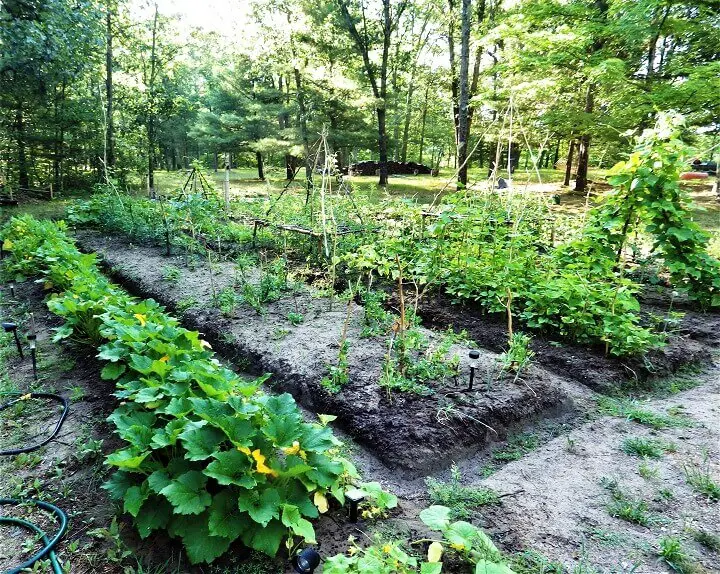
As food prices continue to rise, many people have turned to gardening and are planning to expand their gardens for next year. If food costs continue to spike its quite likely that vegetable gardening will become an activity everyone in the neighborhood pursues.
In the event of a catastrophic disaster or a societal collapse that garden may become a critical food source rather than just a way to save money. But there's a catch…
If you spent any time shopping for vegetable seeds this last spring, you no doubt noticed that the prices have spiked significantly. How many of us paid $2.49 for a small packet of tomato seeds only to a see a dozen tiny seeds dribble out of the package?
In a time when gardening becomes a survival necessity, seed prices will skyrocket if they’re available at all. That’s when a survival seed bank saves the day and saves the garden.
Want to save this post for later? Click Here to Pin It On Pinterest!
What is a Survival Seed Bank?
A seed bank is a significant collection of seeds either purchased or harvested from the garden that have been properly collected, dried, packaged and stored. The intent is to not only have enough seeds to replant next season's garden but to have a surplus that can allow for succession planting within a season and extra for the growing seasons ahead.
Having a good surplus also enables you to share with family and friends if seeds are too expensive or simply unavailable. Better yet, seeds are highly portable and if you have to bug out for any reason, you can take your garden with you.
Vegetable Seeds 101
The best types of vegetable seeds are something called an “heirloom” variety. This is an open-pollinating vegetable that has not been hybridized or genetically modified (GMO). They produce the best fruits with high nutrient density and the best seeds for harvesting and replanting season after season.
They can be susceptible to some garden diseases and insects, but in the long run they produce the best results overall.
Seed storage is a critical success factor. Seeds need to be kept dry and if possible, chilled. In fact, there is a global seed bank in Svalbard Norway that has the world’s largest collection of seeds as a design for any future disaster that could compromise the world seed crops.
The location and design keep the seeds at −18 °C (−0.4 °F). The low temperature and limited access to oxygen will ensure low metabolic activity and delay seed ageing. The permafrost surrounding the facility helps to maintain the low temperature of the seeds if the electricity supply fails.

The seeds are stored in sealed three-ply foil packages (Mylar) and then placed into plastic tote containers on metal shelving racks.
You don’t need to go to the extremes of the Svalbard seed vault, but we’ll cover some best practices for seed packaging and storage that you can easily do at home.
Which Seeds Should You Store?
A lot of that depends on where you live and what you can grow. We’re going to cover the typical crops that can grow most anywhere with a temperate climate. Many seeds are easy to harvest from vegetables you grow or you can simply buy them.
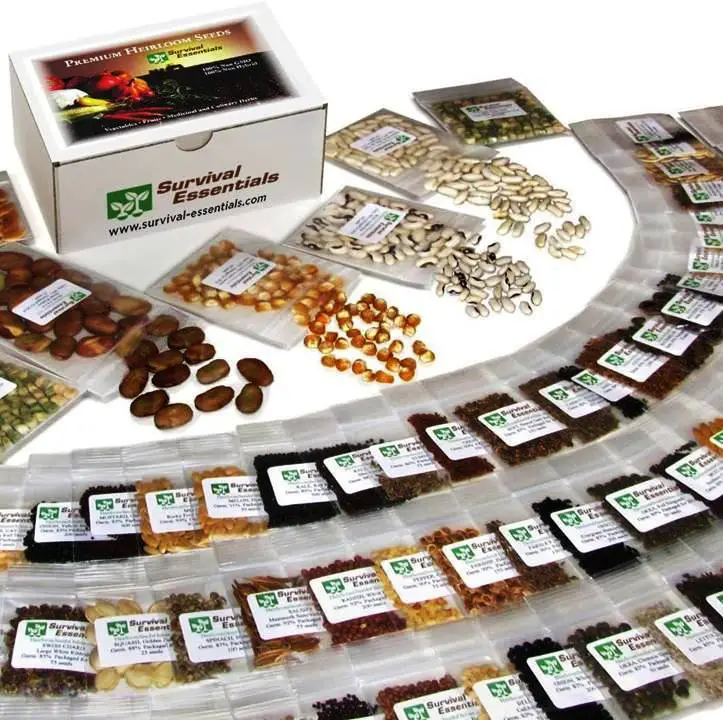
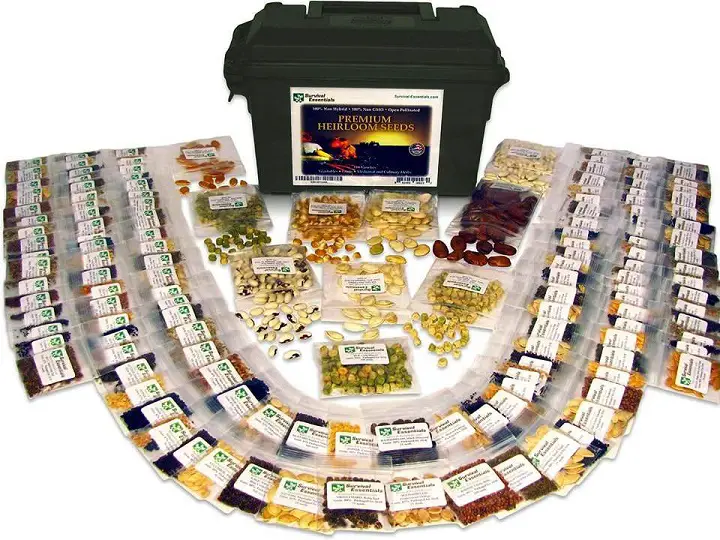
There are pre-packaged seed banks on Amazon that offer a range of vegetable varieties and are already packaged for long-term storage.
Prices range from $25 to $125 and more. However, even if you purchase a large seed bank the day will come when you run out and you should both learn and practice seed harvesting and storage from your garden.
The Seeds…
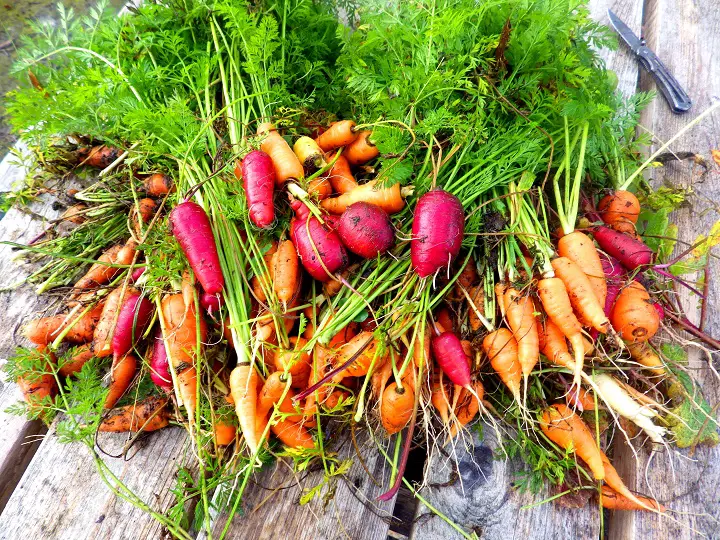
Root Vegetables
- Beets
- Carrots
- Fennel
- Garlic
- Ginger
- Onions
- Parsnips
- Sweet potatoes
- Turmeric
- Turnips
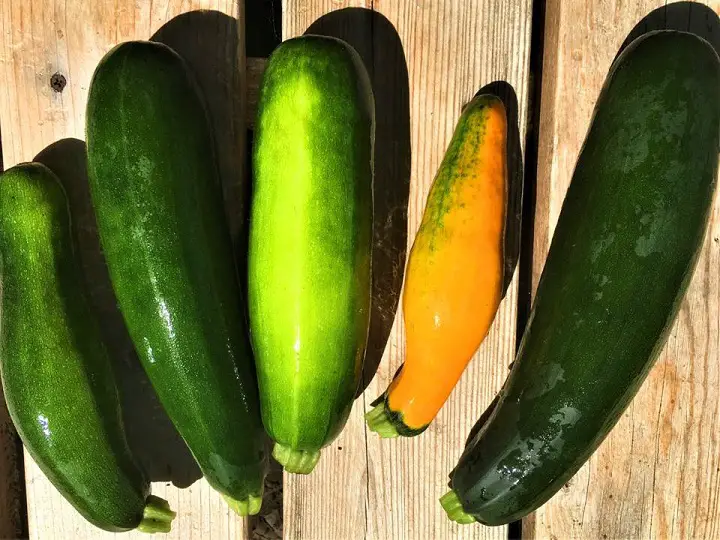
Squash
- Acorn squash
- Butternut squash
- Cucumber
- Pumpkin
- Spaghetti squash
- Yellow squash
- Zucchini
Nightshade Family
- Eggplant
- Jalapeno peppers
- Poblano peppers
- Potatoes
- Sweet bell peppers
- Tomatoes
Beans and Peas
- Green beans (bush variety)
- Green beans (pole variety)
- Green peas
- Snap peas
- Sweet peas
- Yellow (wax) beans
Herbs
- Basil
- Cayenne peppers
- Chives
- Cilantro (coriander)
- Dill
- Lemon balm (perennial)
- Lemon grass
- Mint
- Oregano (perennial)
- Parsley
- Rosemary (perennial in some areas)
- Stevia (natural sweetener)
- Sage
- Thyme (perennial)
Melons
- Cantaloupe
- Honeydew
- Watermelon
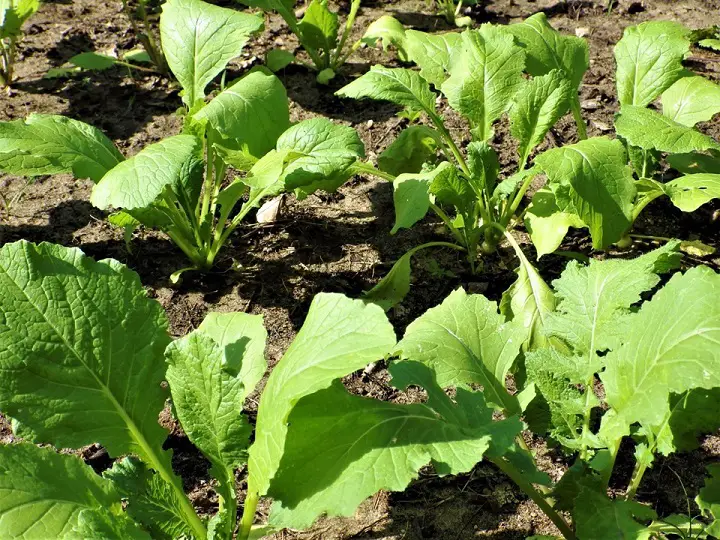
Cruciferous Vegetables
- Arugula
- Bok Choy
- Broccoli
- Brussels sprouts
- Cabbage
- Cauliflower
- Collards
- Kale
- Kohlrabi
- Radishes

Green Leafy Vegetables
- Butter crunch lettuce
- Collards
- Lettuce
- Romaine
- Spinach
- Swiss chard
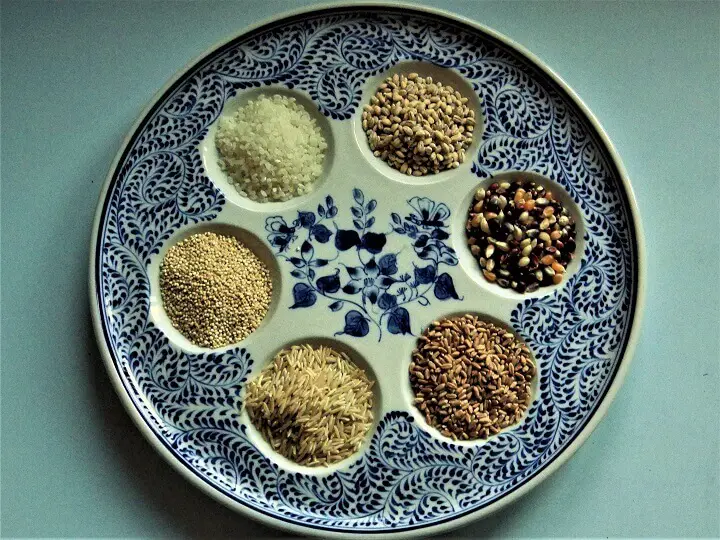
Grains
- Amaranth
- Buckwheat flowers
- Corn
- Oats
- Perennial rye grass
- Wheat
There are certainly more, but this represents a fairly broad range. It may be unrealistic for many people to expect to plant all of these vegetables in one season, but as time goes on there will always be the opportunity to plant across the range of varieties.
What’s important to remember is that if you plant a certain vegetable, make your best effort to harvest the seeds. You have to think like Noah. You only have what’s on the ark, so be fruitful and prosper. Or at least harvest your seeds.
Seed Harvesting Basics
Like anything else, there are some tricks and tips for effective vegetable seed harvesting. Some seeds are fairly easy to harvest and dry for storage while others require some special attention. We’ll get into the details in a bit.
One thing that’s critical is that any seeds be sufficiently dried before packaging. Moist seeds are subject to mold or can even germinate in the package effectively killing the seeds.
One possibility is an air drier that can be used to dry herbs, flowers and yes—seeds.

Packaging is also important and it varies depending on the seed.
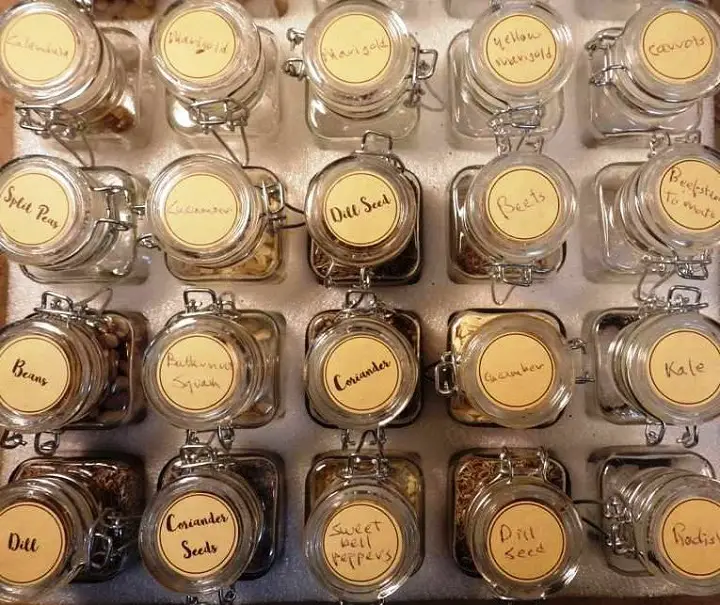
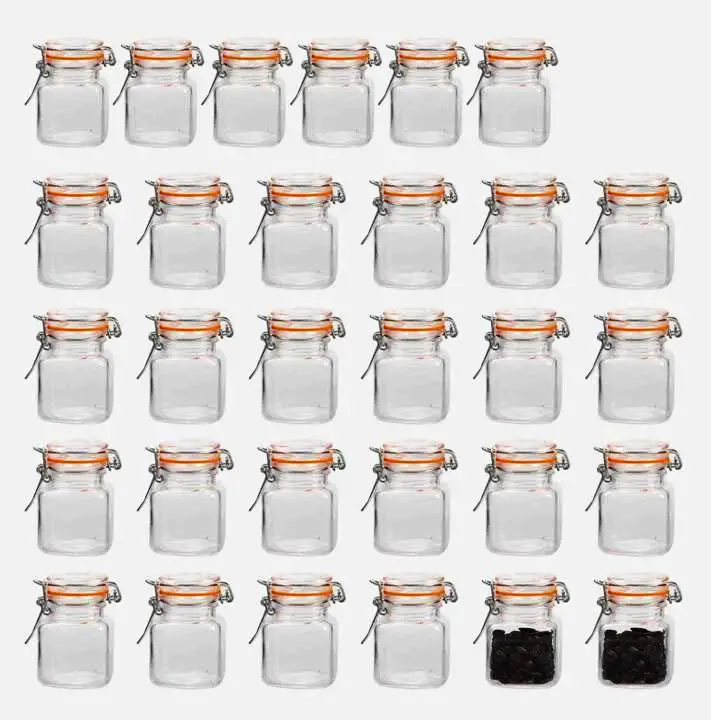
Sealed Mylar bags are an excellent choice but you can use canning jars, spice jars and in some instances paper envelopes although any paper enveloped is best if sealed in a large jar.
Storage is another critical success factor, and while you don’t need the deepfreeze of Svalbard, your seeds will do best in the proverbial cool, dry, dark place. The top shelf of your food storage pantry is a good place to consider, but even a shelf in a pantry or closet will work.
What’s critical is that it is a moisture free environment. The packaging helps if it’s water proof, but why risk it?
A Word on Planting
If you have multiple varieties of the same vegetable species, you need to take some care with planting. A good example is beefsteak tomatoes and cherry tomatoes. If you have open pollinating plants and plant both varieties next to each other, there’s the possibility that they’ll cross-pollinate. You’ll be hybridizing without realizing it.
The result could be a seed that produces very large cherry tomatoes or very small beefsteaks. Either plant them in different parts of the yard or garden or wait a year and leave one variety in their package for the season. Otherwise, you’ll get some haphazard hybrids in future generations.
In some instances, you’ll get cross pollination regardless of your efforts. Melons cross pollinate across a half mile, and even if you plant only a single variety, your neighbors melons or cucumbers may cross pollinate with yours.
Harvesting Seeds
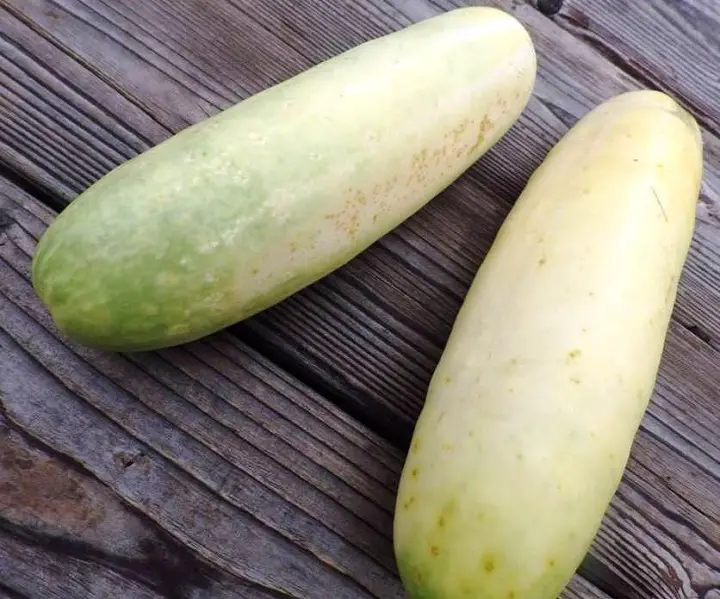
Different seeds require different approaches, but there’s one thing they all have in common. The best seeds for planting come from very mature vegetables. We usually pick a cucumber when it’s at its peak of ripeness, but if you want to harvest cucumber seeds, you should let some of those cucumbers go past their prime.
Over-ripe cucumbers will have the most mature seeds and be the best for future planting.
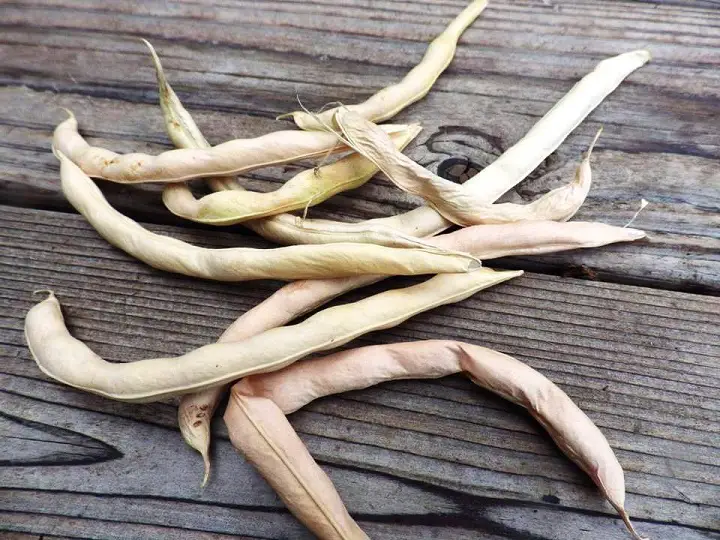
Peas and beans are another story. We usually pick peas and beans when they’re fully grown but still green and tender. The best peas and beans for seed harvesting are not only past their prime, but the seeds pods are dry and yellow on the vine.
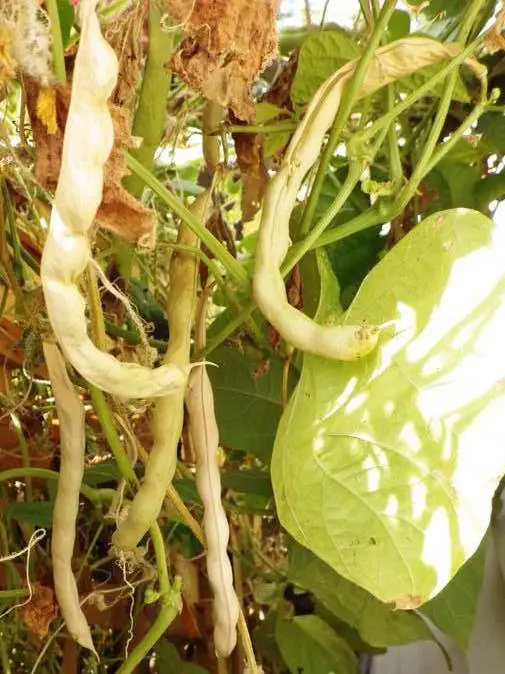
In many instances, you can simply pick the dry bean pod and harvest and package the seeds. The beans and peas inside are hard and in the case of peas, wrinkled.
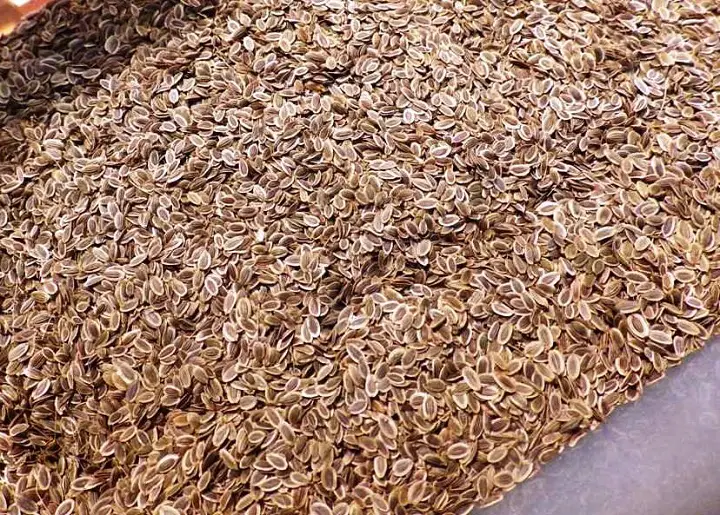
The same is true when harvesting seeds from herbs and many other plants. The flowers may be delicate and the seeds a soft green, but when the seed heads turn brown and dry, the seeds are ready for harvest.
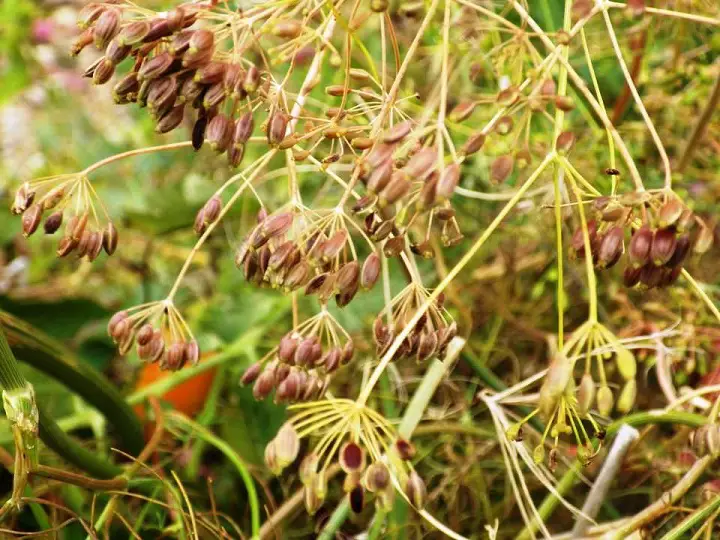
But even if the seeds appear to be dry, they should still be allowed some time to dry.
Basic Seed Drying
This approach will work for many seeds, and then we’ll cover some special steps for other seeds. Here are the basic steps using a cucumber as an example:
- Remove the seeds from the vegetable.
- Rinse them in a colander or strainer.
- Spread the seeds over a sheet of paper, parchment paper, aluminum foil, or a torn brown paper bag.
- Dry the seeds in the shade; avoid direct sunlight.
- When the seeds appear dry, remove them carefully from the paper and package.
- If they seem to resist drying, transfer them to a sealed envelope with a desiccant package for 2 weeks for further drying (this is optional).
- Remove the desiccant pack and pour the seeds into a spice jar, Mason jar, or Mylar bag. Seal the Mylar bag or put the lid on the jar.
- Write the specific variety and type of vegetable and the date, and place in storage.
- Keep an inventory on your computer or in a notebook of the seed type, variety, date packaged and a rough estimate of the number of seeds.
Complex Seed Drying
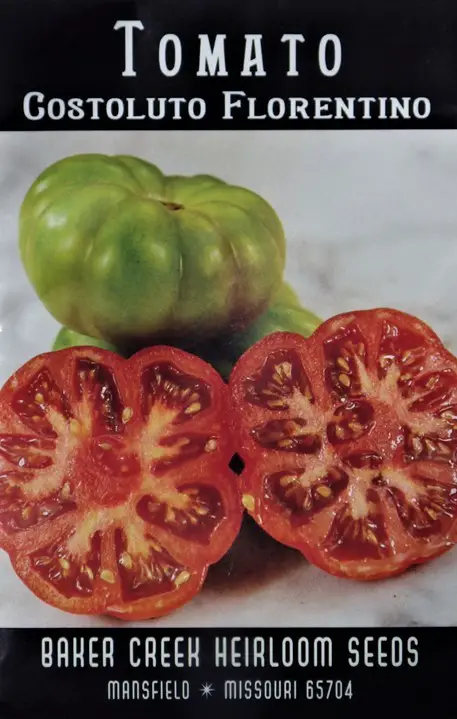
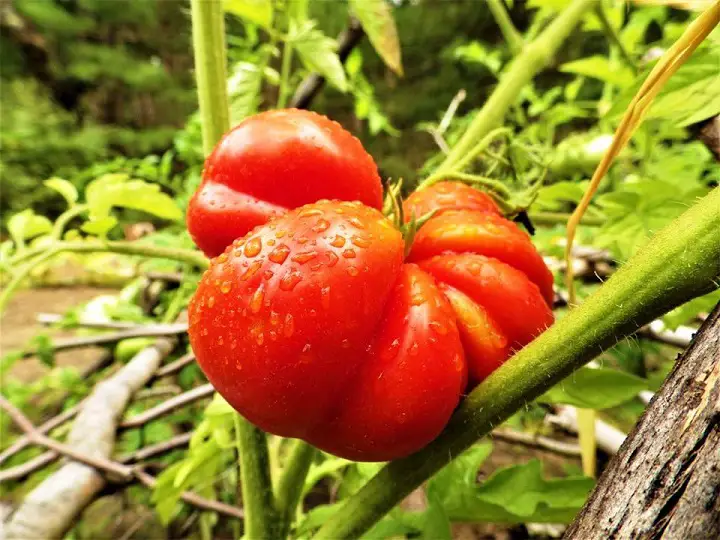
Tomatoes
Some seeds need some special attention. Tomato seeds will germinate better if they are allowed to slightly ferment to remove the gelatinous outer coating.
When you open a tomato, all that gel attached to the outer layer of each seed is actually a germination inhibitor – it prevents the seed from sprouting while still inside the fruit.
Here’s the ritual for harvesting tomato seeds.
- Cut the tomato in half horizontally.
- Scoop out all the gel and seeds into a container.
- Rinse the seeds out a bit to get off the largest of the tomato bits.
- Fill the container with water at a ratio of 1 part seeds to 3 parts water. Do not place a lid on your container, but use some cheesecloth or old pantyhose held with a rubber band to cover the top. It’s important to keep air circulating for this process. Place the container in a warm area, away from direct sunlight, where it won’t get disturbed.
- Wait. After the first few days, you’ll notice some seeds and slime accumulating on the surface of the water. These are the seed coats and infertile seeds. Take a spoon and scoop off the infertile seeds and mold, and check the seeds at the bottom. If they are free of the seed coating, move on to step six. If they aren’t done yet, replace the amount of water you scooped out and wait a few more days. Keep checking until the seed coat is gone. This can take anywhere from three to ten days depending on how humid your climate is.
- Once your seeds are free of their coat, give them a final rinse. Prepare an area where they can dry relatively undisturbed for the next week or so on paper, foil or you can use your hanging air drier. Every few days move them around a bit to avoid letting them stick to the surface.
- When your seeds are dry you will be able to feel it. If you’re in doubt, just let them sit longer or place into an envelope with a desiccant packet. The drier the better.
If that sounds like a lot of work, it is. Maybe that’s why they cost two and half bucks a package.
Peppers
- Cut the pepper in half vertically.
- Scoop out all the seeds and place them on a surface to dry covered with paper or parchment paper or in your hanging air drier.
- Place your seeds in a dry area where they won’t be knocked around, and wait. Generally days will be ample time for your seeds to dry out.
- Package or jar and store.
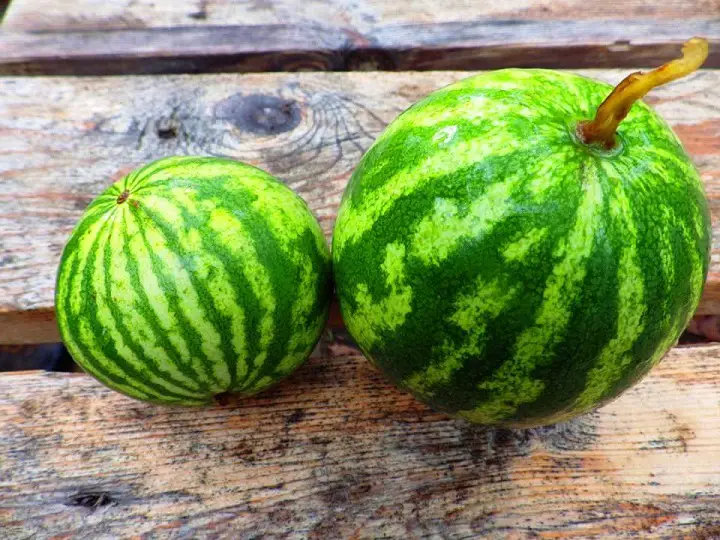
Squash and Melon
Squash and melon seeds are wet, but unlike tomato seeds, don’t need a special fermentation process in order to become ready for storage.
- Cut the mature fruit vertically in order to expose the whole seed cavity at once.
- Take a spoon and scoop out all the seeds. Place them in a sieve or colander and rinse well. You want to be sure to get off all fruit innards from your seeds to avoid having your seeds mold in storage.
- Place your seeds in a warm, dry location out of direct sunlight either on a paper plate, tin foil, wax/butcher’s paper, fine mesh, or make more room in your hanging air drier. Spread them out as much as possible so they aren’t touching each other. Let them dry for about a week and package and store.
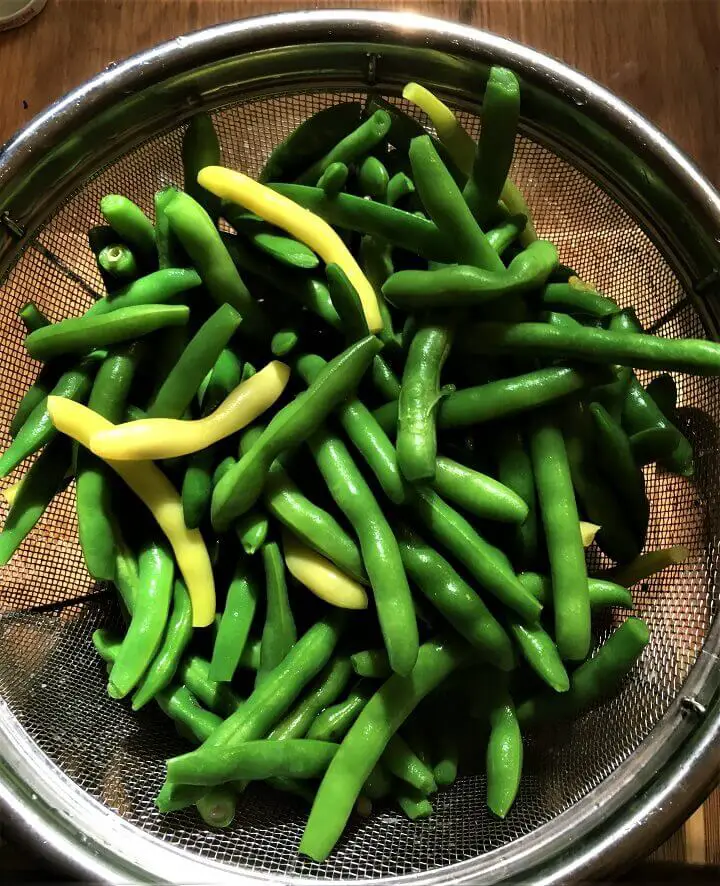
Beans and Peas
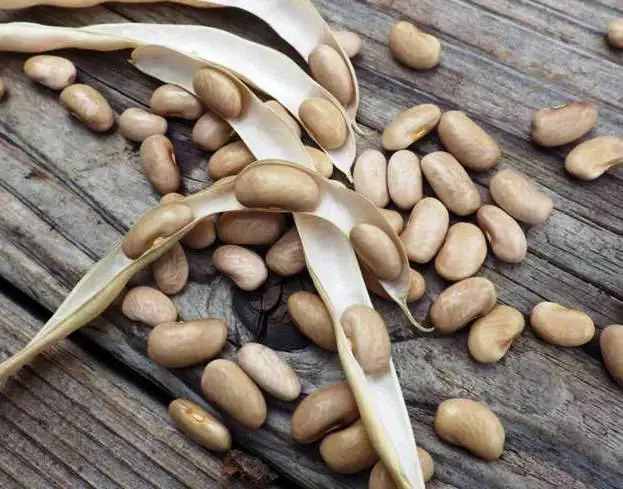
Beans and peas are easy. About six weeks after the normal green bean or fresh pea harvest, the pods will fully mature and start to turn brown. Once the pods are entirely brown, then it’s time to harvest. The pods will be completely dry to the touch.
- Open the pods and collect the seeds.
- Test the seeds by pressing your thumbnail into the seed. If it leaves an indentation they need more time to dry. Place them on your drying material of choice and let them dry until you can’t make an indentation with your fingernail.
- Package and store.
Lettuce and Other Green Leafy Vegetables
Since early-bolting is generally a thing you want to avoid, only harvest seeds from plants that are the last to bolt. This will pass down the genetic traits that will produce slower-bolting lettuce and other green leafy vegetables after a few generations.
The flower stalk that emerges will start to produce tiny flowers, and pollinators like hoverflies and bees will swarm them. When the flowers are pollinated (which is mostly done by the plant itself before the pollinators even reach them), they will close up, and then produce tufts – similar to what dandelions do when they are ready to scatter their seeds.
Lettuce and other leafy green seeds don’t ripen all at once, so for about 2-4 weeks it’s a good idea to bring out your bucket or paper bag and check daily. If there are any that are ready to go, simply bend the stalk over your receptacle, and shake the plant, being careful not to break the stalk.
The seeds that are ready to be harvested will fall out of the flower stalk. Repeat until you have enough seeds for your liking.
After you’ve harvested the fresh seed, allow them to sit out on paper in a dry, cool area for approximately a week so all the moisture evaporates from the seed before you package and store.
Thoughts on Packaging
If your goal is long-term seed storage, sealed Mylar bags are the best bet.
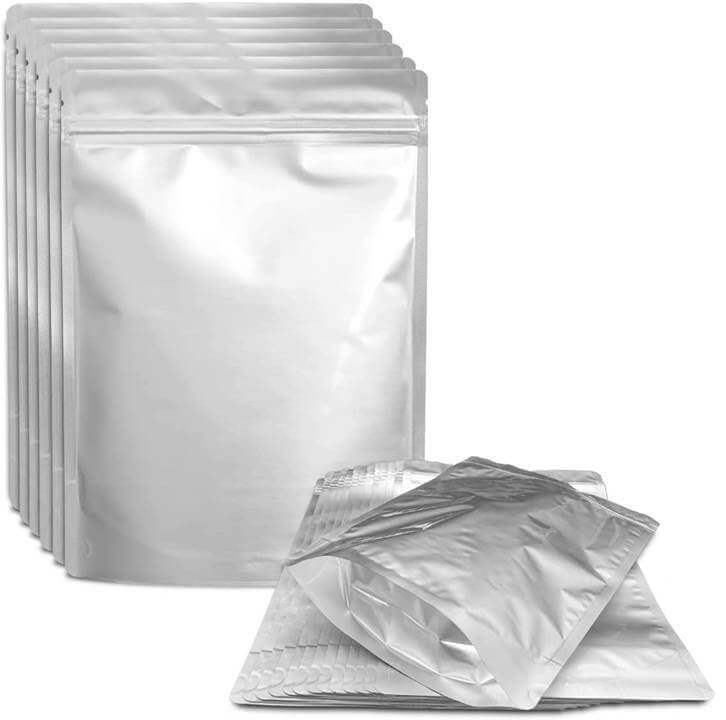
Don’t vacuum seal them. Vacuum sealing can harm the seeds.
Spice jars are another possibility, but try to get the jars with a rubber gasket to keep them moisture free.
Traditional canning jars also work, especially if you have a large harvest of beans, peas, or other seeds.
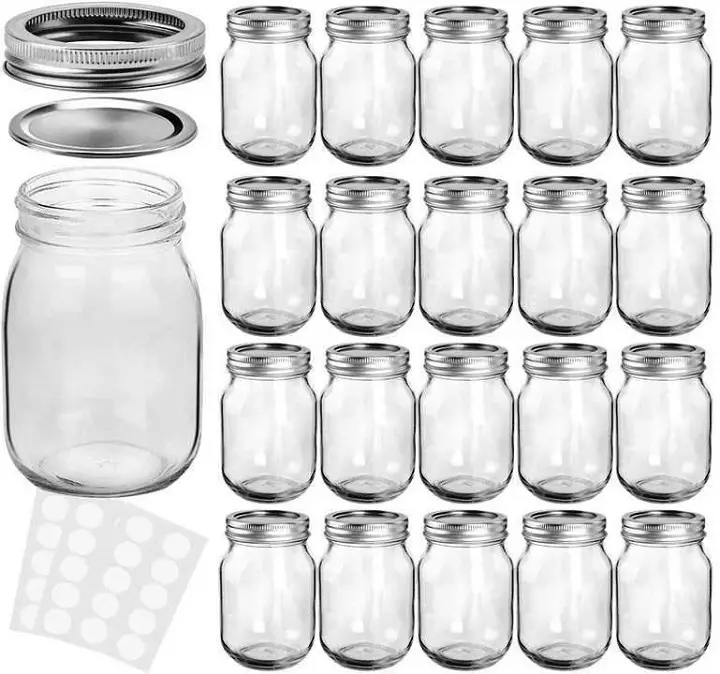
You can also take a very basic approach by simply putting seed packets into a large canning jar.
You’ll often find packets of seeds on sale in February and March at the dollar store or home centers. Sometimes they’re as little as 4 for a dollar. These are last year’s seeds and some people worry they won’t germinate as well, but for 25¢ a package it’s worth a try, and you’ll have at least a 50% germination rate or more.
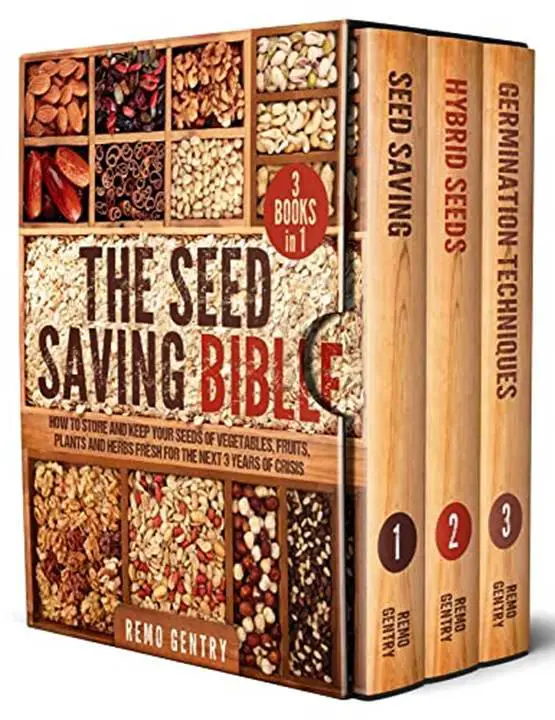
Going By the Book
Or just go buy it. This collection of books covers every possible vegetable you can encounter and offers some great advice about saving and storing seeds.
There are also some excellent YouTube videos and even national and global seed banks that might send you seeds for free from their vaults. Here are the organizations and links:
Private Seed Banks
Seed banks were created for the sole purpose of saving heirloom and open pollinated vegetable and ornamental seed varieties. Frequently, these are run by individuals, non-profits, libraries, and government agencies within a region or country. Many of these have a system set in place for sharing seeds that they have in stock, either locally or via mail.
- National Plant Germplasm System – United States
- Seed and Plant Sanctuary For Canada – from Salt Spring Island, BC, Canada
- West County Community Seed Bank – Sonoma County, California, USA
- Seed Library of Los Angeles (seed library and bank) – Los Angeles, California, USA
- Dan McMurray Community Seed Bank – Creston, BC, Canada
- The Millennium Seed Bank – United Kingdom
- LifeCycles Seed Library – Victoria, BC, Canada
- Red Deer Community Seed Bank – Red Deer, AB, Canada
- Richmond Community Seed Library – Richmond, BC, Canada
- Toronto Seed Library – Toronto, ON, Canada
A Seed Bank Makes Sense for Everyone
Whether your garden stretches across acres or occupies 5-gallon buckets on an apartment patio, it makes sense to harvest, collect, and store seeds. They take up little space, are highly portable, and can easily last for years if packaged and stored properly.
Better yet, they can provide all the nutrition you and your family need when times are tough and every resource is stretched thin.
Like this post? Don't Forget to Pin It On Pinterest!