Estimated reading time: 13 minutes
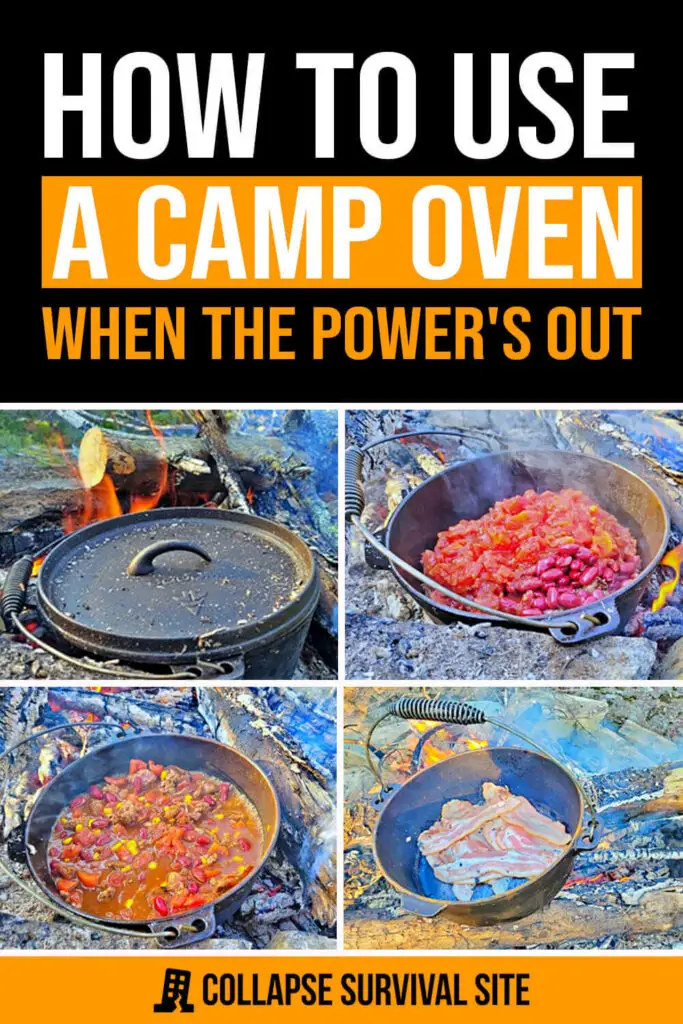
A Dutch Oven or camp oven can be a culinary lifesaver during a power outage. These versatile cooking vessels are not just for camping trips; they also offer an alternative way to prepare meals when your regular appliances are unavailable.
From baking bread to simmering stews, these ovens can handle it all with a little practice. This article will guide you through the basics of using a dutch or camp oven without electricity.
Dutch Oven vs. Camp Oven: Understanding the Differences
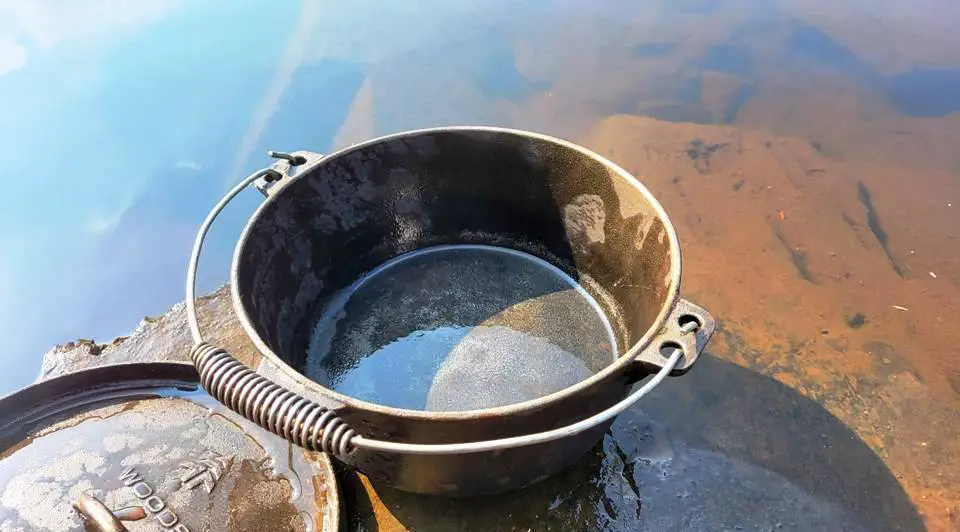
While both Dutch Ovens and camp ovens are great for outdoor cooking, there are a few differences to consider. Generally, a Dutch Oven is a thick-walled cooking pot with a tight-fitting lid, often made of cast iron. It's versatile and can be used both on a stove and in an oven.
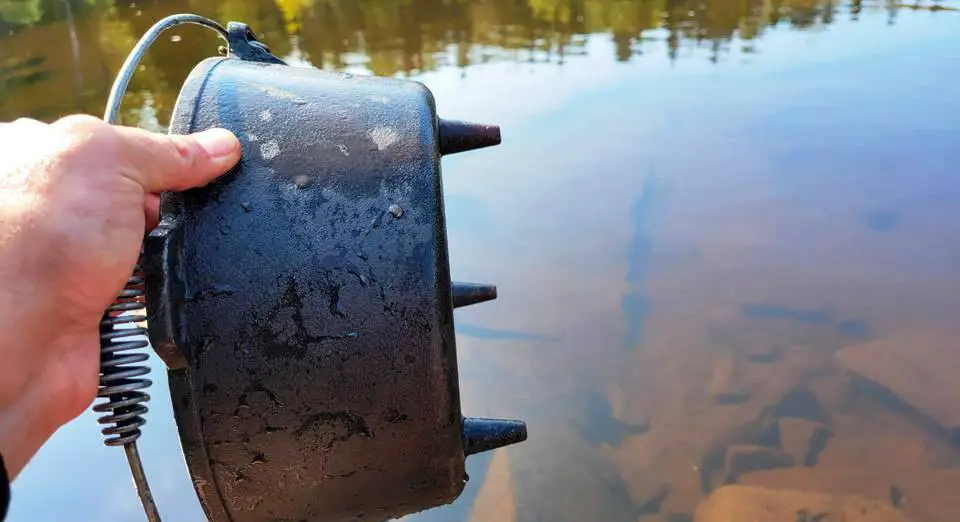
On the other hand, a camp oven, also known as a “campfire oven,” is designed specifically for outdoor use, usually over an open fire. It usually features legs for stability over coals.
Want to save this post for later? Click Here to Pin It On Pinterest!
Here are the main ways you can tell them apart:
- Look for legs. Camp ovens usually have legs to stand over coals, while Dutch ovens do not.
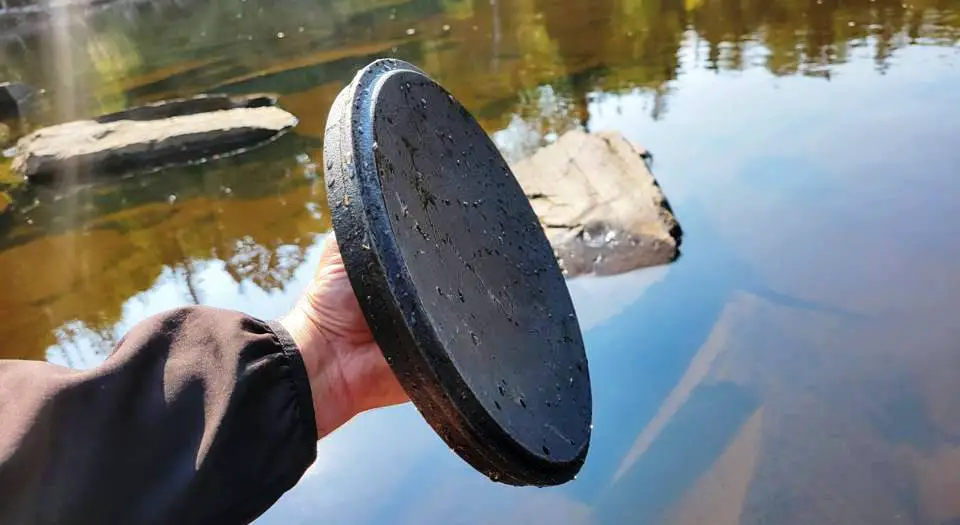
- Check if the lid on the oven can also serve as a skillet. This is a common feature of camp ovens.
- Consider the weight and thickness of the walls. Dutch ovens typically have thicker walls and are heavier.
- Examine the material of the oven. If it's made mostly of cast iron, it's likely a Dutch oven.
- Think about where you intend to use it. If it's outdoors over an open fire, then it's likely a camp oven. However, if it can be used on a stove or in an indoor oven, it's probably a Dutch oven.
In terms of portability, the camp oven is more suitable due to its specific design for outdoor settings. However, the Dutch Oven's versatility gives it an edge in terms of functionality, as it can be used virtually anywhere.
Both offer similar cooking and baking capabilities, but if you had to choose one, consider your needs. For strictly outdoor cooking, a camp oven might be more convenient, but for versatility in various settings, a Dutch Oven may be the better choice.
Choosing the Right Material and Size for Your Oven
Dutch Ovens and camp ovens are typically made from either cast iron or enameled cast iron. Cast iron is the classic choice, known for its excellent heat retention and even heating. They're perfect for slow-cooking dishes and baking bread. However, they require consistent seasoning and careful cleaning to prevent rust.
Enameled cast iron, on the other hand, features a vitreous enamel glaze which eliminates the need for seasoning. They're also easy to clean and come in a variety of vibrant colors. However, they can be more expensive than their non enameled counterparts and are not as suited for outdoor cooking due to the risk of the enamel chipping.
When it comes to size and capacity, consider your cooking needs. For solo campers or small families, a Dutch Oven or camp oven of 2-4 quarts should suffice. But for larger groups or those who love leftovers, consider a size of 6 quarts or larger.
Look for Dutch Ovens or camp ovens with sturdy handles for safe and easy transport. Many models also come with a thermometer notch for precise temperature control. Another useful feature is a flanged lid—this allows you to place coals atop the oven, enabling heat from all sides for even cooking.
Cleaning and Seasoning a Cast Iron Dutch or Camp Oven
The process of seasoning a cast iron Dutch or camp oven is crucial for several reasons. It not only creates a natural, non-stick cooking surface but also prevents the oven from rusting. Moreover, a well-seasoned cast iron oven enhances the flavors of your food.
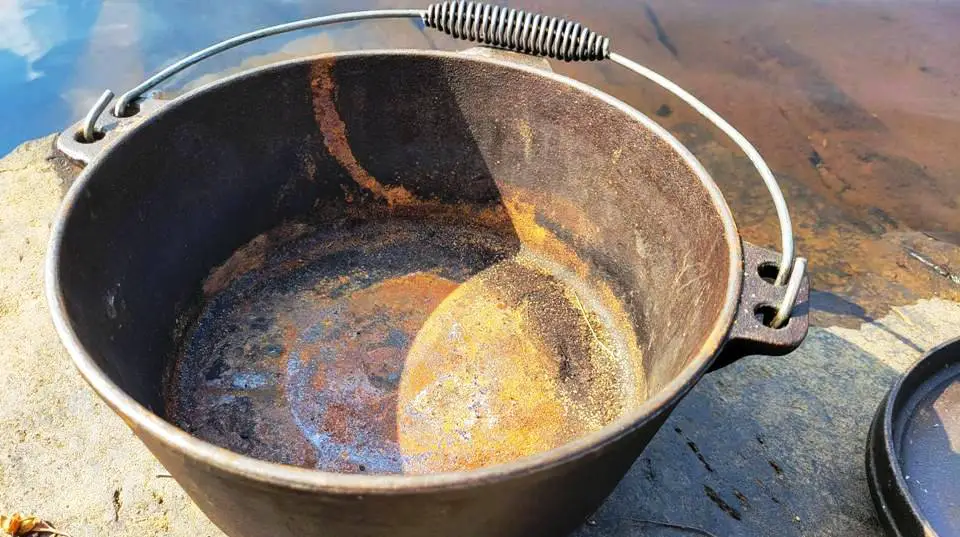
Cleaning your oven after each use ensures its longevity and performance. Here are some tips on how to clean a cast iron oven:
1. Remove food residue or rust: Before and after cooking, remove any food residues and use using a spatula or steel wool
2. Clean with Water: Rinse the oven with water while it's still warm. Avoid using soap or harsh chemicals which can strip away the seasoning. Use some sand, coarse salt, or steel wool if you need some abrasive help.
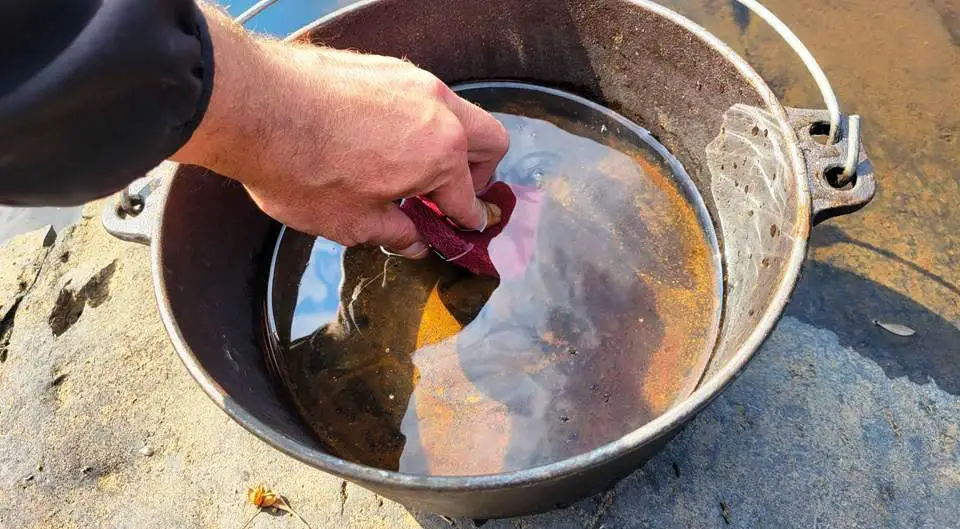
3. Dry Completely: Dry the oven thoroughly after cleaning to prevent rust. You can place it over low heat to evaporate any remaining moisture.
The golden rule of cast iron care is to never leave it wet. Always dry your oven thoroughly and give it a quick oil rub before storing. This simple routine will keep your cast iron Dutch or camp oven in optimal condition, ready for your next culinary adventure.
Seasoning cast iron refers to the process of applying a layer of oil to the surface of the cookware and heating it until it forms a hard, protective coating, which acts as a non-stick surface and prevents rusting.
Here are some simple steps to season your oven:
- Clean the Oven: Begin by washing your oven with warm, soapy water. This is the only time you should use soap on your cast iron oven. Rinse and dry thoroughly.
- Apply Oil: Next, apply a thin layer of a neutral, high-smoke point oil like grapeseed oil or olive oil over the entire surface, inside and out. Don't forget the lid!
- Bake the Oven: Place the oven upside down in a regular kitchen oven set to 375 degrees Fahrenheit (190 degrees Celsius). Bake for about an hour. Once completed turn the oven off and let the cast iron cool while still in the oven.
If you have access to an open flame or if it's a particularly hot, sunny summer day, you can season your cast iron Dutch or camp oven outdoors. Here's how:
Seasoning Over An Open Fire
Start a fire using hardwood which will produce less soot than softwood. Place a grill grate over the fire and put your cast iron oven on top. Apply a thin layer of oil, similar to the indoor seasoning process.
Allow the oven to heat slowly over the fire. Avoid direct flames and instead focus on using the heat from the hot coals.
Once it's hot enough, the oil will start to smoke, indicating that it's bonding with the metal to form a protective layer. Let it cool slowly, and repeat this process a few times in a well-seasoned oven.
Seasoning on a Sunny Day
This method relies on the natural heat from the sun. Just like the other methods, clean your oven and apply a thin layer of oil. Place the oven in a spot where it will receive direct sunlight for the majority of the day.
You'll need temperatures to be above 100 degrees Fahrenheit (37.8 degrees Celsius) for this method to be effective. Let the oven sit in the sun and heat for several hours. The heat will help the oil to polymerize and create a non-stick layer. Remember to flip the oven every once in a while to get even seasoning.
The key to a well-seasoned oven is multiple light layers of oil, rather than one thick one. So don't be afraid to repeat these steps until you get the perfect patina.
Cooking Methods for Dutch Ovens and Camp Ovens
Dutch ovens and camp ovens are renowned for their superb heat retention properties, which stem from their heavy-duty cast iron construction. This excellent heat retention not only ensures a consistent cooking temperature but also allows for longer cooking periods without the need for constant reheating, making these ovens ideal for slow-cooked dishes and baking.
Propane
One preferred way to cook in a cast iron oven during a power outage is by using a propane stove. It provides a steady heat source and is easy to regulate. When cooking with propane, ensure good ventilation to prevent the build-up of harmful gases. Always keep a fire extinguisher nearby.
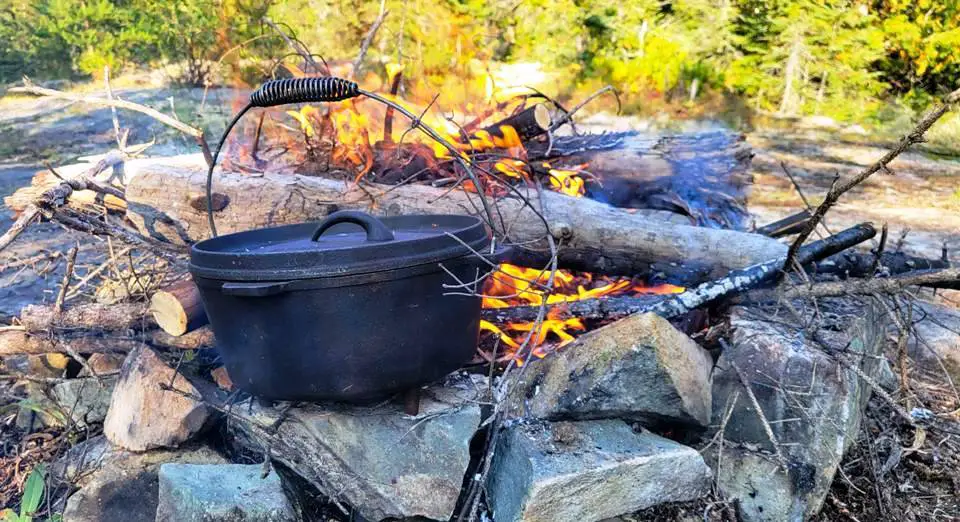
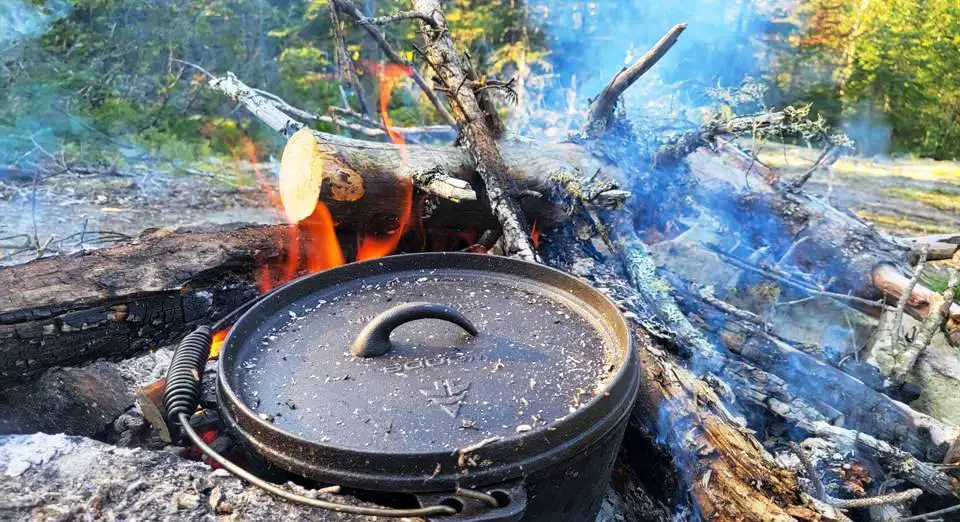
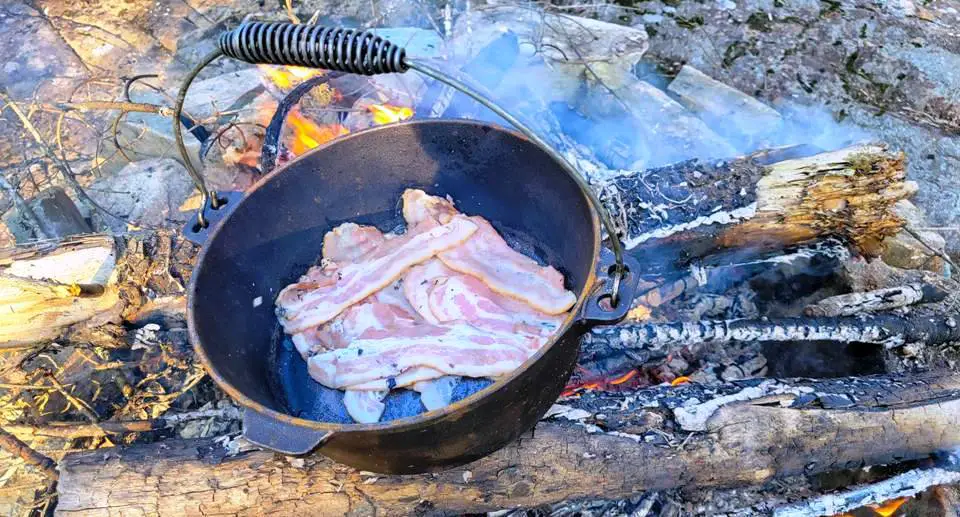
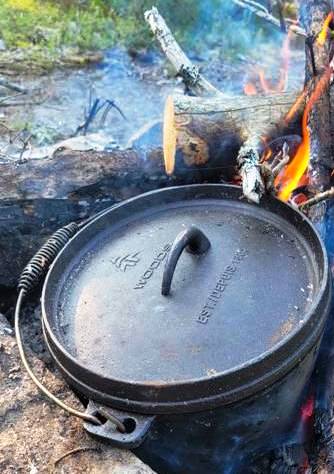
Fire
Cooking over an open fire allows for both direct and indirect heat methods, perfect for your cast iron oven. Hot coals can be piled on the lid of a camp oven surrounding it with heat. Be cautious of unstable flames and popping embers. Keep water or dirt nearby to douse any unwanted flames.
Butane
Butane stoves are compact and portable, which makes them ideal for use during a power outage. Butane burns clean and doesn't leave a residue on your oven. However, butane is highly flammable, so store it safely away from the cooking area and keep it out of reach of children.
Propane and butane stoves provide steady and relatively easily controlled heat but require a well-ventilated space and proper storage of fuel. On the other hand, cooking over an open fire offers an authentic camping experience, albeit with a little more unpredictability. This method calls for constant monitoring to adjust the heat and to ensure safety.
Delicious Recipes to Try in a Dutch Oven or Camp Oven
A Dutch Oven or camp oven is a versatile cooking tool that opens up a world of possibilities for tasty, comforting meals, even during a power outage.
Here are some recipes you can try that don't require electricity to whip up:
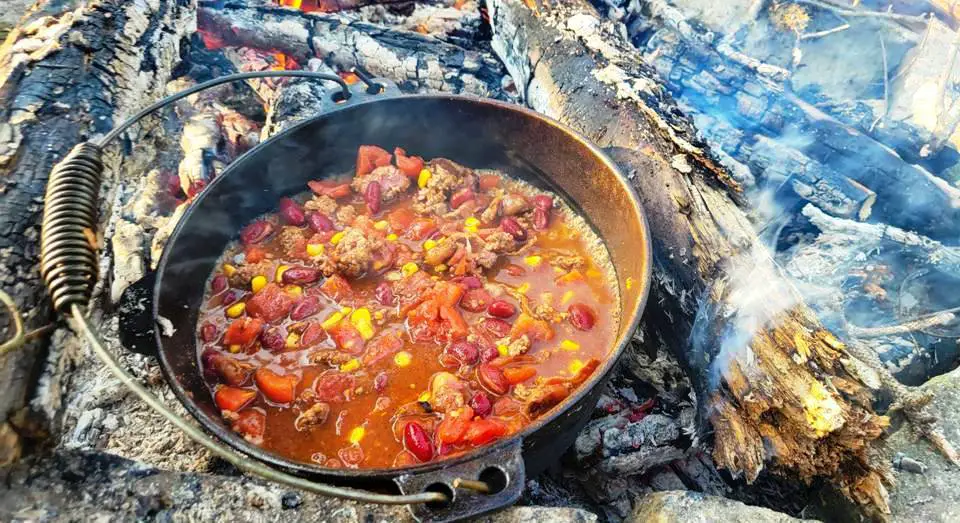
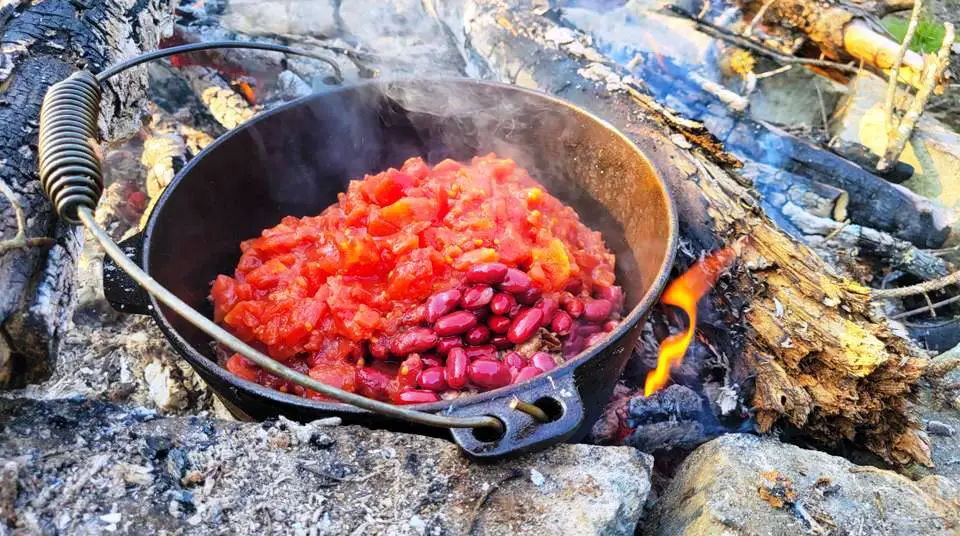
Easy Chili
- Brown 1lb ground beef, then remove and drain.
- Saute 1 chopped onion and 2 minced garlic cloves until translucent.
- Add the beef back in, along with 1 can of diced tomatoes, 1 can of kidney beans, 2 tablespoons of chili powder, and salt to taste.
- Simmer for 30 minutes.
Easy Dutch Oven Bread
- Mix 4 cups of flour, 2 teaspoons of salt, 2 teaspoons of sugar, and 1/2 teaspoon of yeast.
- Slowly add 2 cups of warm water, mixing until a shaggy dough forms.
- Cover and let rise for 8-24 hours.
- Heat the Dutch oven, then add the dough. Bake covered at 450°F (or when it's too hot for you to hold your hand over it) for 30 minutes. Check it after 20 minutes to make sure it's not burning. You'll know it's done when it is golden brown all the way around and has a nice crispy shell.
Easy Soup
- Saute 1 chopped onion, 2 chopped carrots, and 3 minced garlic cloves until soft.
- Add 4 cups of chicken broth, 1 cup of chopped chicken, and 1/2 cup of pasta.
- Simmer until the pasta is cooked.
These recipes demonstrate the versatility of the Dutch oven, allowing you to cook a wide variety of dishes using simple ingredients and methods, even during power outages.
Tips for Successful Dutch Oven Cooking
Control Temperatures
Learning to control the temperature of your Dutch oven is key. For low heat, keep a few coals on the lid and beneath the oven. For medium heat, spread an even layer of coals underneath and on top. For high heat, pile extra coals on top and below.
Layering Ingredients
Start with the ingredients that take the longest to cook at the bottom of the pot, like meats and root vegetables. Softer vegetables and spices can be added later to prevent overcooking.
Adjust Cooking Times
Remember, Dutch and camp ovens hold heat very well. If a recipe says to cook for an hour, check it at 45 minutes to prevent burning.
Pre-Heat the Oven
Just like a regular oven, pre-heating your Dutch or camp oven can help ensure even cooking. This can be done by placing it over the fire or coals for a few minutes.
Rotating the Dutch Oven
For even cooking, try rotating your Dutch or camp oven every 15 minutes or so. This helps to evenly distribute the heat and prevent hot spots.
Avoid Boiling Water in Regular Cast Iron
It's important to note that boiling water in a regular cast iron Dutch or camp oven is not recommended. The prolonged exposure to water can lead to rusting and damage to the seasoning.
If your Dutch oven has an enamel coating, boiling water is perfectly fine. The enamel provides a protective layer that prevents any reaction with the cast iron.
Dutch and camp ovens are exceptionally forgiving cooking implements so don't be afraid to experiment with different recipes, temperatures, and cooking times.
Conclusion
Dutch or camp ovens are versatile and robust cooking tools perfect for any scenario, including power outages. Their ability to retain and evenly distribute heat allows for flexible cooking times and a broad range of dishes.
Despite their minor differences, both types of ovens are designed for success in outdoor cooking. Every kitchen should have one as it will serve your family for generations.
Like this post? Don't Forget to Pin It On Pinterest!