Estimated reading time: 14 minutes
In the early days of the Covid shutdown, a storm ripped through my sleepy, rural town, knocking down trees and power lines and wreaking havoc throughout the town. The high winds knocked down an old heavy oak tree, and it fell across my power lines, knocking them down and starting a fire in my garden.
Due to the widespread disaster, the firetruck took 45 minutes to arrive. The fire burned itself out, but we were stuck inside due to the live wires with no power, no running water, no heat, and no way to leave. It was a week before our power was restored.
I learned in a hurry how to cook some basic foods on my cast iron woodstove without electricity. First, some oatmeal, then some scrambled eggs, and finally some rolls. Eventually, I learned to bake bread.
Want to save this post for later? Click Here to Pin It On Pinterest!
How to Cook Bread Without Electricity
There are plenty of ways to make bread without electricity. Ideally, you’ll learn how to do it well before a catastrophe happens so you won’t have to stress about feeding your family.
There’s a little bit of an art and a science to it, and you may want to experiment with a few different methods to find the one you like best. I find that it’s an enjoyable project to do with my kids – when it isn’t an emergency, that is. Here are a few different methods of baking bread without electricity that you can try.
Stick Bread
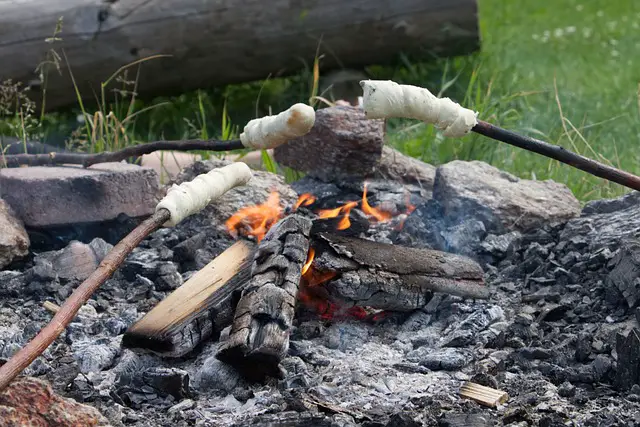
Stick bread is bread that is cooked over a campfire on sticks, just like you might cook hotdogs. First, you make your dough, then shape pieces of the dough into the size and shape of hotdogs. If you don’t have hotdog sticks to cook with, you can whittle down a green stick from a non-poisonous tree. Heat the stick in your campfire to sterilize it, then slide your dough onto the stick and grill it over the fire.
Grilled Bread
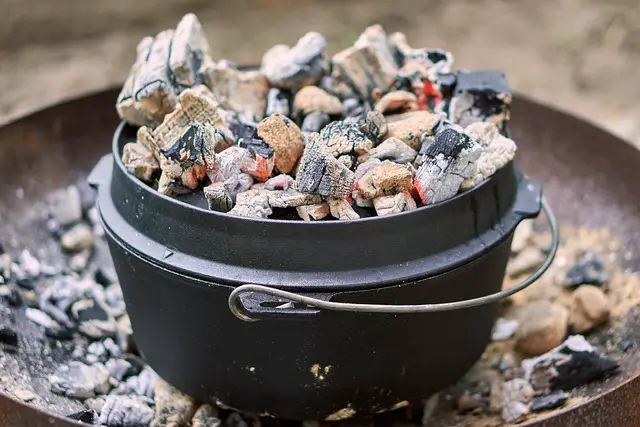
If you are in a location where you can’t have an open fire like a campfire, you can bake bread on a grill. It’s a simple process. First, make your dough. Then, place your dough in a cast iron Dutch oven. Put the Dutch oven on your preheated grill and bake. You may need to practice a bit to get the timing down just right. Make sure your flames aren’t too high so you don’t burn the bottom of the bread.
Hobo Bread
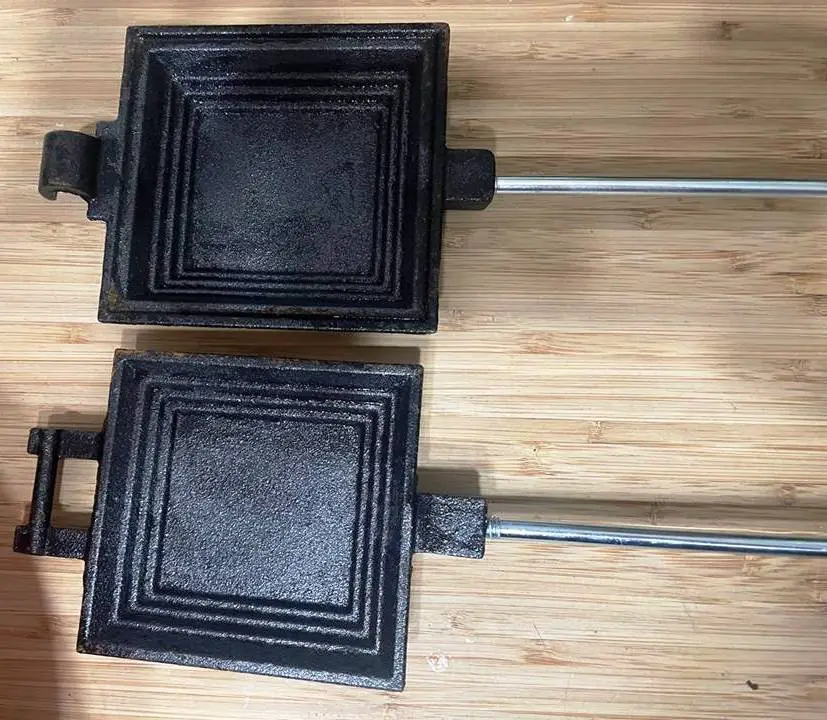
Like stick bread, you can bake bread slices in a hobo grill. Sometimes called a campfire grill or a campfire sandwich maker, it’s essentially a cast iron panini maker on a stick. Place a small piece of dough inside the sandwich maker and close it up. Hold it over your fire or hot coals until the bread inside is thoroughly cooked.
Campfire Cooking
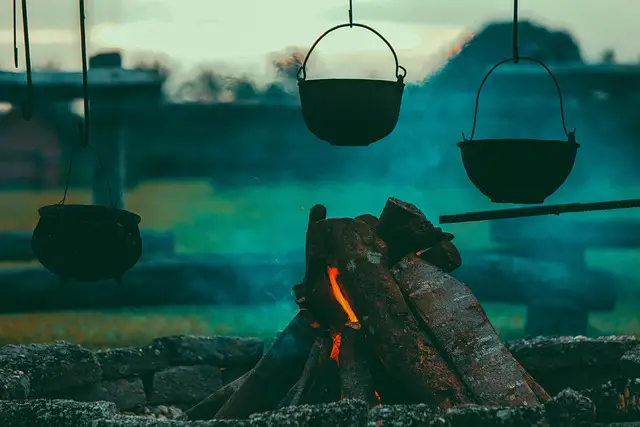
If you’re going to bake bread on a campfire, you can do this in a couple of ways. One of the most effective ways to bake bread over your campfire is to put it directly into a Dutch oven and hang your oven over top of the campfire from a hook or tripod made for this purpose.
This keeps your bread at a more consistent baking temperature and prevents the bottom from being burned. Alternatively, you could set a cast iron Dutch oven directly into the hot coals as your fire winds down, but you do run the risk of burning the bread on the bottom.
Camp Stove
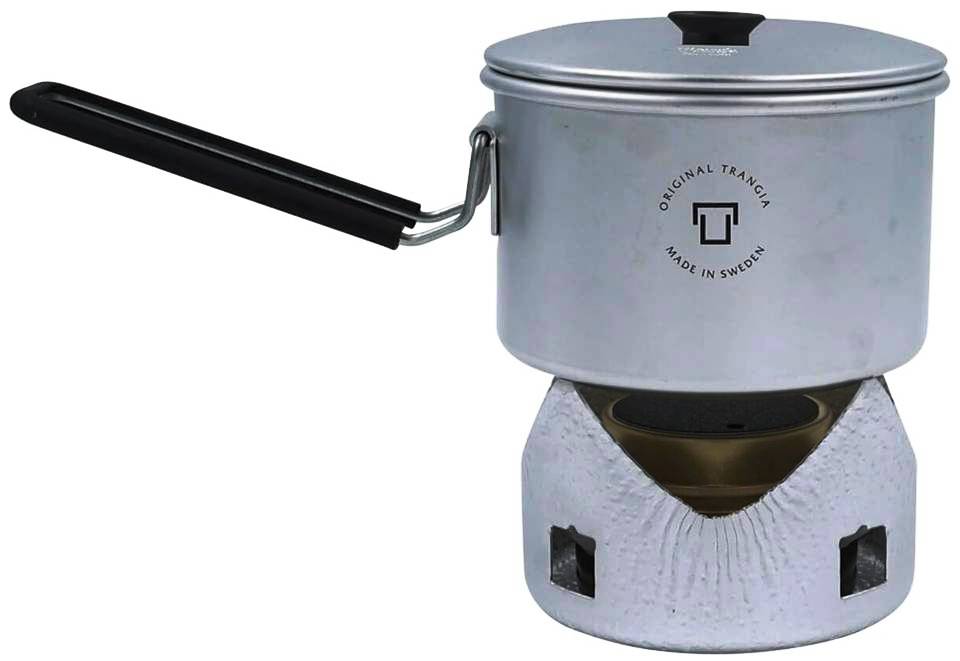
You can steam-bake bread on a camp stove. While a Trangia is my favorite style of camp stove, you can use any type, including a Jet Boil or rocket stove.
Put your bread dough in a small container. In a larger container, but something in the bottom – such as the metal ring off of a mason jar or a couple of clean rocks .Put a little water in the bottom, as well. Then add your small container of dough on top of the rings and then put the lid on.
Turn on your camp stove and allow the water to boil, which will steam bake your bread. You can also make muffins, cake, and other delicious foods this way!
Wood Stove Baking
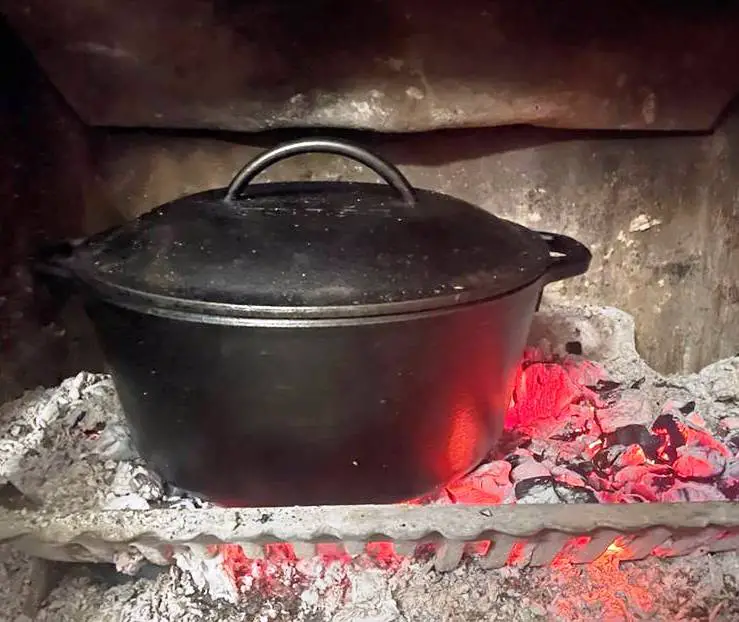
For me, the easiest method is to place my bread dough in a Dutch oven and put it directly on top of the wood stove. I used an oven thermometer on top of the woodstove and a meat thermometer inside the Dutch oven to try to keep the temperature consistent.
I found that, at first, the Dutch oven and the top of the woodstove were roughly the same temperature. But when the woodstove got a little hotter, the Dutch oven retained the heat even after the woodstove cooled. Here’s how I made fresh bread on my wood stove.
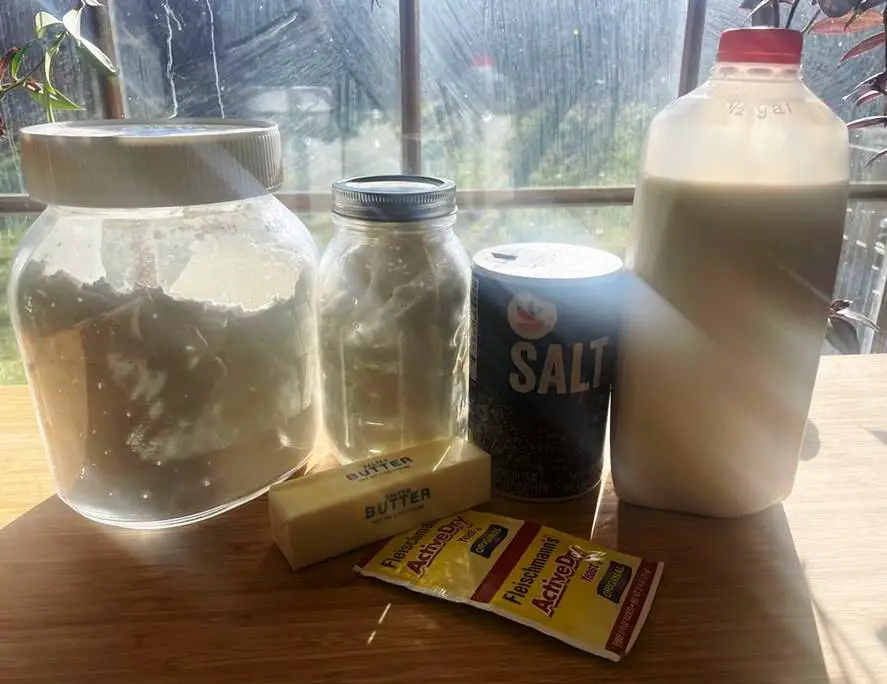
Ingredients:
- 5 ½ cups flour
- 3 teaspoons active dry yeast
- 4 tablespoons of sugar
- 2 cups warm milk (water is fine, too)
- 1 ½ teaspoon salt
- ¼ cup melted butter
Directions:
- Make sure you have a steady, hot fire in your woodstove.
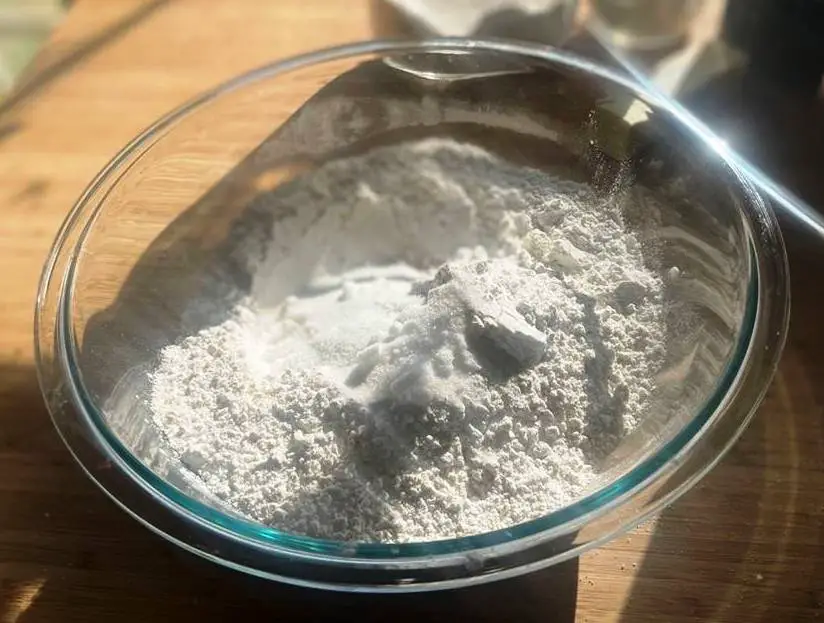
- Make your dough. First, I combined the flour, yeast, sugar, and warm milk in a bowl and mixed it up well. Next, I added in the salt and melted butter. You should end up with a sticky dough. If it’s too slippery, add a bit more flour. If it’s too dry, add a tablespoon of warm water.
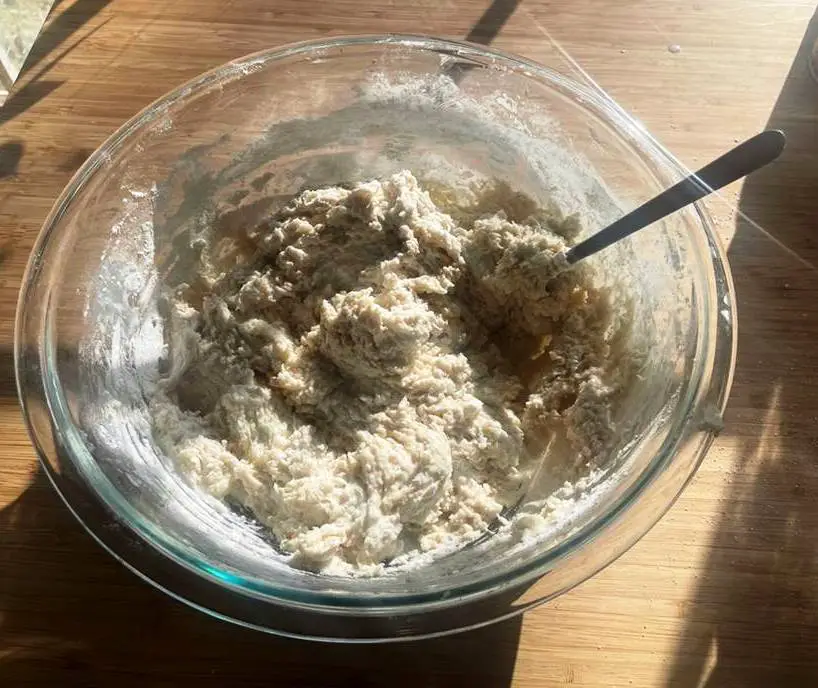
- Knead in the bowl for about five minutes by hand.
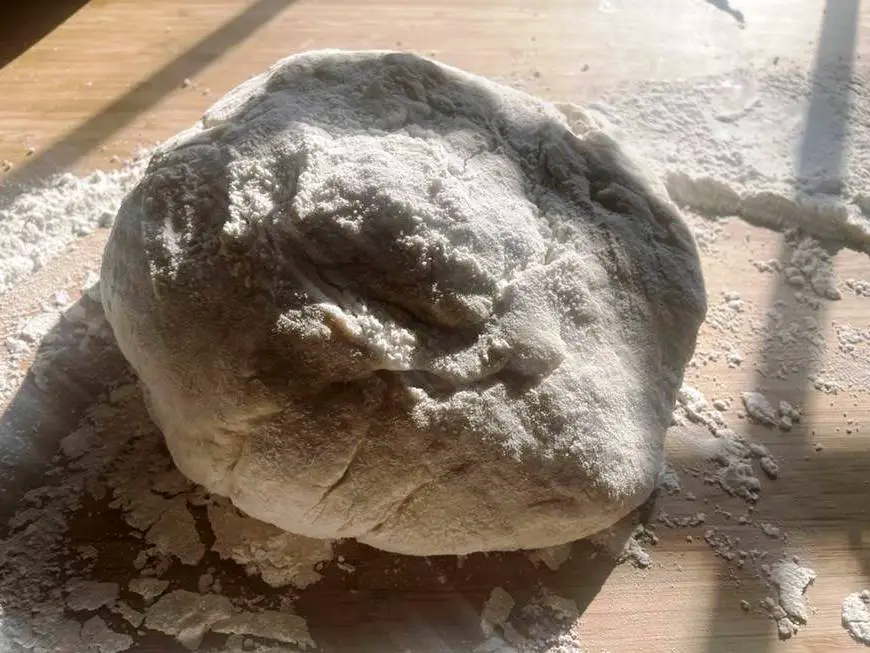
- Flour a work surface and knead the bread a few more times until you can make a nice round ball.
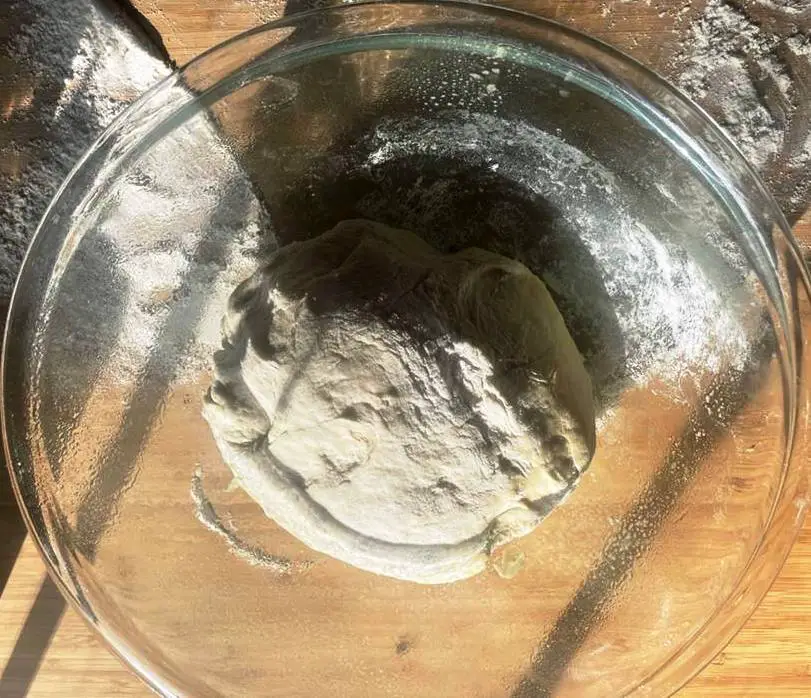
- Coat a large bowl with oil and place the ball of dough in it, moving it around to get the ball covered in oil.
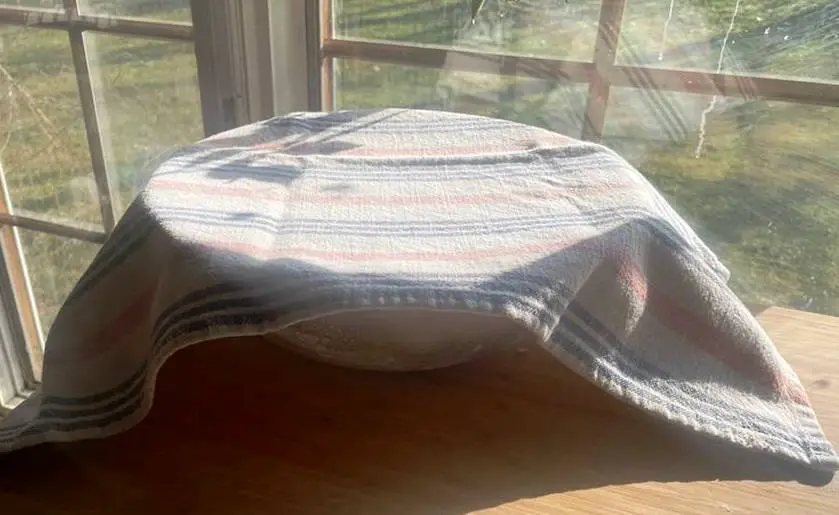
- Cover and let the dough rise for about an hour and a half. (You can shorten this to half an hour if you use instant yeast instead of active yeast.)
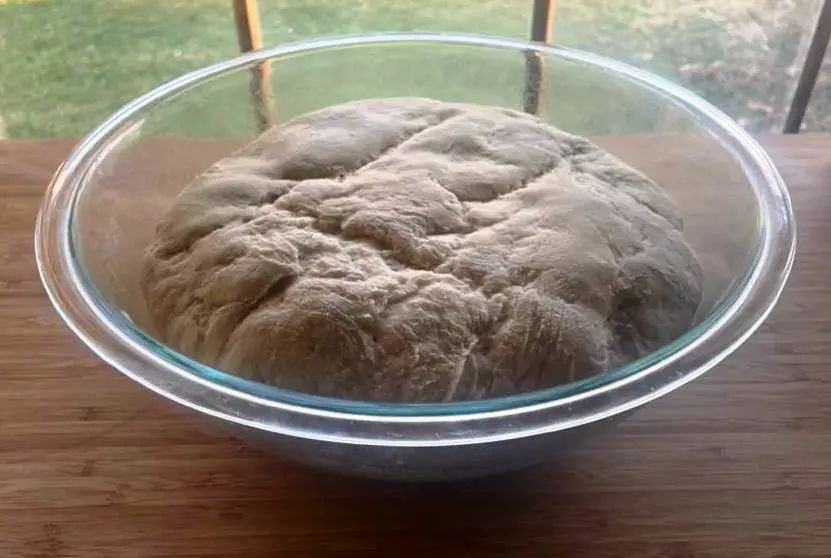
- After your dough has doubled in size, you can separate it into two halves or however many loaves you want to make. Let it rest for about 20 minutes. You can cover and put extra loaves in the refrigerator (if you have electricity) or a cooler, if needed, to save for later. You can use a knife to create some slits on the top of the bread to prevent the crust from tearing while it bakes. I skipped this step to create a more rustic-looking bread loaf.
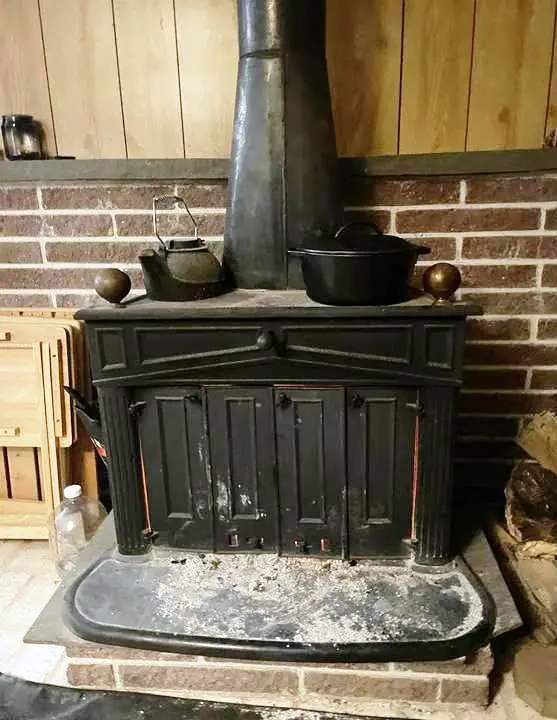
- Place your Dutch oven on the top of your woodstove to preheat. Put a little oil or butter in the bottom so your loaf doesn’t stick.
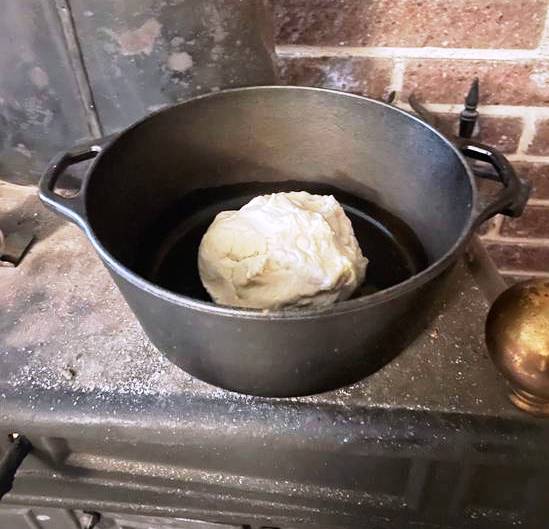
- Once your Dutch oven reaches the same temperature as the top of the wood stove, you can add your dough to the Dutch oven. Try to keep the temperature consistent. The lower the temperature, the longer it will take to bake. I tried to keep my Dutch oven around 230 degrees, although this will depend on your wood stove and how hot you can safely make it.
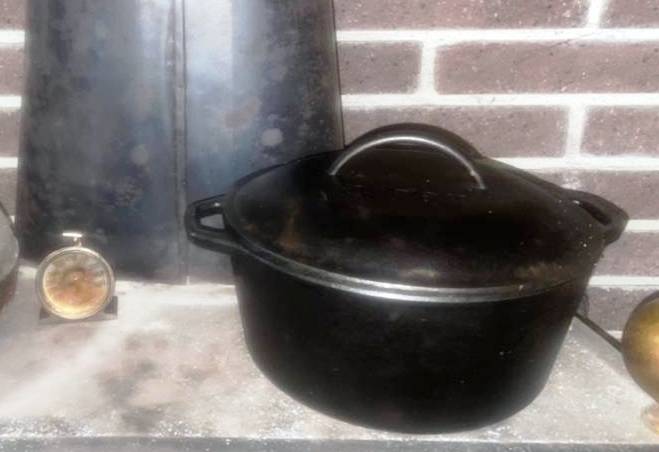
- Allow it to bake for as long as it needed. For this to work, I had to keep the woodstove hotter than I usually burn it and add more wood more often than usual. The more even you can keep the temperature, the better. It’s a little bit tricky to know when your bread is done cooking, but ideally it should reach an internal temperature of 200 degrees Fahrenheit.
The more you open the Dutch oven, the less effectively it cooks. But if you don’t check on it, you risk overcooking it. Also, be careful when opening your Dutch oven because steam from the dough cooking will build up inside. Always open the lid away from your before peeking at your bread.
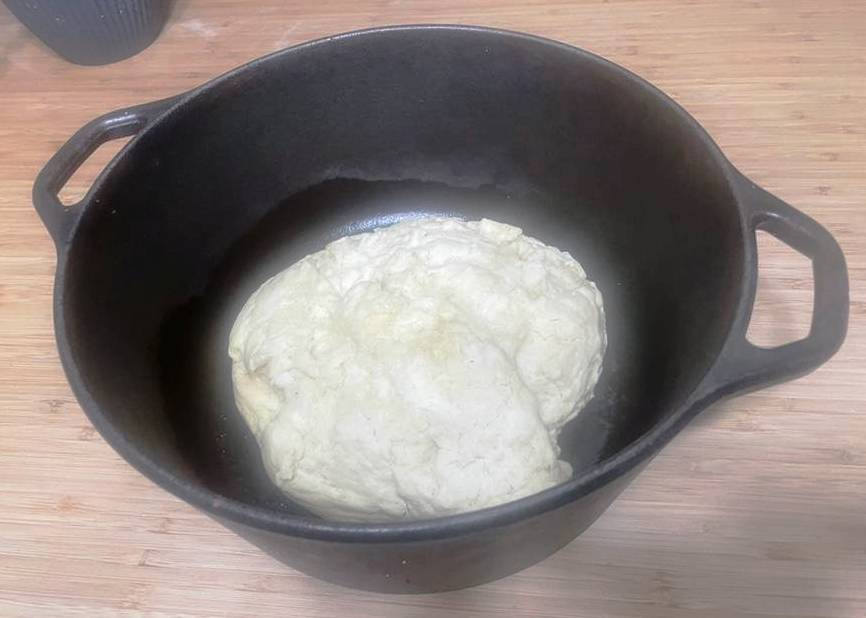
- Remove from heat.
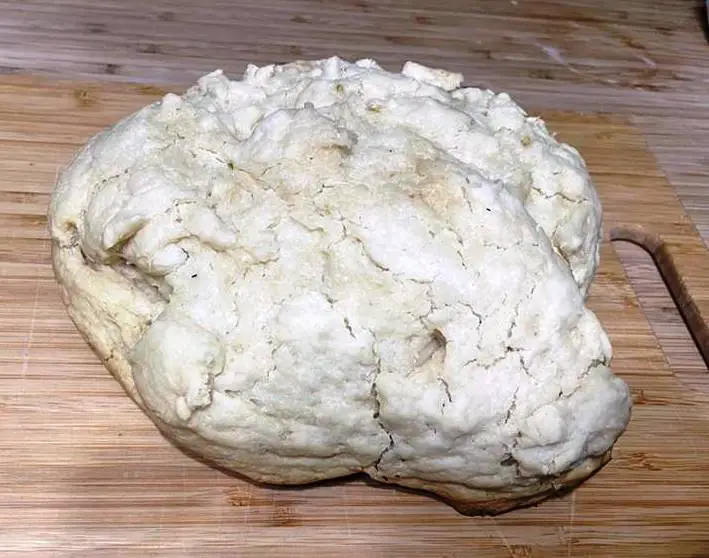
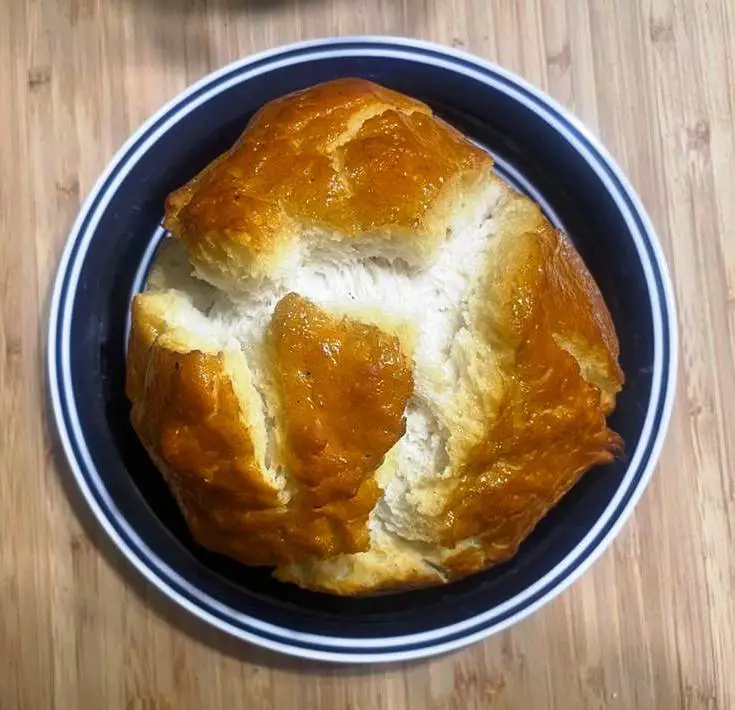
- Allow your bread to cool, then remove and cut. You can see that my loaf is very pale and not smooth, because I didn’t slice the top. I like the rustic appearance.
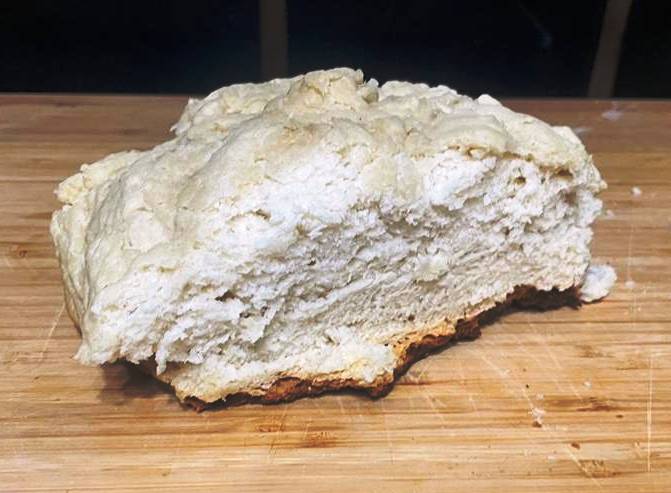
This is a really simple bread with a light sourdough-type taste. I like this method because it’s the easiest way to keep track of how the bread is baking. However, the downfall here is that the bottom of the bread develops a pretty hardened crust so that part of your bread might not be palatable or even edible.
However, if it's too crusty, you just cut that part off and serve it up to your chickens! Another thing of note here is that the bread will be completely cooked without the crust darkening – the outside of the bread was the same color as the inside. You can always do an egg wash (brush a beaten egg white on the outside of your bread) if you want a little more color on your crust.
To keep the bottom from burning, you’ll need two bread pans that fit inside your Dutch oven. Place one empty pan upside down on the bottom. Then, put the other pan – with the dough in it- right side up. Then, put the lid on the Dutch oven. This will create a small oven on top of your wood stove. It will protect the bottom of your bread, although you’ll have to make a much smaller loaf at a time.
It took about 3 hours to cook, although I probably should have shortened the cooking time just a bit. But that will depend on how hot your woodstove is. Mine ranged from 200 to 250 degrees, and the inside of the Dutch oven ranged from about 230 to 250 once it got up to temperature.
Cooking Inside the Wood Stove
I saved half of the bread dough for another method. This time, I had been burning my wood stove all day. Toward the end of the day, I let the fire burn down until it was a thick bed of red-hot coals. I sprayed the inside of my Dutch oven with cooking spray and put my dough right in the center. Then, I set the Dutch oven right into the coals.
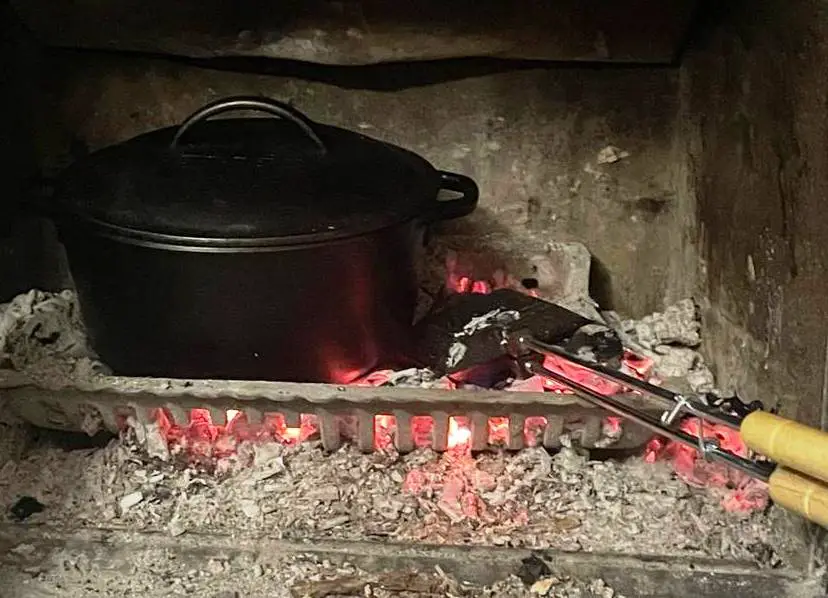
This time, the bread got a nice dark crust on the outside and split beautifully. However, the bottom of the bread was burned and very crusty. Again, it might be worth using loaf pans inside the Dutch oven to prevent the bottom from burning.
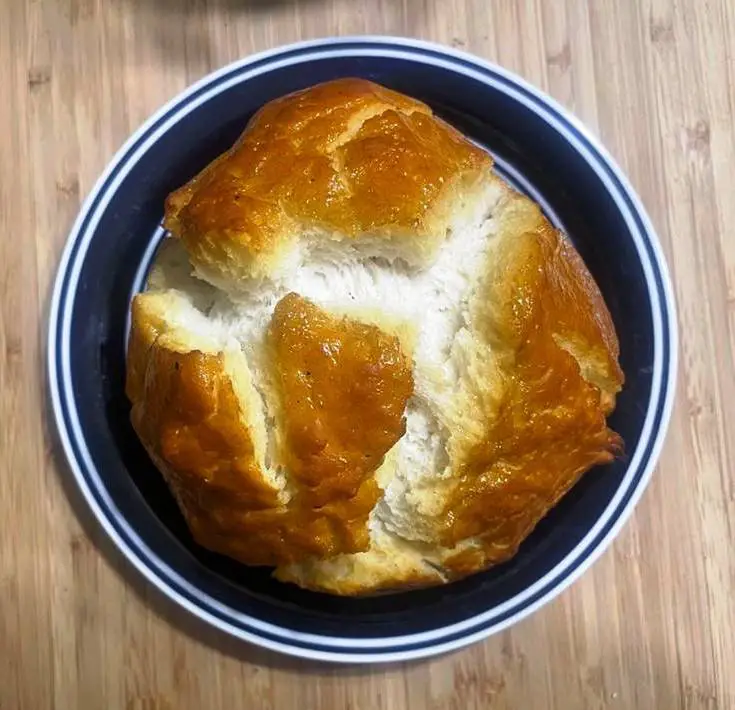
Ideally, you can use a cooking grate or a suspension hook to hold your pot just over the coals to prevent burning.
Baking Hobo Bread in the Woodstove
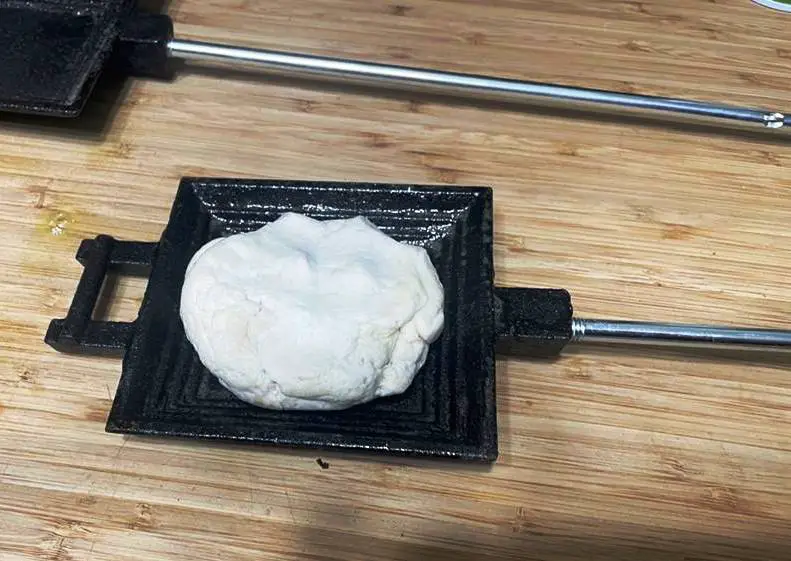
My favorite trick is making hobo bread. I have a camp griddle, sometimes called a hobo grill or a cast iron sandwich maker. I sprayed the insides with cooking spray and put a fist-sized piece of dough inside. I flattened the dough, then closed and locked the grill.
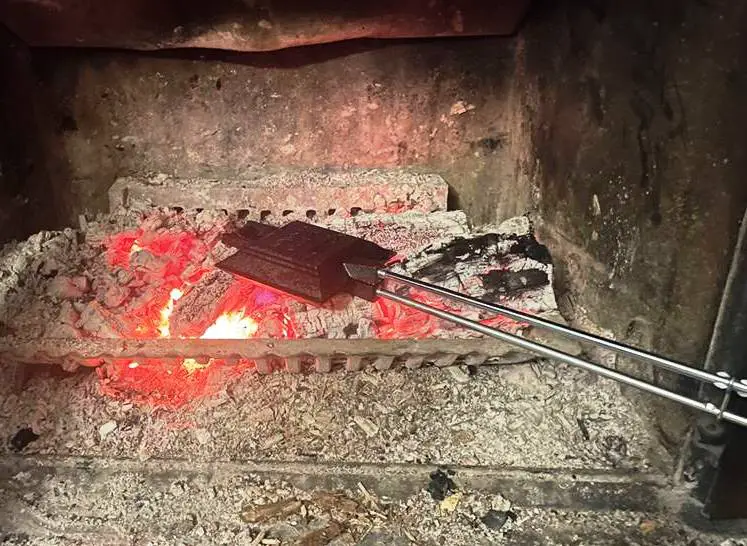
Then, I place the grill into the hot coals, turning it over occasionally. It took about ten minutes to bake a perfectly delicious piece of bread. If you cook for a group, you’ll probably want one for each person to make it go faster.
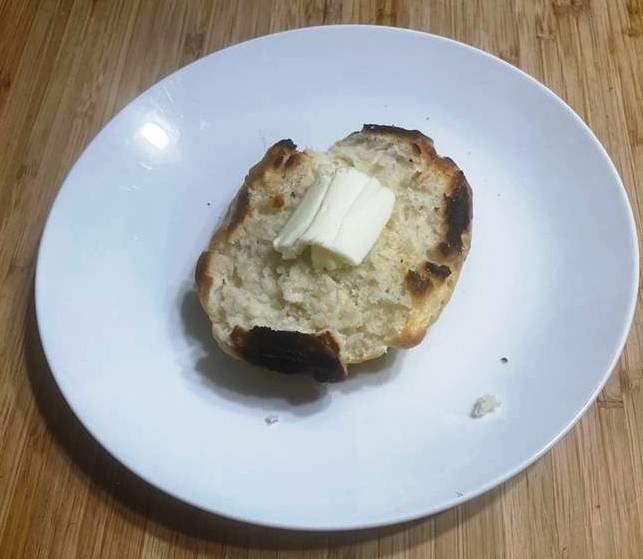
You could carefully slice the bread in half to make a sandwich or even use two separate pieces for a thick sandwich. When you get really good at it, you can put some (cooked) meat and cheese or even jam in the middle of the dough to make an almost magical panini.
Serve fresh and warm bread with melted butter and jam, or create delicious sandwiches and snacks.
There is nothing like the taste and comfort of fresh, hot bread. Don’t let a power outage stop you from enjoying this amazing comfort food!
Like this post? Don't Forget to Pin It On Pinterest!


