Estimated reading time: 8 minutes
The air fryer, microwave, gas, and electric stove make it so easy to cook that we forget about fuel for cooking. Electricity and gas are brought right to our ON switch. All we are tasked with is the process of cooking itself.
In the past the first step in cooking anything was fire. We had to build a fire or use fire to heat up the wood stove and then the cooking process could begin. So, what happens when the power goes out, the sun hits us with a powerful CME, or by some other circumstance we find ourselves living off grid.
What would you use to cook in an off grid situation? Do you have firewood? A very convenient and efficient way of cooking off grid is to use charcoal briquettes. These are much easier to make than you might think, and they are a great way to cook. Also, making your own charcoal briquettes assures you aren’t adding things like lighter fluid to your food.
Want to save this post for later? Click Here to Pin It On Pinterest!
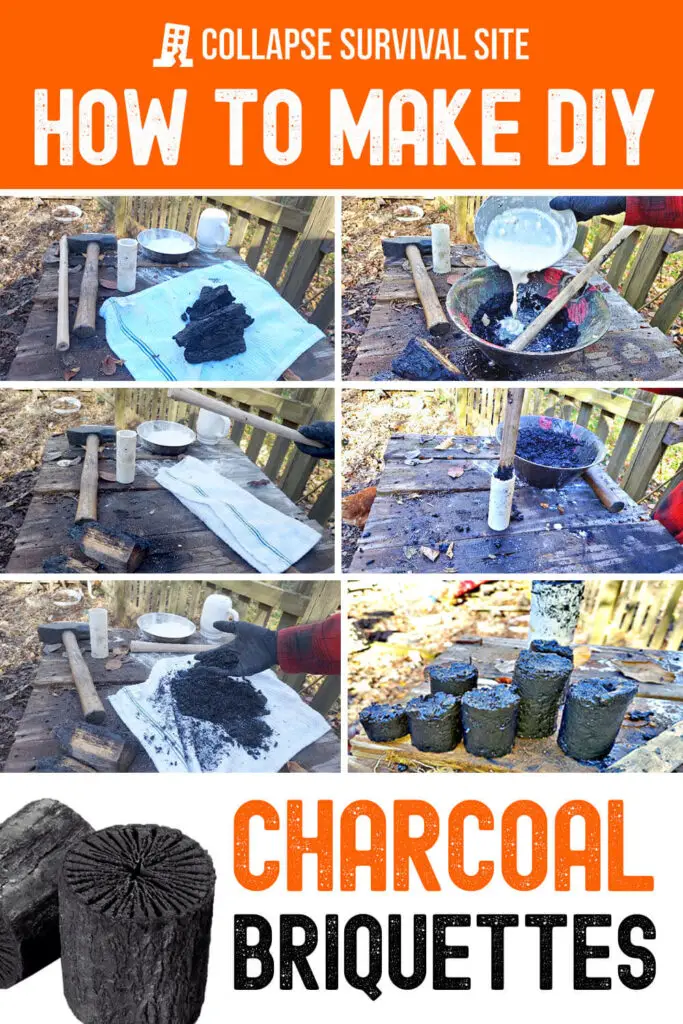
DIY Charcoal Briquettes
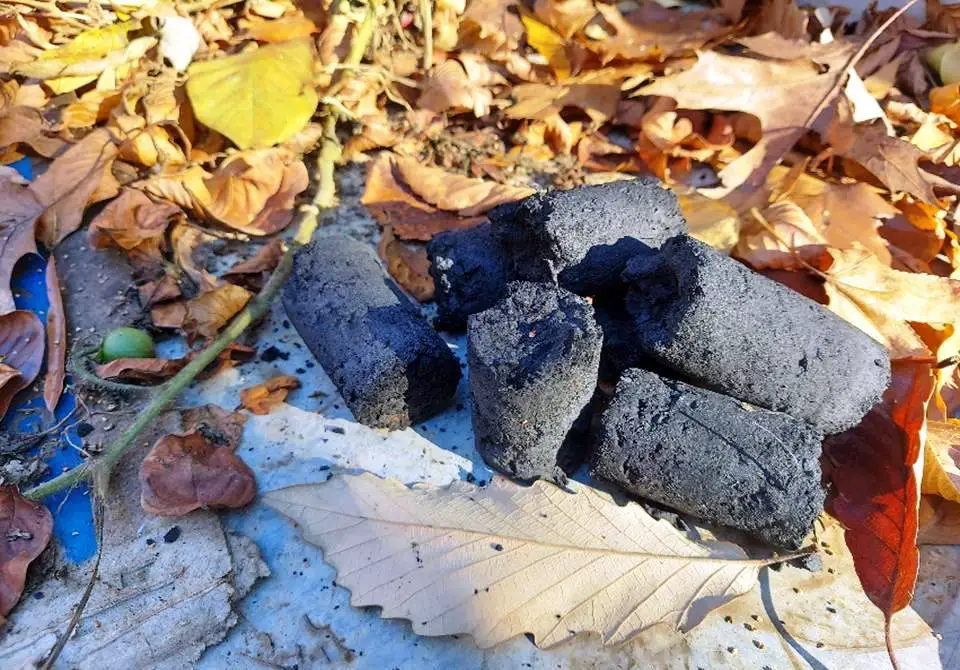
The process comes down to taking coals from a fire, breaking them down into a finer mixture and then using a thickener to bind them. They can be formed into any shape you wish at that point. We are using PVC to shape our charcoal briquettes and that is merely because I had it laying around.
MATERIALS
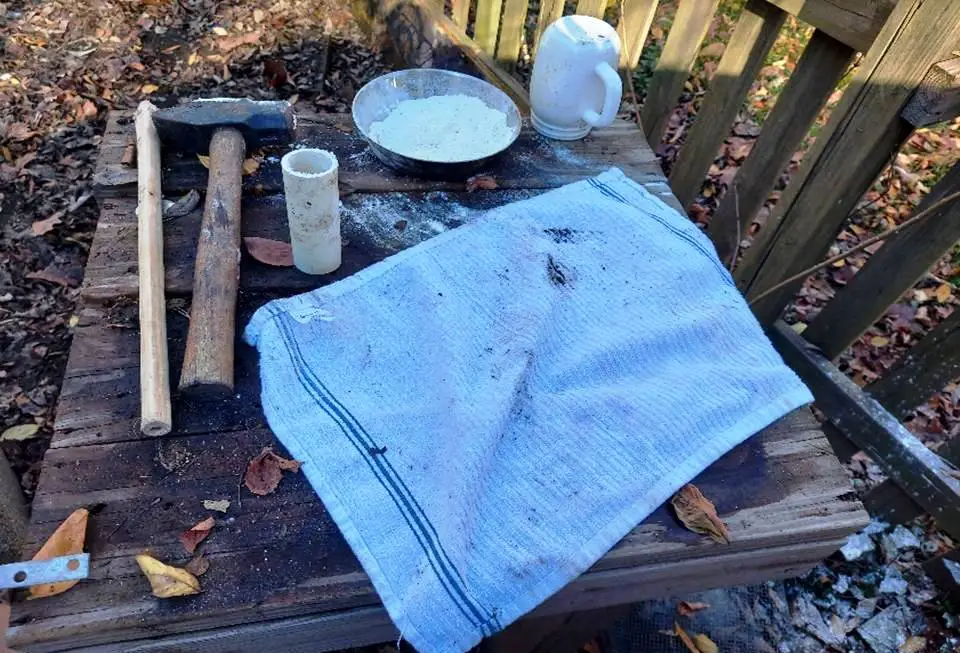
- Hammer for breaking charcoal up
- 1 ½ Cup of water
- 1 inch or larger PVC pipe, cut between 4-6 inches
- ½ Cup of flour
- Sturdy stick for pressing the charcoal
- Towel
STEP 1
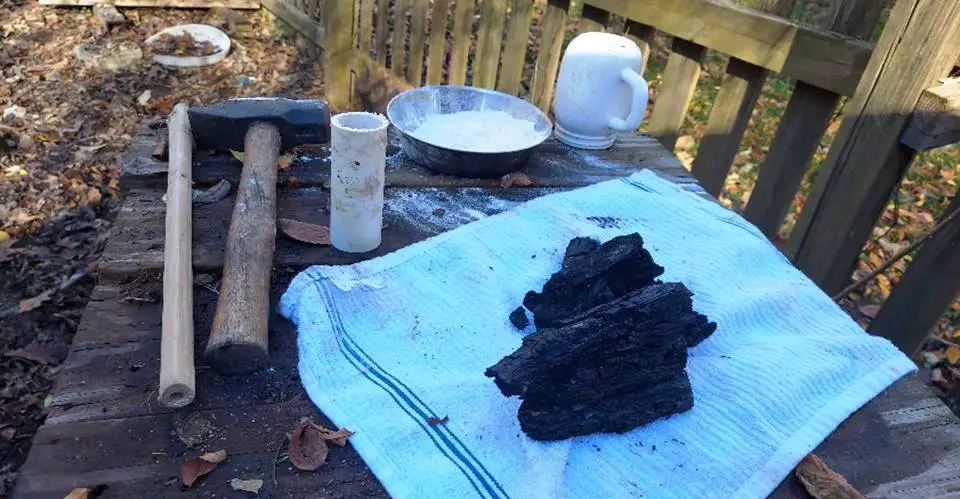
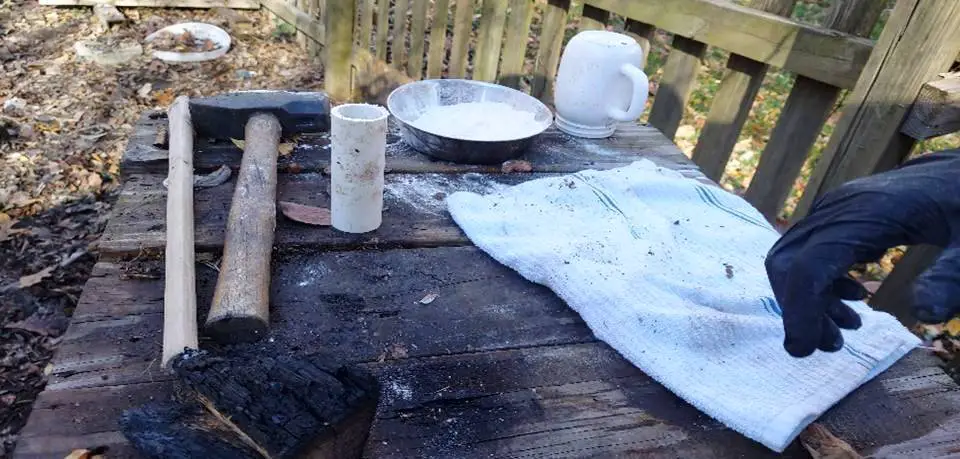
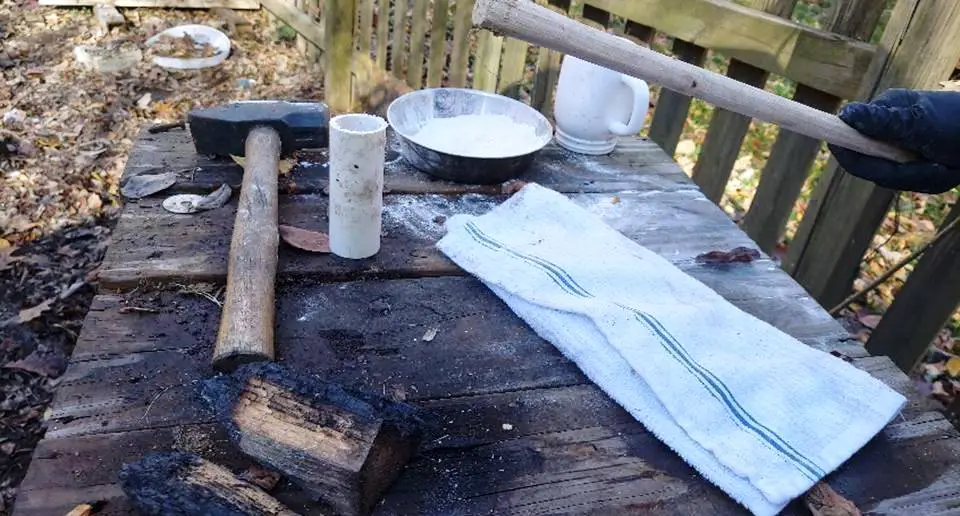
Gather your charcoal from a fireplace or firepit and place it in the center of the towel or cloth. This is where you are going to capture it when you smash it.
STEP 2
Then fold one third of the towel over to cover the charcoal and then fold the other third over to assure everything is all packed up tight before you start breaking it down.
STEP 3
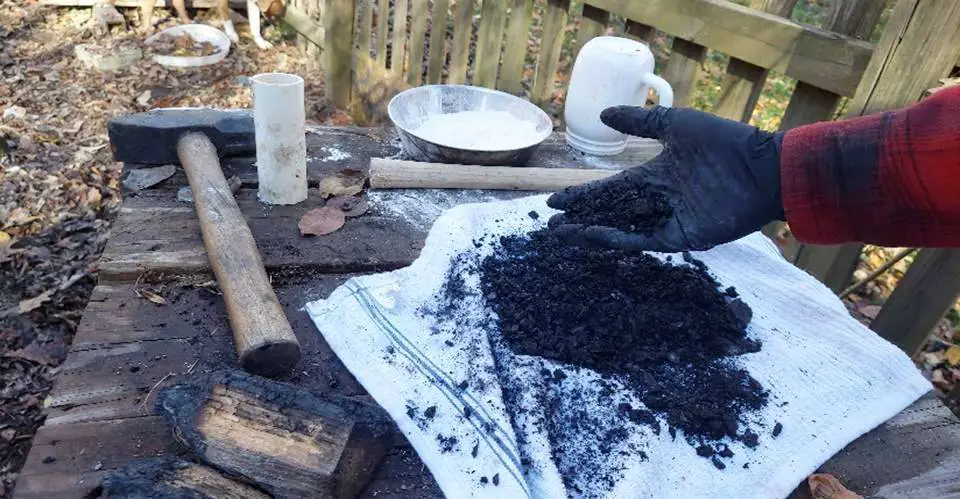
Using your hammer or your wooden stick begin to smash the charcoal that is wrapped up in your cloth. This is not about massive force. It is more about consistency and smashing up the charcoal thoroughly.
The mixture does not need to be completely pulverized but most of the charcoal should be broken into very small pieces. This will help it absorb the binding agent which forms the briquettes.
STEP 4
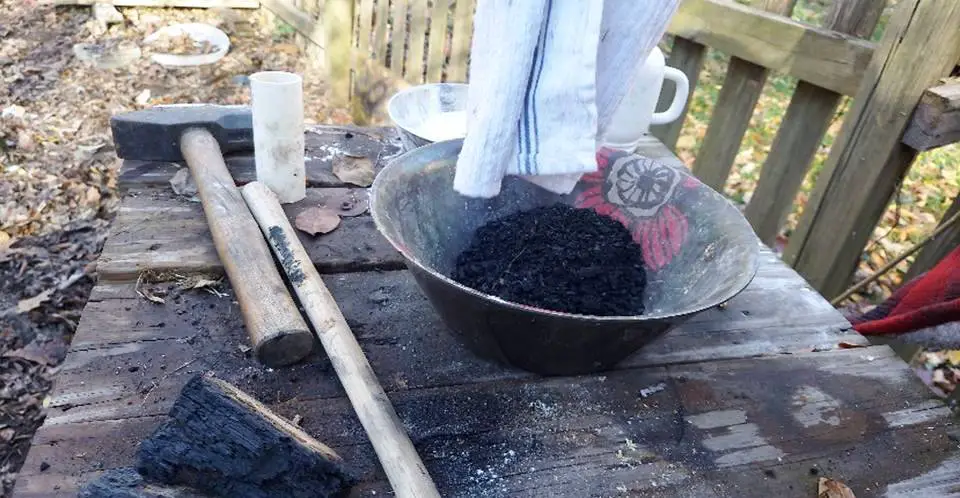
Place all your smashed charcoal into a bowl large enough to mix in the binding agent.
STEP 5
Make a slurry of 3 parts water and 1 part flour. Mix this well until it is mostly smooth. It’s ok if there are some lumps because you are also going to mix the charcoal a lot.
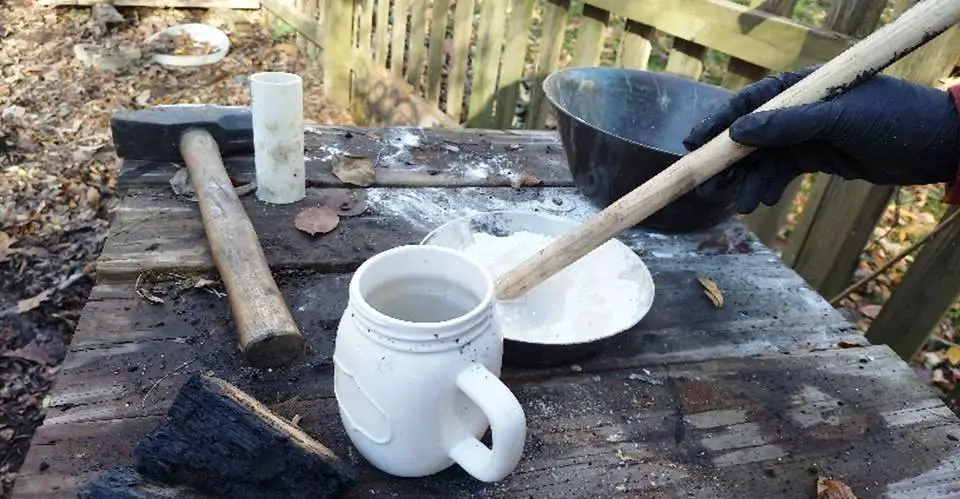
STEP 6
Add some of the slurry to your charcoal mixture and mix vigorously. Charcoal is very absorbent but add a little slurry at a time, so the mixture doesn’t get too wet. If mixture becomes too wet the briquettes will not form.
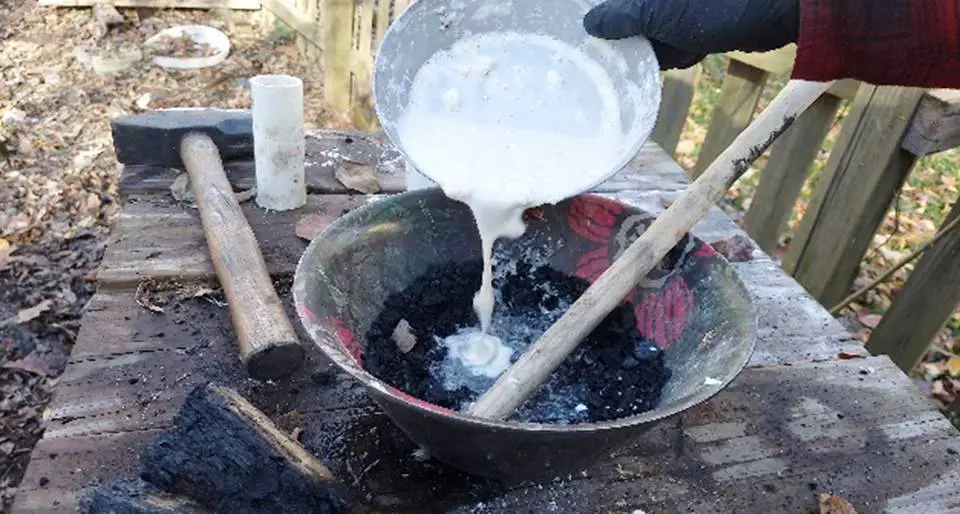
Simply add more pounded charcoal to thicken it up.
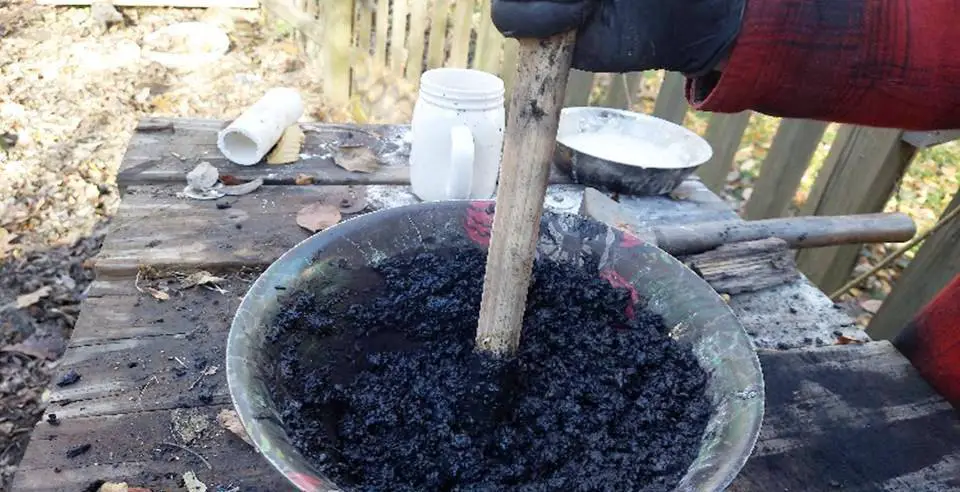
STEP 7
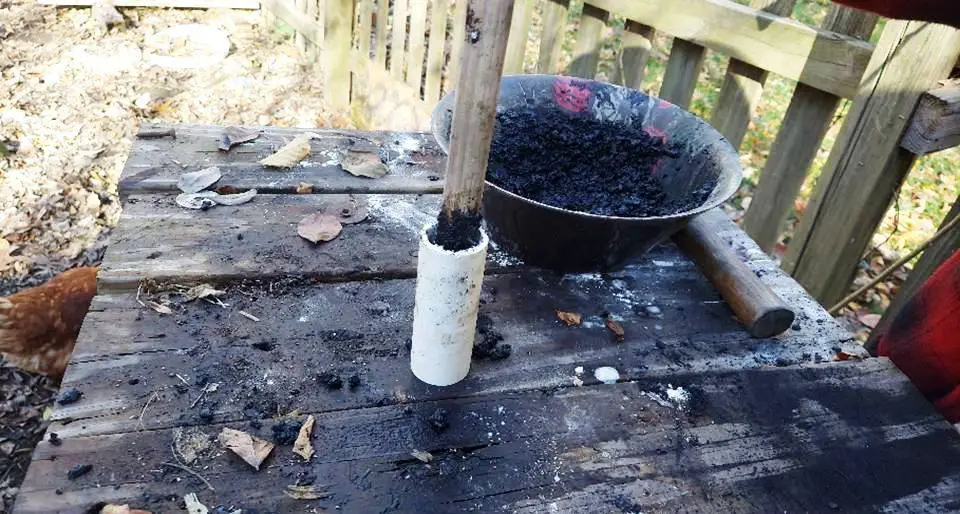
Once you have a nice stiff and stodgy mix you are going to fill your PVC pipe about ½ way with some of the mixture. Then using the stick, you will press down the mixture on all sides. This will form your briquette and squeeze out the access moisture.
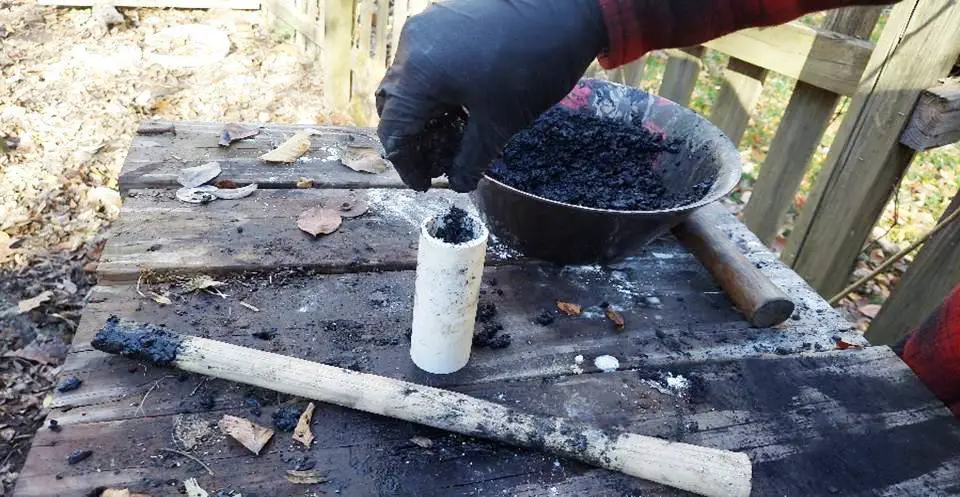
You can let the briquettes sit inside the tube for a few minutes to hold the shape better. I pushed the ones I made right out, and they held their shape without issue.
Final Step
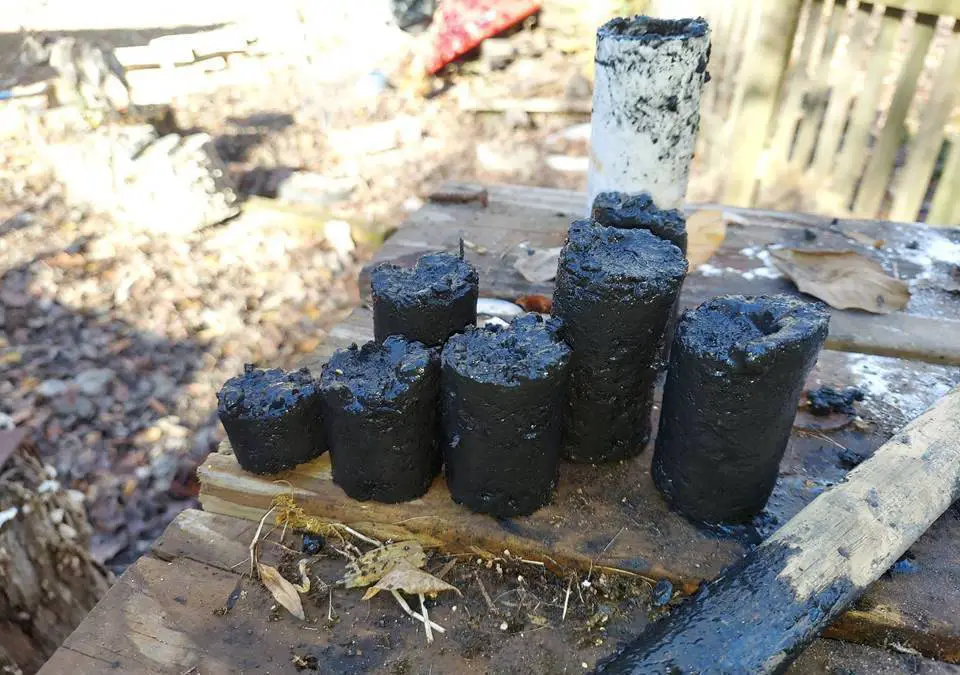
Once you have cranked out several charcoal briquettes you want to allow them time to dry in the sun or just outdoors. The moisture will continue to be absorbed and the briquettes will harden.
Bonus Methods
There is more than one way to make charcoal and while these methods will not produce the smaller uniform briquettes, they are still very important in terms of being able to turn chunks of raw wood into a more efficient cooking and even heating medium.
These methods are all about heating the wood to very high temperatures without letting flames touch it or ever having it catch fire. This puts the wood through a process of carbonization. Basically, you are doing to wood what you do to charcloth.
Barrel and Bucket Method
Using a metal 55-gallondrum and a smaller 5-gallon metal trash with a lid you can create all the charcoal you will ever need. This process is easy. Start by poking some holes in the body of your metal trash can. This will ensure that pressure doesn’t build up too strong and blow the lid off your operation.
Then you are going to start a fire in the bottom of the 55-gallon drum. While the fire is starting, add chunks of wood to the5-gallon trash can. Then sit the can inside the fire within the 55-gallon drum. Let the fire burn all the way down and go to ash.
The heat from the fire will carbonize the wood inside the 5-gallon trash can. Once it all cools it will be filled with wood charcoal.
Oven Baked Method
You can mimic this method in the oven by taking a deep metal chafing pan and filling it with small cuts of wood. Cover your deep chafing pan with aluminum foil and place it into a 500 degreeoven for 10-12 hours.
In that time the heat from the oven will carbonize the cuts of wood and you will be left with wood charcoal. The smaller the wood pieces the quicker this process will take. I would recommend chunks of wood no bigger than 6×6 inches.
Final Thoughts on DIY Charcoal Briquettes
What is lost on many preppers and survivalists is the conservation of resources. We are consumerist preppers trying to prepare for a post-apocalyptic landscape that will only have limited resources. However, many of us are preppers with Amazon Prime and a desire to amass more gear and goods.
When you make a fire, it takes resources and time. The heat that you generate should be used to cook and boil water; the ashes from that fire should be made into lye, the coals from that fire can be used to make charcoal briquettes. This gives you an entirely new cooking fuel from something you’ve already burned up.
That is survival efficiency and the conservation of precious resources.
Like this post? Don't Forget to Pin It On Pinterest!
Thanks for reading! If you want to start preparing for the collapse, check out our list of free books and manuals and our list of recommended supplies.
