Estimated reading time: 7 minutes
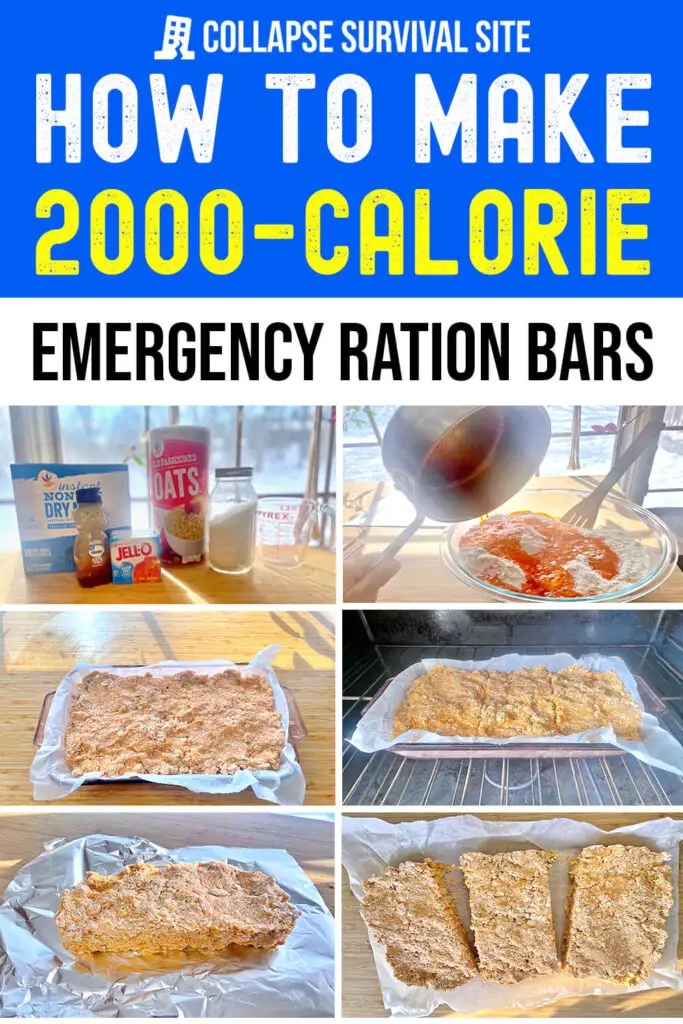
Are you looking to add some emergency ration bars to your survival preps? Emergency ration bars typically comprise a day’s worth of calories, with a mix of protein and carbohydrates to give you plenty of calories and energy.
You can purchase ready-made ration bars to keep on hand, but they can be expensive and not that delightful to eat. Instead, consider making your own emergency ration bars.
This recipe calls for standard ingredients and is very easy to make. Each bar is approximately 2000 calories, which should sustain you for about a day. So, if you need to bug out, manage for a few days without cooking, or want some extra calories to bring along while hiking or camping, these are a great addition to your preps.
The recipe is made up of oats, powdered milk, sugar, honey, Jello, and water, giving them a lightly sweet taste. The bars don’t need to be ‘cooked’ per se, but instead, you’ll dry them in the oven or in a dehydrator for a few hours to remove as much water content as possible. The less water, the longer the shelf life.
Want to save this post for later? Click Here to Pin It On Pinterest!
Emergency Ration Bars Recipe
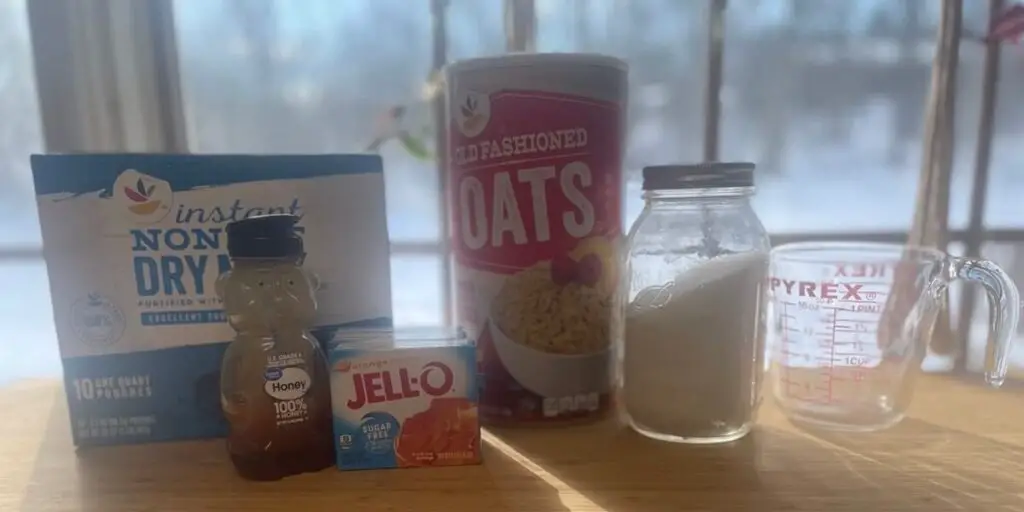
Ingredients:
- 4 cups of oats
- 5 cups powdered milk (non-fat has a longer shelf life, but whole has more calories)
- 2 cups sugar
- 6 tbsp honey
- 2 3-oz. packages orange Jello
- 1 cup water
Directions:
- Preheat oven to 200 degrees Fahrenheit.
- Mix the oats, powdered milk, and sugar in a large bowl.
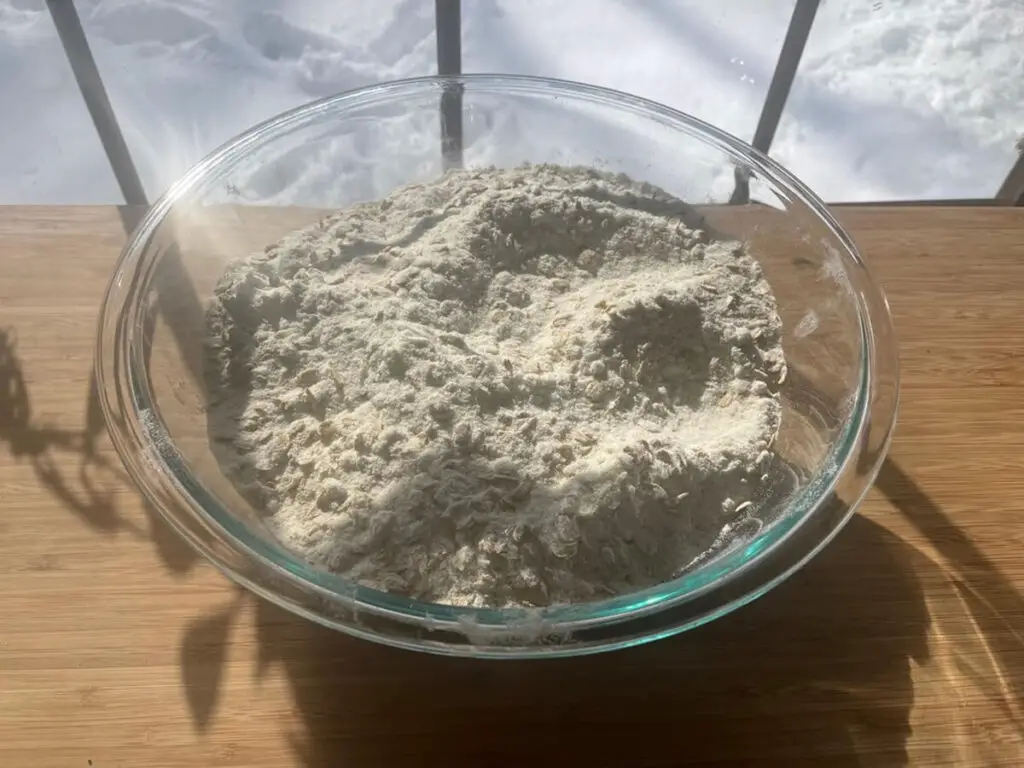
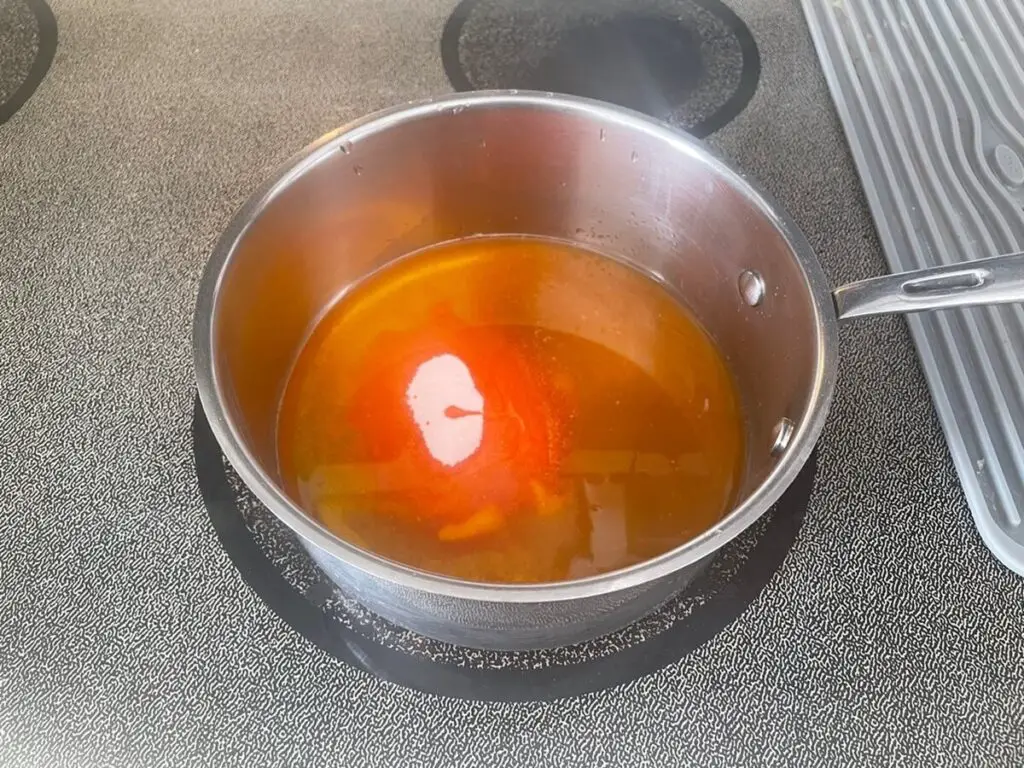
- In a saucepan, mix the water, Jello, and honey. Bring the mixture to a rolling boil.
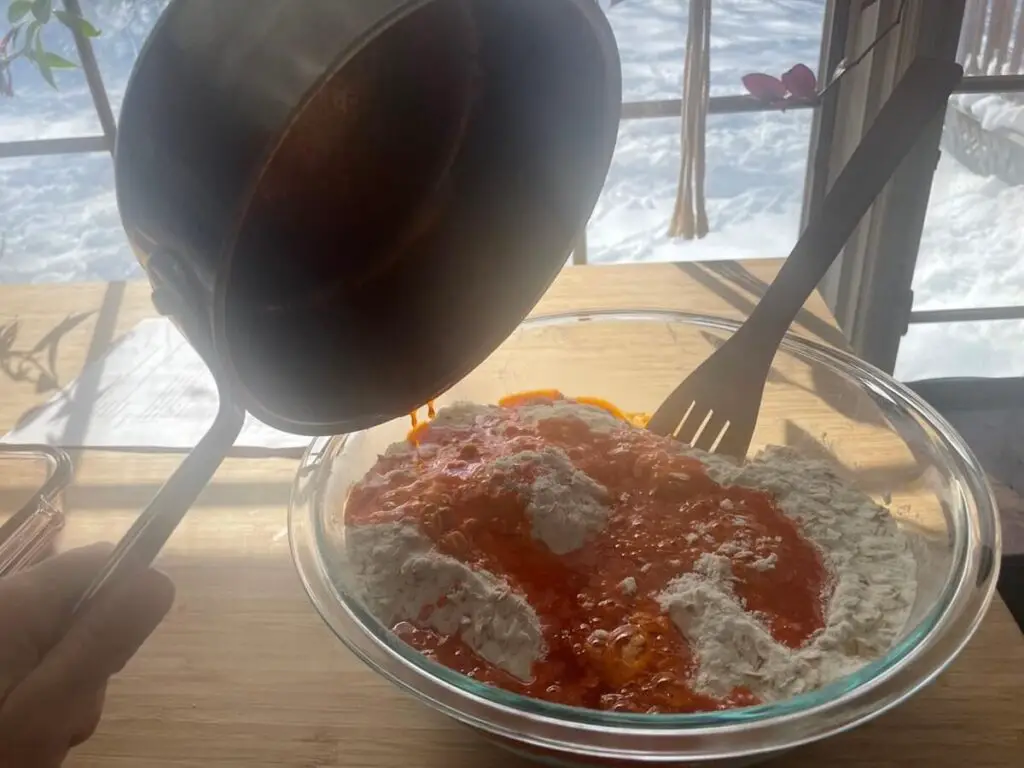
- Pour the Jello mixture over top of the oats mixture and stir well. You should have a crumbly dough that is just wet enough to stick together.
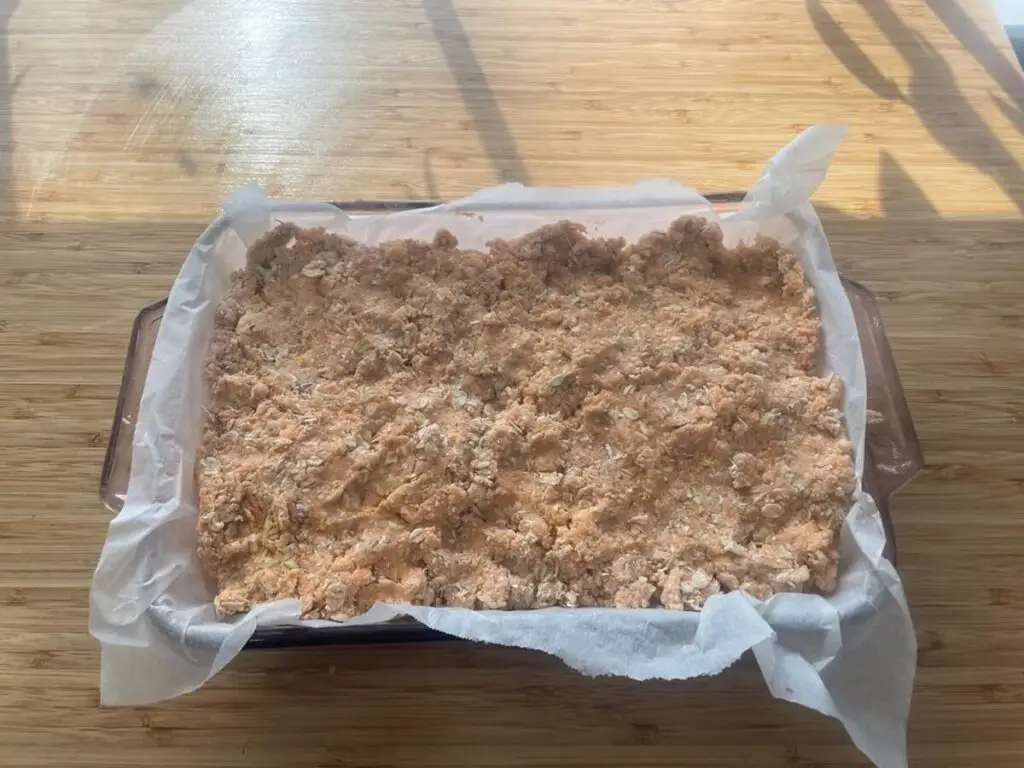
- Press the dough into a 9” x 13” pan lined with parchment paper.
- Before baking, cut the dough into 3 large bars (or whatever size you like).
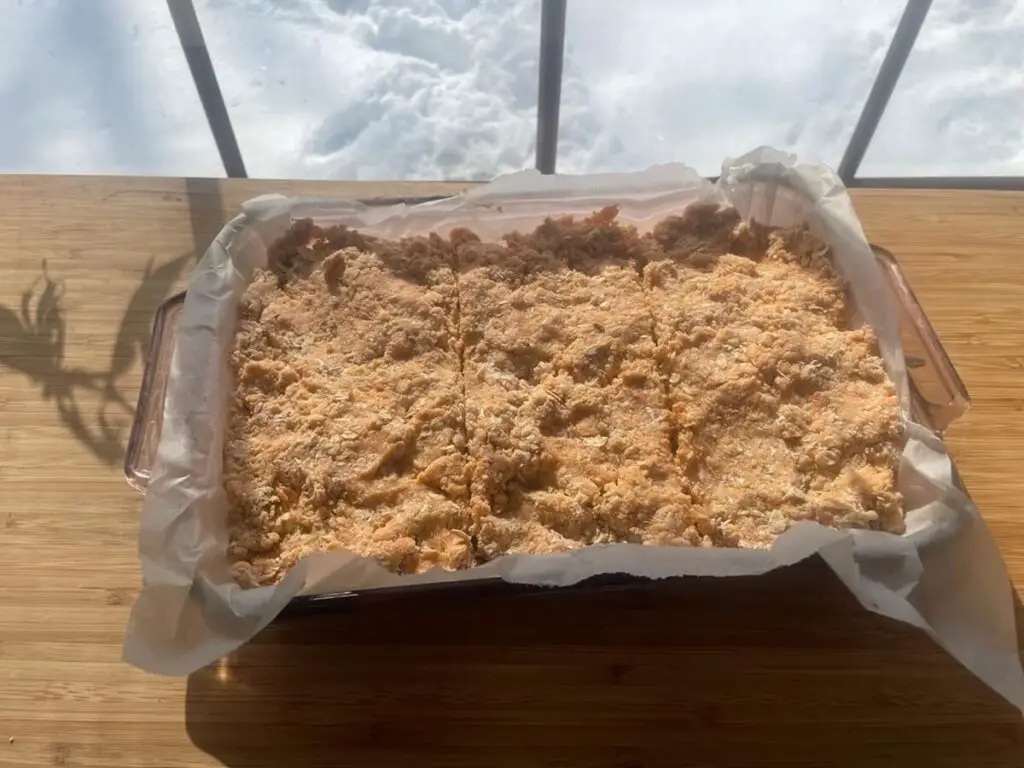
- Bake at 200 degrees Fahrenheit for around 2 hours or dehydrate for 4 to 6 hours in your dehydrator.
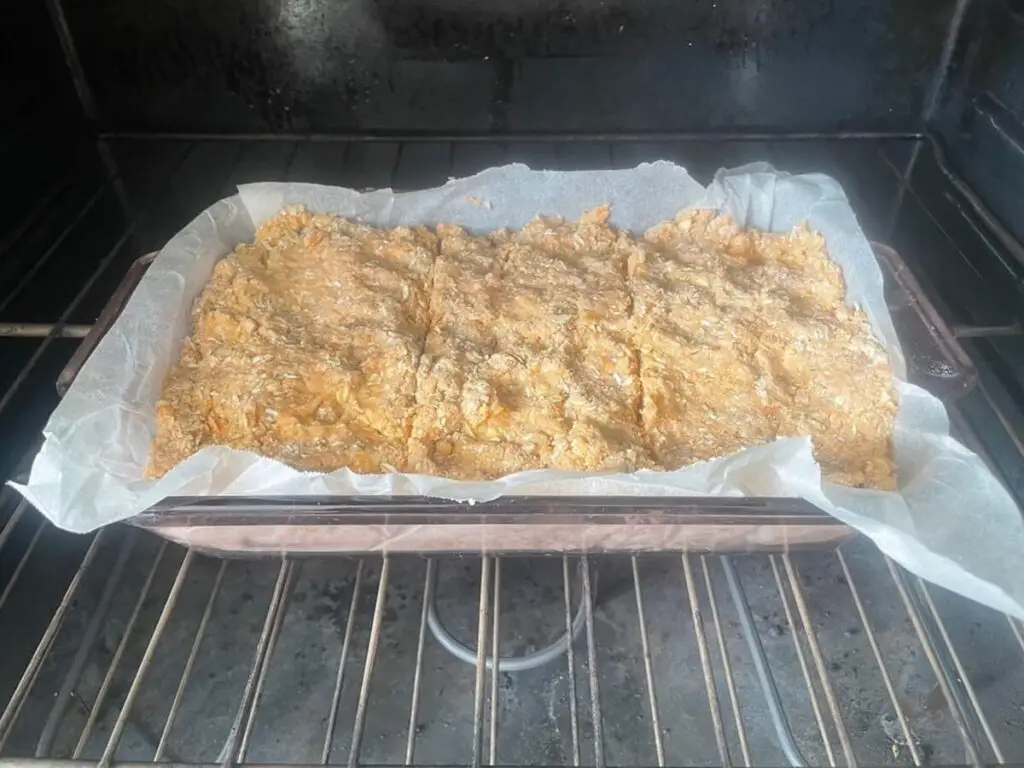
- Remove the bars from the pan and cool completely.
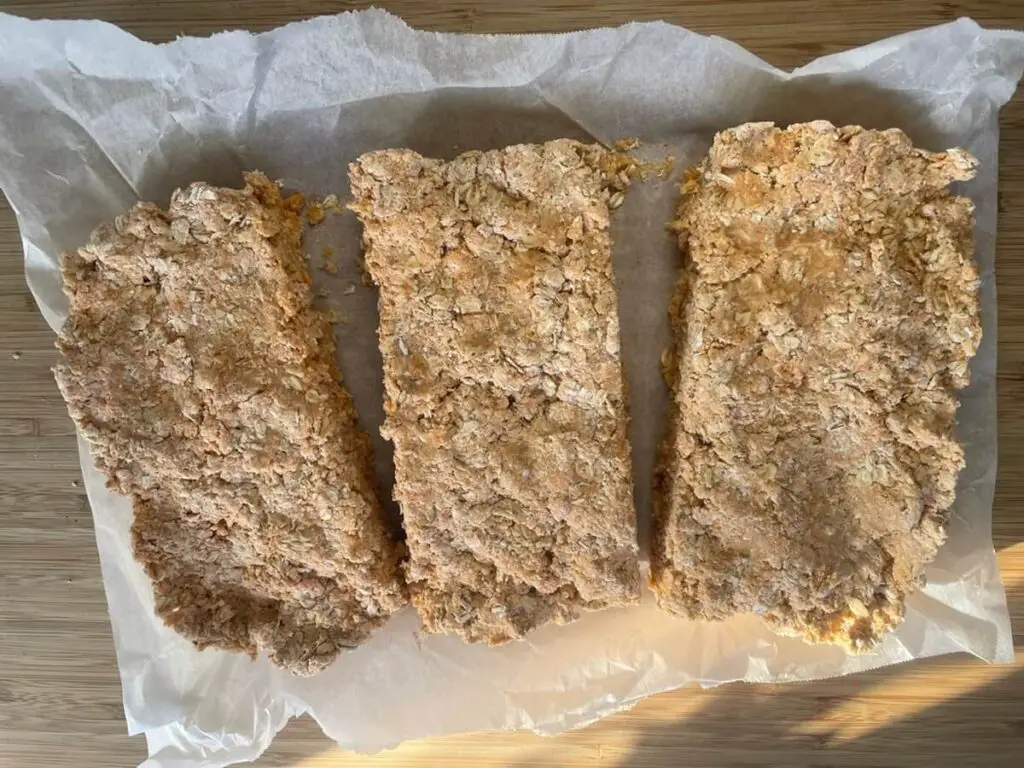
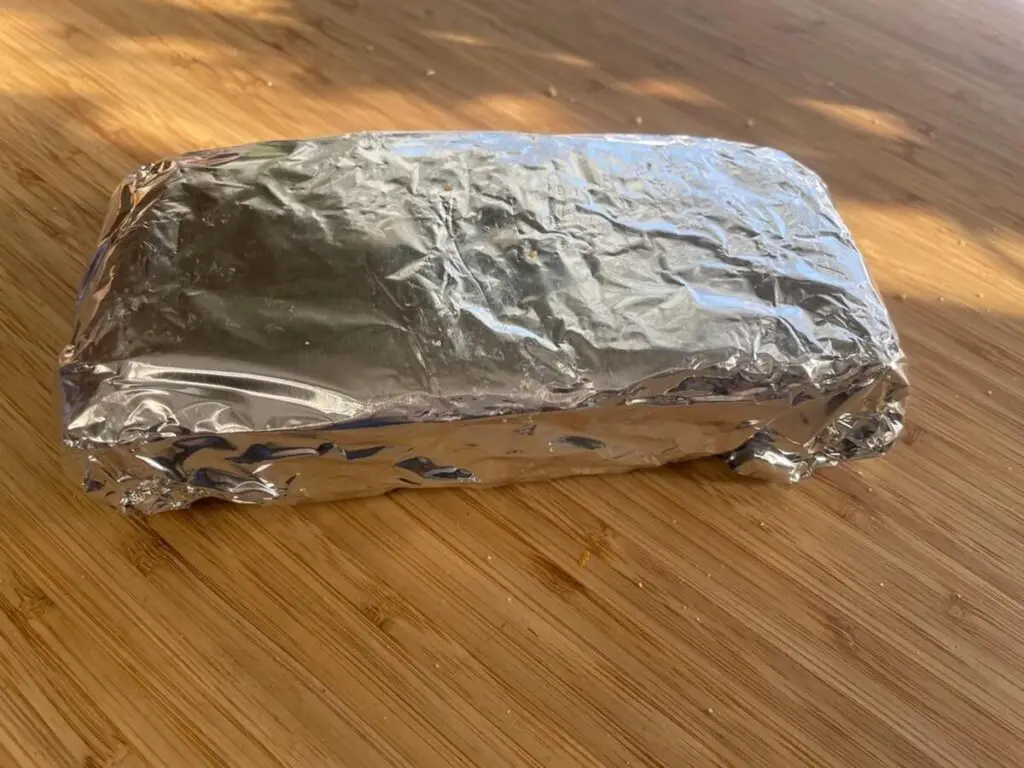
- Store your bars in an air-tight container or package in Mylar bags. You could also wrap your bars in parchment paper and foil and store them in the freezer.
Calories Per Bar
I divided the bars into 2000-calorie bars. This makes them pretty large but represents one day’s worth of calories for one person. If the large bars are too hard for you to handle, feel free to cut them into smaller sizes before baking.
Here’s how I figured out the calorie count. (Remember, different brands of ingredients may differ slightly in their calorie count, but overall, they should be pretty similar).
- 4 cups of oats: (300 calories per cup) = 1200 calories
- 5 cups of powdered whole milk (560 calories per cup) = 2800 calories
- 2 cups sugar (750 calories per cup) = 1500 calories
- Six tablespoons honey (70 calories per tablespoon) = 420 calories
- 2 boxes of Jello (40 calories each) = 80 calories
Total calories for the whole recipe = 6000 calories for the entire pan.
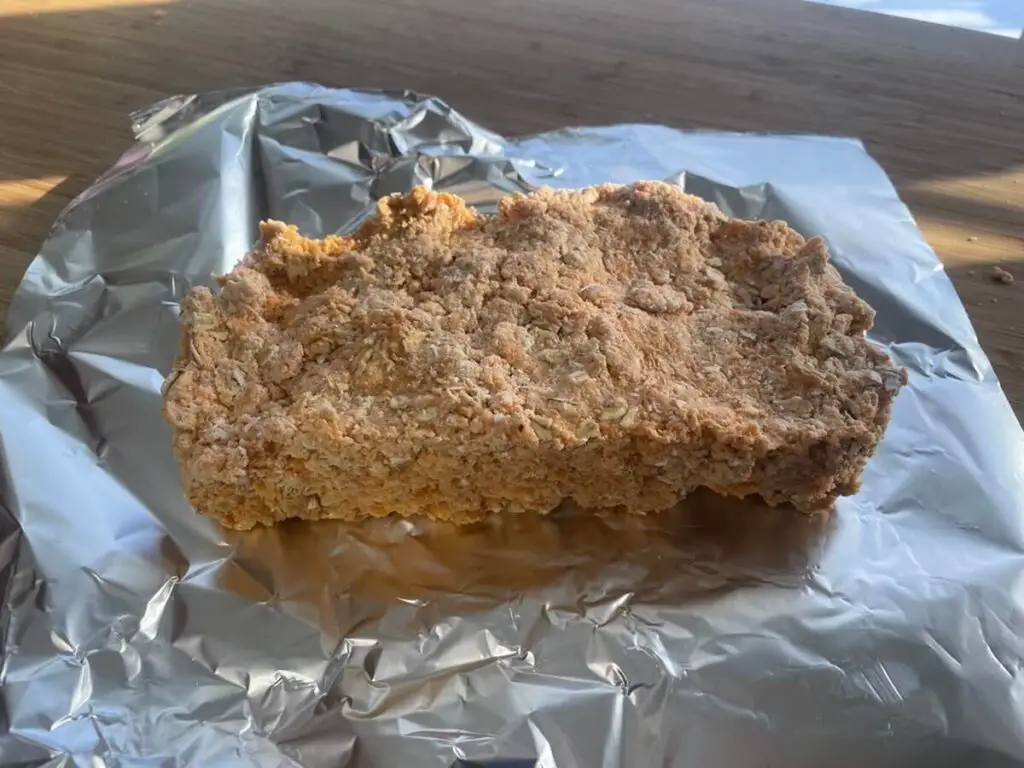
So, to make 2000 calorie bars from this recipe, I cut them into 3 bars. My finished bars were approximately 7 inches long, 3.5 inches wide, and 1.5 inches deep. Each bar weighs approximately 1 pound.
The bars have a nice light taste and a slightly crunchy texture. They’re easy to carry and easy to eat on the go.
Tips
The original recipe called for just 3 Tablespoons of water. I found this wasn’t nearly enough and I used about one whole cup. The goal is to create a dough that is just wet enough to stick together but not so gooey that it takes a long time to dry. The wetter the dough, the harder it will be to dry out.
If you are going to be making a large number of bars, you’ll probably still want to stick to this recipe and repeat it several times. The dough is very stiff and you need to make sure it is well mixed, so smaller batches are probably easier to manage.
You don’t have to use orange Jello! You can use any flavor of Jello you like, but you need to use actual Jello with gelatin. The gelatin helps the bar stick together, so pudding, even Jello brand, won’t work. You can use unflavored gelatin if you don’t want any flavor.
You can add in some additional things for flavor, such as chocolate chips, dried fruit, or nuts. However, any mix-ins you choose will shorten the shelf life of your emergency ration bars to whatever the shelf life of the additional ingredients.
Store your ration bars in Foodsaver bags or mylar bags. You can wrap them in parchment paper and foil and freeze them if needed.
Keep one bar per person per day to help get you through any emergency or survival situation.
Like this post? Don't Forget to Pin It On Pinterest!


