Estimated reading time: 16 minutes
Gardening is a hobby for most. If your garden fails, it’s not the end of the world; you’ll just run down to the grocery store and buy what you need. But when your garden is the very thing that sustains you and your family, you want to make sure you have it down.
Garden space can be a premium, along with water and the ability to keep your garden from being annihilated by hungry animals. That means you want to do your best to maximize space with plants that are easy and fast to grow. Another thing to consider is just how much nutrition each plant provides. You need every calorie you can get.
You also need to consider which plants will give you the biggest bang for your buck. You want plants that will produce more than a single fruit or veggie. Think big. Think bushy. You’ll also want plants that will keep reproducing through the season. This saves you the trouble of waiting for a seed to sprout and the plant to produce.
Want to save this post for later? Click Here to Pin It On Pinterest!
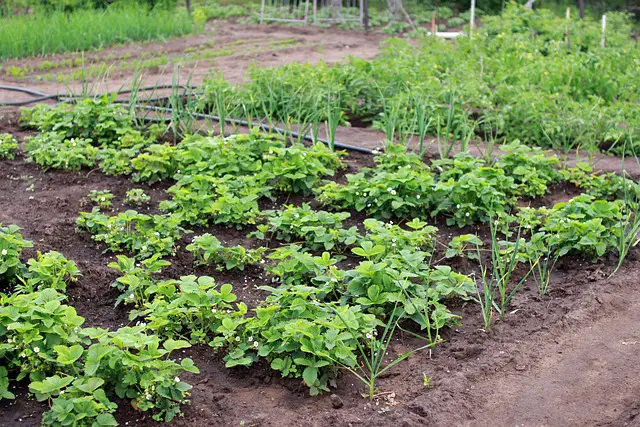
Most plants will require the same basic soil and light requirements. However, you can increase production by knowing what soil additives will ensure your survival garden is getting off on the right foot. Just a side note, it’s a good idea to use containers for your survival garden. This allows you to move the containers if there is going to be some bad weather. It also conserves water and can reduce pests and fungus.
Another note, when planning your survival garden, you’ll want to choose heirloom seeds. Heirlooms are basically the very first variety without cross-pollination and human interference. Heirloom seeds are the only kind that will produce plants that produce seeds that can be dried and replanted to grow the same plant.
The cross-pollinated or engineered varieties will not produce seeds that can be planted for another crop. You might get a plant to grow from the engineered seed, but it will not always produce fruit and if it does, it’s not the variety you think you’re going to get. Always choose an heirloom.
1. Beans
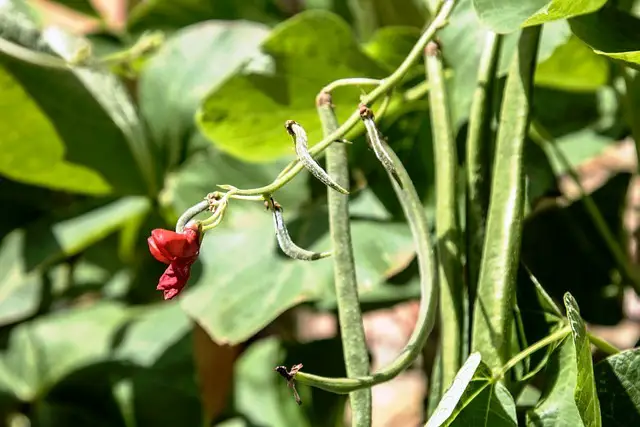
Green beans come in two different types, bush or pole. You can choose stringless and other varieties, but this is survival, so refer to the explanation about heirloom seeds. Bush beans tend to be the better choice. They take about 50 to 60 days from planting to production. Beans like a slightly acidic soil, aka nitrogen. As with all plants, the soil should be well-draining. Pole beans take about 60 to 70 days.
Beans like lots of sun. However, if you are in a very hot area, you’ll want to make sure your beans aren’t fried. Give them a little shade to keep them from wilting. Wilting makes plants vulnerable to disease and pests. The soil should be moist but not soaked. Never let it dry completely out.
Green beans are a pretty simple crop to grow. The plants will produce for several weeks as long as there is good soil and sun. If you choose pole beans, make sure you have a good trellis to keep the plants from falling and breaking. All of your plants should have plenty of room for air flow to prevent mildew.
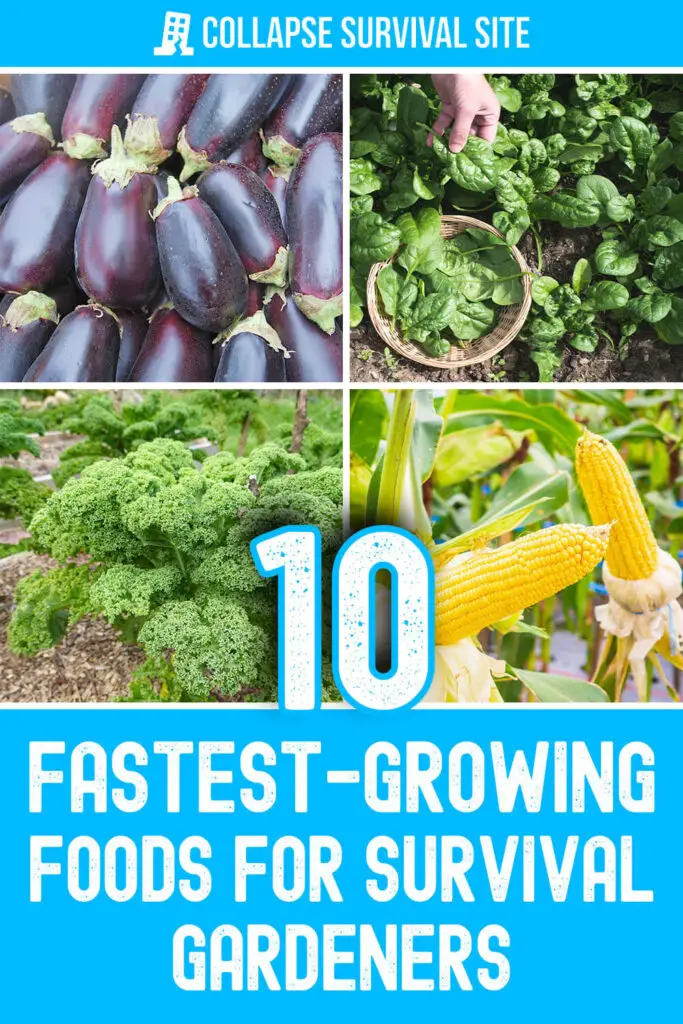
2. Corn
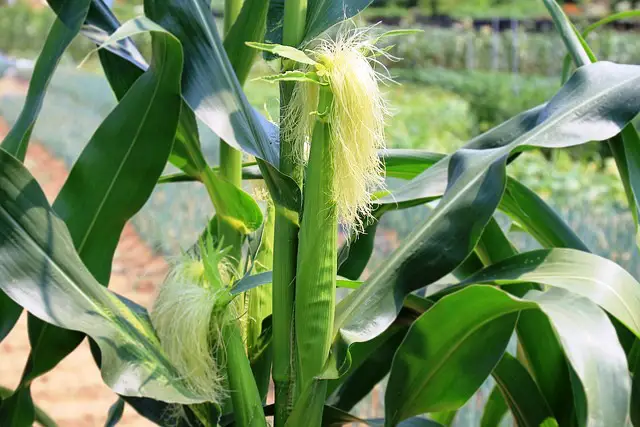
Corn is a space hog, but it is such a valuable plant to grow, you should try and make the room. Tear up the lawn and flower beds if you need to. Corn likes heat. If you are in a cold climate, you’re going to struggle to grow corn, but you can start your corn indoors to extend your growing season.
Corn takes 60 to 100 days. Count on it taking all 100 days to get to maturity. Unfortunately, it’s not a great idea to try and grow corn in containers, unless you have large stock tanks or old bathtubs. Spacing is important as well. Corn plants need lots of sun to reach from top to bottom in the early part of the growing process. You’ll need to give each plant about a foot between the next one.
Well-drained, loamy soil is the best for corn. Also, you’ll need fertile soil to get the best harvest. Organic matter worked into the soil before you plant the seeds is the best. Think compost, chicken poop or steer manure.
Another important factor with corn is it requires lots of water. Daily watering is crucial. If you have an irrigation system, that’s the best way to go. It will conserve water and keep water off the leaves. When water sits on the leaves, you are opening yourself up to fungus that will kill the plant.
Keep a close eye on your corn as it grows. Caterpillars are almost a given but if you are staying on top of things, you can keep them from decimating your corn. If you notice a single plant or a couple turning yellow, wilting or the leaves curling, pull them out to keep from spreading to your healthy plants.
Harvest the corn when the silk tassels have dried and turned brown.
3. Eggplant
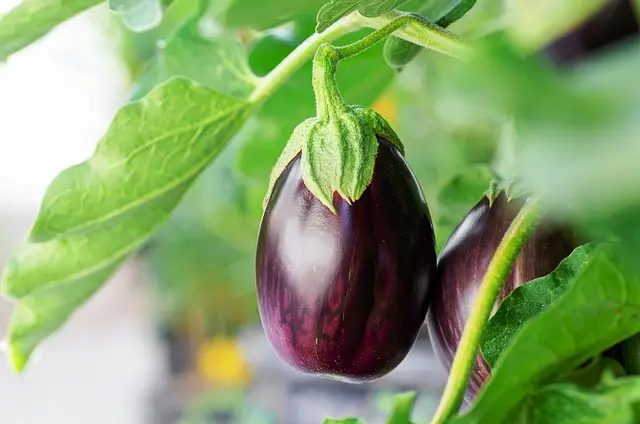
Eggplants are low in calories but they have more protein than a typical vegetable. They are a warm season crop. They like the heat and have about a 70 to 85 day seed to harvest time. The bushy plant will provide several eggplants for you to harvest and if you keep it healthy, it will produce more fruit as you harvest.
It’s a good idea to start eggplants inside and put them out when the nighttime temps are above 50 degrees. They require a loamy soil with plenty of organic matter. These are a bushy plant and will need about a foot between plants to allow for plenty of air circulation and full sun to all parts of the plant.
Eggplant requires a consistent moist soil—not wet. It’s important to avoid overwater and promoting disease. Fertilize at planting and then midway through the growing season. If your plant is healthy and thriving, you will likely need to stake it to keep it from falling over once the eggplants start to form.
Eggplants are prone to hornworms, aphids and flea beetles. If you see a pest, the best way to handle it is to pluck it off. Keep a close eye on the underside of the leaves.
Harvest the eggplants when they are firm with a glossy skin. The size is not really a good indicator. Typically, a ripe eggplant will be about six to eight inches. Some will ripen sooner than others. If an eggplant looks wrinkled, it’s overripe. Harvest regularly to encourage continuous production.
4. Kale
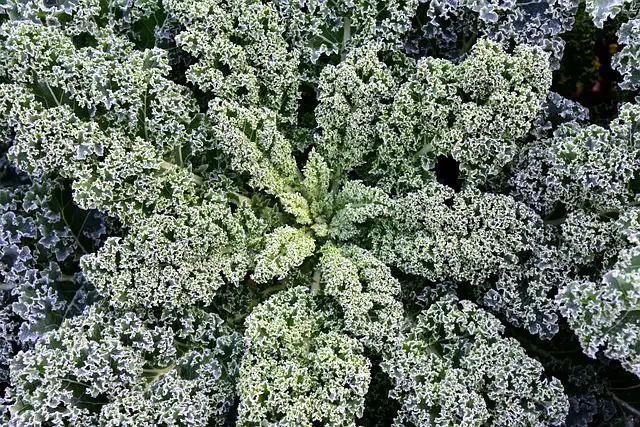
Kale is a superfood. You’ve heard it a hundred times before, but it really is. It’s packed with vitamins and calcium, which is going to be pretty important in a survival situation. Kale is a cold weather crop and is often used as a cover crop, which means it’s planted at the end of the growing season to keep the ground fertile and loose over winter.
Kale has a 55 to 75 seed to harvest time. It should be planted in early spring or late summer. It does not do well in the heat. It also requires moist, fertile, well-draining soil. Again, adding organic matter to the ground will provide a healthy soil for your garden.
Kale can be prone to pests. Companion planting kale with onions, garlic and herbs will help naturally repel pests. When watering kale, the irrigation system is best. If you’re not irrigating, water at the base of the plant and not over the top where the water will dry on the leaves and promote rot. Because kale likes cool and damp, it’s a good idea to use mulch around the base to retain water.
Harvesting can be done several times without pulling the plant from the ground. Peel off the outer leaves and leave the plant and it will keep producing. If you see yellowing leaves, cut or peel them off but leave the plant.
5. Lentils
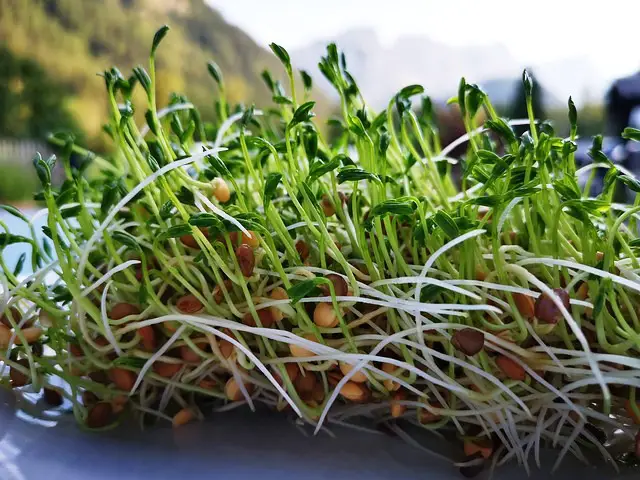
They may not be the favorite food for many, but they are high in protein and fiber. Lentils are filling and can be used in many different way. The downside to growing lentils is there long growing season, 80 to 110 days. However, they don’t require a lot of heat, which means they’ll grow in cooler climates. They should be planted in early spring or depending on where you live, in late summer.
Lentils aren’t all that picky about fertilization. They pull nitrogen from the air. They are a hardy plant and require the basic well-draining soil with a touch of acidity. The key to growing lentils is to move their spot in the garden every year. This will cut down on soil-borne diseases and pests.
Plant them far enough apart to allow for plenty of airflow between the plants. This is key to prevent mildew and fungus. Lentils like lots of water. The soil should remain moist throughout the growing season. However, be careful they aren’t overwatered. They are sensitive to too much water and you might end up with root diseases. Irrigation is the best choice.
Harvest lentils when the pods are dry.
6. Peas
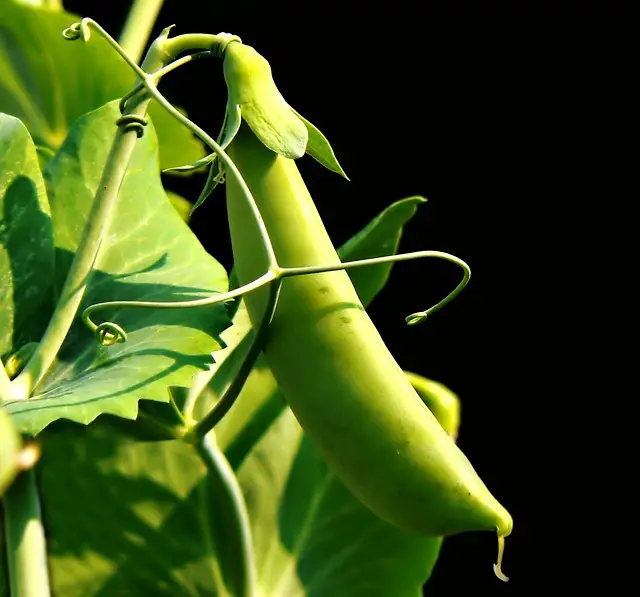
Peas are prolific producers and very easy to grow. They are a cool weather plant and with proper management, you can extend the harvest season for weeks. They will not do well in temperatures over 75 degrees, so plan accordingly.
A nice shady spot or planted between rows of corn that will provide shade is an option. Also, peas put nitrogen into the ground, which make them a favorite for companion planting.
Peas have a seed to harvest time of 55 to 70 days. Peas put nitrogen into the soil, but they need a good loamy soil to remain healthy. Adding compost will help. Peas can be a little wild when they are growing.
They shoot out tendrils that wrap around each other and can create a mess. Proper staking and a trellis or grown alongside a fence, will help keep the plants upright. You don’t want them growing into a wild mess that will block out the sun from the other plants and promote fungus.
Peas like some water, but not too much. They have shallow roots that are susceptible to root disease. Keep a close eye on the peas and watch for aphids, caterpillars and pea weevils. You’ll have to physically inspect under leaves to make sure pests aren’t clinging.
Harvest peas when the pods are plump and waxy looking. Harvesting in the morning locks in the sweetness.
7. Potatoes
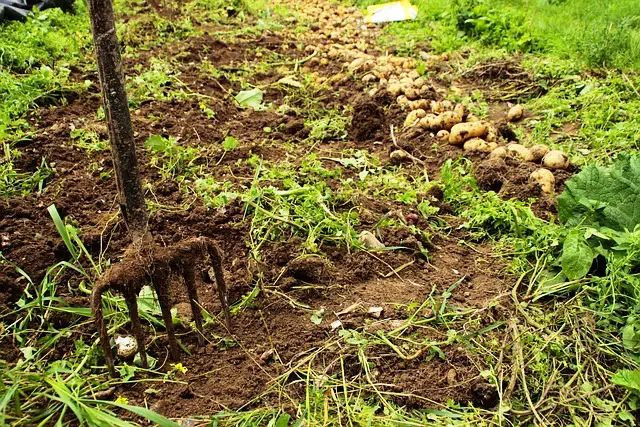
Yellow, red or russet potatoes are a nice addition to your survival garden. Each plant can produce about five pounds of potatoes. And because potatoes can store for months in a root cellar, they are a no brainer. You can grow potatoes in containers.
In fact, check Amazon and you’ll find some inexpensive potato planters. Potatoes do require a longer growing time, but if you have to do an emergency harvest before a freeze, you’ll have baby potatoes which are eligible. They take about 70 to 120 days from seed to harvest.
Potatoes require loose soil with limited or no rocks. Rocks will stunt potato growth. Also, you’ll need to practice crop rotation with potatoes to prevent potato beetles from killing your crop. Trenches are the best way to plant the potatoes.
You’ll want to dig down at least four inches. When the potatoes sprout, you’ll want to mulch over the plant, sometimes called hilling. The potatoes need to be fully covered by dirt. Mulching also helps keep the soil wet and cuts down on weeds that will starve out the potatoes below.
Regular watering is important, but it’s a fine line between too much and too little. If rain is in the forecast, don’t water your potatoes. Too much water and the potatoes in the ground will rot. You won’t know it until it’s too late. Potatoes don’t need a lot of fertilizer. Fertilizer promotes health leaf growth. You’re not trying to grow leaves; you’re trying to grow tubers.
You’ll now it’s time to harvest about two to three weeks after the flowers die off and you’ll notice the leaves starting to dry and turn brown. When harvesting, you can get a good grip on the base of the plant and pull. If you’re lucky, your potatoes will all come up.
You’ll need to dig around in the ground to get any that fell off. Don’t use a shovel. Use your hands. It’s important to get all of the potatoes out of the ground to prevent potato bugs from feasting on the rotting ones and making the soil unusable the next season.
8. Spinach
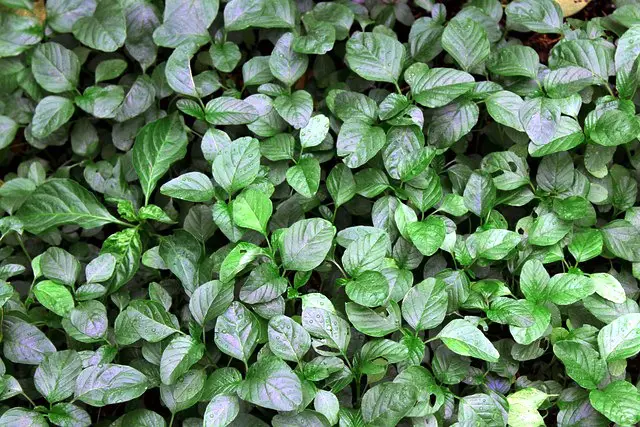
Spinach is similar to kale. It’s a cool weather plant. It’s a very fast-growing plant. It only takes 40 to 50 days from seed to harvest and it will keep producing for weeks. It’s best planted in the spring or summer. It can be planted in containers and grown in the shade.
As with almost all plants, nitrogen-rich, well-drained soil is a requirement. Like other leafy plants, you don’t want to use the same spot in the garden year after year. You’ll need to move the spinach to a new section each year to prevent disease.
Spinach likes moist soil—not wet. Always water at the base to keep water from sitting on the leaves and promoting fungus growth. Spinach doesn’t need a lot of fertilizer. Too much and it will bolt, meaning it shoots a vine up the middle and goes to seed before you get to harvest the leaves.
Mulching around the base will help retain water and cut down on weeds. You’ll want to regularly check spinach for aphids, which love to cling to the underside of the leaves. Planting peppermint or marigolds around spinach can help cut down on pests who don’t like the smell.
Harvest leaves without pulling the entire plant. In fact, you’ll want to harvest the outer leaves to promote more growth. Don’t wait too long once the leaves reach about four inches. Overgrown spinach leaves do not taste great.
9. Squash
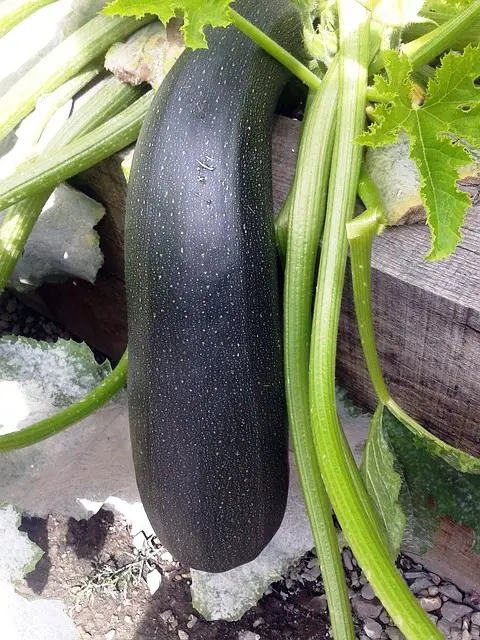
Squash is one of those things that is almost impossible to kill. The stuff is invincible. This is why you’ll find your neighbors begging you to take it off their hands. It has a relatively short growing time, 45 to 55 days for summer varieties. Winter varieties are twice as long.
Squash likes the heat. Planting the seeds on a dirt mound can help ensure each plant gets plenty of space. A thriving squash plant can easily take up five feet. You want the plant to have plenty of room for good air circulation. The soil should be well-drained and fertilize. Hitting the plant with a little fertilizer will ensure you get a large harvest.
Irrigation watering is the best, especially when you have squash growing. Throughout the growing period, you’ll want to inspect leaves and the actual squash to make sure the bugs are invading. Squash bugs, aphids and vine borers will try to eat your plant. However, they are pretty hearty and require very little attention.
Harvest when the squash is young and tender. Leaving them on the vine to grow into huge fruits doesn’t help. They can be overripe and the plant will not be able to feed the other squash on the vine. The plant will keep producing for weeks.
10. Sunflower Seeds
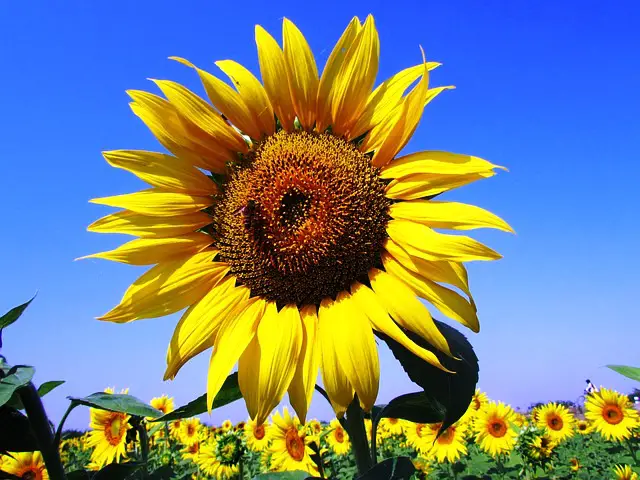
These heat-loving plants are beautiful and attract beneficial visitors to your garden. They can also provide shade for the plants that prefer it to be a little cooler.
Sunflowers typically take about 70 to 100 days to grow. Even if you don’t want the sunflower seeds, planting some in an area that has never been used for gardening can help break up the soil in preparation for the following year.
They are a pretty easy plant to grow, which is why you’ll see them growing wild along highways or in fields. The don’t require a lot of fertilizer, just put them in a sandy, loamy soil and let them go. While they are sun-loving plants, all that time in direct sun means they get thirsty. You’ll need to keep the soil moist at all times. You can help the roots retain moisture by mulching around the base.
If you live in a particularly windy area, you’ll want to stake the plants, especially when the sunflower head is full of seeds. It can be very heavy and you don’t want to risk a strong wind snapping it off before the seeds reach maturity.
Birds are going to love your sunflowers. Bird deterrents may not always work. Putting a bird net over the sunflowers can help protect your seeds. The bees and other pollinators will flock to the sunflowers, which is what your garden needs.
It’s time to harvest the sunflowers when the thick vine at the back of the flower has dried and turned a yellow or brown color. You might need to use a knife to saw off the head. Allow the sunflower head to try completely before you attempt to get the seeds. It should be dried face down. This can take days or longer.
Extracting the seeds can be tedious. The drier the head, the easier extraction will be. Use your hand and rub across the surface. The seeds will fall out. If there are some stubborn ones, use a fork to pry them out.
Like this post? Don't Forget to Pin It On Pinterest!


