Hardtack
Hardtack is a simple food made from flour, salt, and water. It’s baked until hard and dry. With such a low moisture content, the hardtack can store for long periods of time – even decades. Hardtack has a bland flavor like a plain cracker.
Equipment
- 1 Baking sheet
Ingredients
- 2 cups flour
- 3/4 cup water
- 1 1/2 tsps. salt
Instructions
- Preheat your oven to 375 degrees Fahrenheit.
- Mix the ingredients until it forms a thick dough. You want the dough to have a drier consistency. If it feels sticky, add a little bit of flour.
- Sprinkle some flour on your countertop before you place your dough down so that it doesn’t stick. I added some basil and oregano to my dough because I want to use my hardtack in soups and stews. Just knead it into the dough a little bit to mix it through. You could also add dry ingredients to the flour ahead of time, if you prefer.
- Using a rolling pin, roll out your dough until it is about ½ inch thick or even a little thinner. Make sure it is as even as possible so that your wafers will cook evenly.
- Cut your dough into cracker-like squares. If you’re feeling creative, you could use cookie cutters to create interesting shapes, although this isn’t necessary at all. The more uniform the size and shape, the better the hardtack will bake. I don’t worry too much about how my hardtack looks, but I do like to make smaller, thinner cracker-sized pieces. I used a pizza cutter to cut my dough, but you could use a knife or spatula. Just make sure you cut it before you bake it.
- Place your raw hardtack on an ungreased cookie sheet and poke holes into each piece with a toothpick.
- Your wafers should be evenly browned. You can remove them from the oven and place them on a cooling rack or turn off the oven and leave them to cool in the oven itself. The idea is to remove as much moisture as possible without burning the hardtack. This will help your hardtack store for longer.
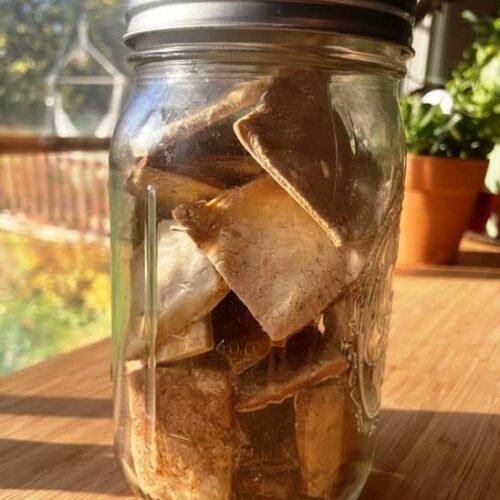
- Store your hardtack away from moisture. I like to put mine in mason jars. Hardtack with no add-ins should last indefinitely under the right storage conditions.
- To use your hardtack, soak it for 10 minutes in milk, coffee, soup, or even water. I am using mine to thicken up some chicken broth and to add extra calories, just like a cracker.
How to Store Hardtack
- Hardtack is very easy to store because of its low moisture content. If you are going to store it for short-term use, such as hiking or camping, just stash it away in an air-tight container or sandwich bag to keep it moisture-free. You can easily carry it in a pocket or backpack. For long-term storage, you’ll want to make sure the hardtack is very, very dry. Then, you can store it in sealed mylar bags with oxygen absorbers. Store the mylar bags in food-safe 5-gallon buckets. Keep the buckets in a cool, dry place, and your hard tack can last for up to 25 years.
Hardtack Tips to Remember
- Hardtack is a very inexpensive and easy food to make! Go ahead and experiment with different types of add-ins or different types of flour. Remember that hardtack needs to be very dry for long-term storage and it will only last for as long as the ingredients you add. Adding dried fruit or nuts means your hardtack will probably only last a few months at best. For best results, keep your dough a uniform thickness before baking. I find that thinner hardtark is easier to manage then thicker pieces.Always visually inspect your hardtack before use, especially if you’re adding in extra ingredients. Never bite directly into a piece of hardtack. Make sure you to soak it or prepare it by some other method so that it is soft and edible.
Tried this recipe?Let us know how it was!