Sourdough Yeast Starter
Yeast is what makes bread and other baked goods fluffy and light Yeast is actually a fungus that thrives on sugar. Then, when it is mixed with the right baking ingredients, the yeast will create carbon dioxide that makes the dough expand and rise. It also adds flavor. You can easily cultivate your own yeast with just two ingredients – flour and water. The fungus that creates yeast is everywhere – on your skin, in the air, and in flour. With just a little time and the right 'feeding' schedule, you can cultivate your own yeast that we know as sourdough starter.
Equipment
- 1 Glass Jar with loose fitting lid
- 1 Digital scale
- 1 spoon and fork
Ingredients
- 50 grams flour
- 50 grams water
Instructions
Day 1
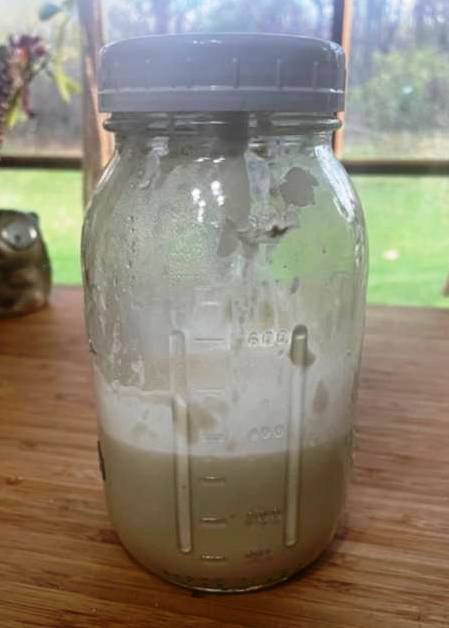
- On the first day, you're going to mix 50 grams of flour with550 grams of warm water in a glass jar. Stir the mixture until it's pretty smooth. Then, you'll loosely cover it – I like to use a glass mason jar and loosely twist on a plastic lid. Set it in a warm place for 24 hours, out of the way of direct sunlight. If you want to measure how much your starter is expanding, you can place a rubber band around your jar at the top of the starter mixture. Each day, you can add a new rubber band if you want to keep track of how much bigger your culture gets. Or you can keep an eye on the measurements on the side of your mason jar.
Day 2
- You'll need to feed your culture. Mix together another 50grams of water and 50grams of flour. Then, gently stir the fresh mixture into your started culture. Loosely cover it and set it aside for another 24 hours.
Day 3
- By day 3, you should start to see little bubbles starting to form in your mixture, and it may begin to expand. It should have a slightly sweet smell, but if it smells rancid, you'll want to dump it and start over. Again, you need to feed your culture. Mix together50 grams of flour and 50 grams of warm water. Then gently stir into your culture, cover, and set aside. Don't forget to add a rubber band to your jar if you want.
Day 4
- By day 4, your culture should be showing more bubbles, and it may need a larger jar if you started with a very small one. Feed your culture by mixing 50g each of flour and water, and stirring it into your culture. Cover loosely and set aside for 24 hours.
Day 5
- By day 5, you should have a light and bubbly starter that has doubled in size. At this point, you can bake with your starter if you want to. If you decide to bake with your starter, set some aside for future use. Whether you use part or none of your culture, you'll need to keep feeding it each day. Every day you keep your culture, you'll want to feed it 50g each of flour and warm water. If you put your culture in the fridge, you can slow down the feedings to every 4 to 5 days, but it won't multiply very much at all.
Tips
- It's okay if your starter culture smells cheesy, sweet, or ripe. But if it smells putrid or rancid or is slimy, you'll probably want to throw it out and try again. This is rare, though! Don't panic if you forget to feed your starter! Just feed it as soon as you remember. If it isn't growing well, you can feed it every 12hours for a couple of days to give it a good 'boost.'If you forget to feed your starter, it may develop a dark colored liquid on top. You can pour it off or stir it back and then give your starter an extra feeding. However, if this happens repeatedly it could change the flavor of your finished baked goods. If you start to notice they don’t taste right or they taste bitter, you’ll probably want to start a new culture. Tinges of orange or red can indicate bacteria that will make you sick – throw it out and start again. Mold will look dark and fuzzy – again, throw it out and start again. It’s best to use a shallower, wide mouth jar so that you can pour in your ‘feedings’ without getting them on the sides of the jar. This will cut down the chances of mold growing.
Tried this recipe?Let us know how it was!